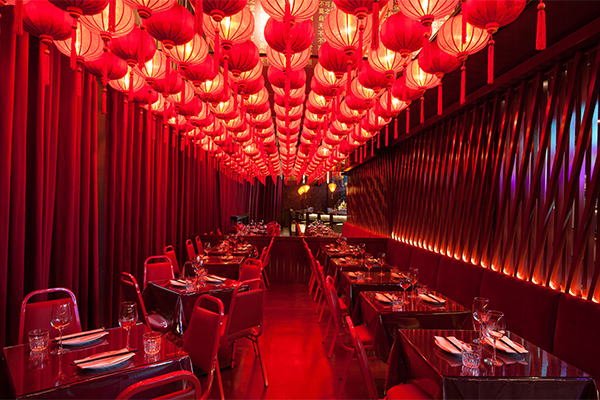
Sell through Core Catering Supplies for limitless, nationwide access to the booming South African catering and hospitality market. With over 21 years of experience in the industry, we’ve build up a trustworthy reputation as the go-to choice for the biggest brands in the country thanks to our seamless online shopping experience and knowledgeable, friendly and experienced sales team.
Optimise Profit
Boost your sales by leveraging our extensive and ever-growing pool of clients for increased profit.
Nationwide Exposure
Feature your line of products throughout the country.
Stress-Free Logistics
We take the hassle out of logistics handling deliveries and the difficulties of online retail for you
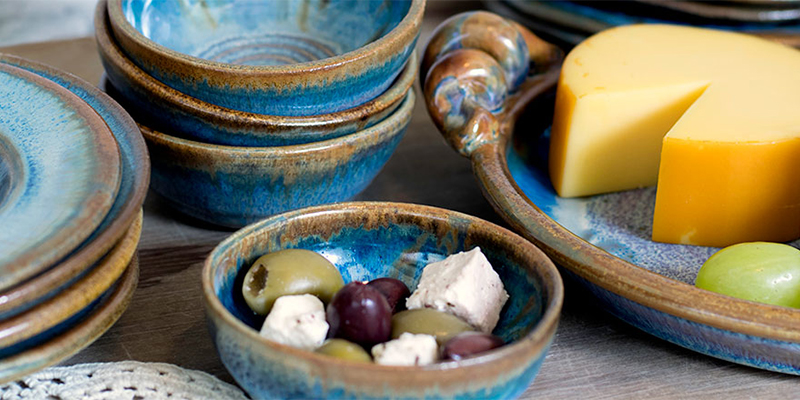
Finding the perfect dinnerware set for your home or business
can be difficult as there are just too many options to choose from. There are
plenty of things to consider like usefulness, versatility, style, strength, shape,
trend, type of material, price and more. In the quest of finding your
favourites you may start asking yourself questions like what is the difference
between earthenware and stoneware and does it even matter? Well, we can assure
you it certainly does. In this guide, we’ll discuss the use and value of
everything from coupe plates to sauce bowls so that you can invest in the
collection that meets your needs.
Type of Material
Before you can start thinking about shape and style, you should
first begin by understanding the different types of material used to create
dinnerware. This way you can ensure that the crockery you purchase meets your
needs for strength, wear-and-tear, price and resistance to external elements. There
are classic materials like metal, stone and ceramic, which have been used for
hundreds of years and remain popular to this day, as well as many new materials
that pop-up every now and then thanks to innovative manufacturers who continue
to pursue improvement and perfection.
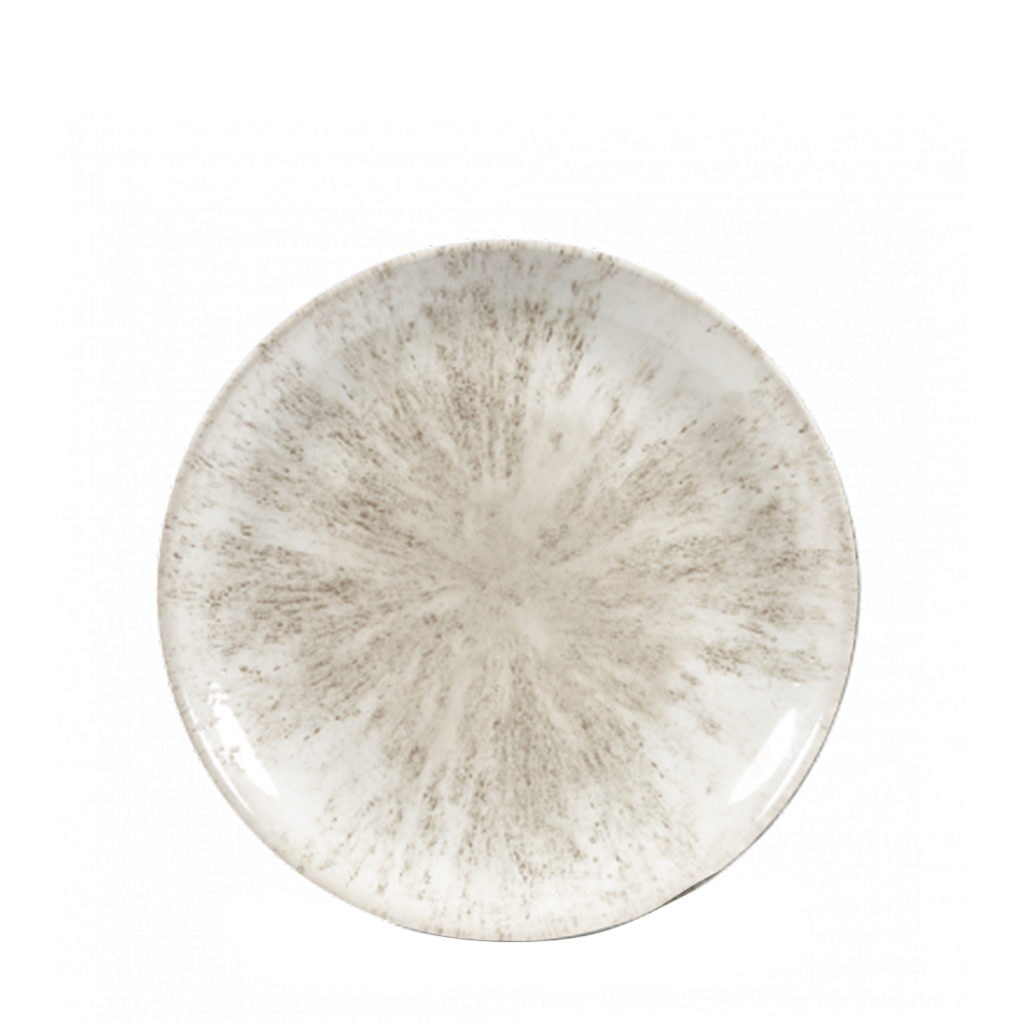
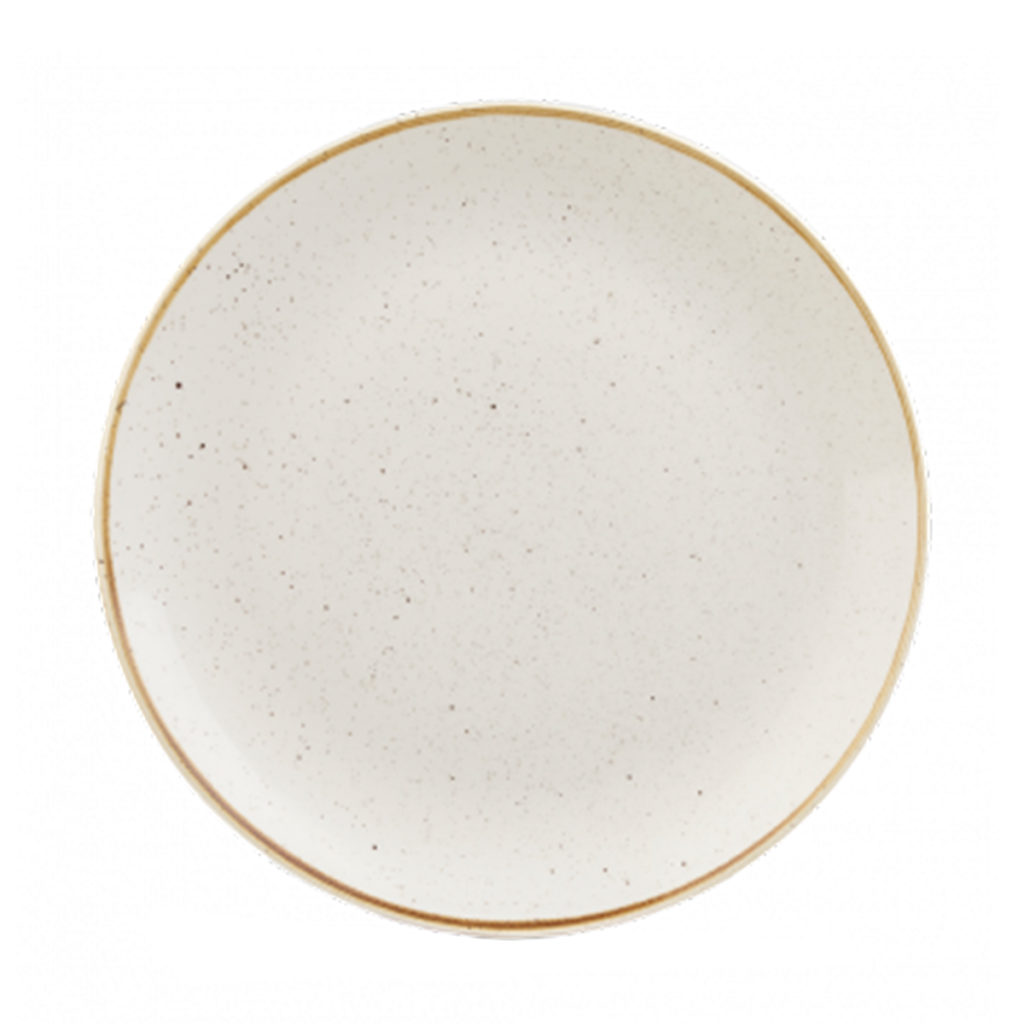
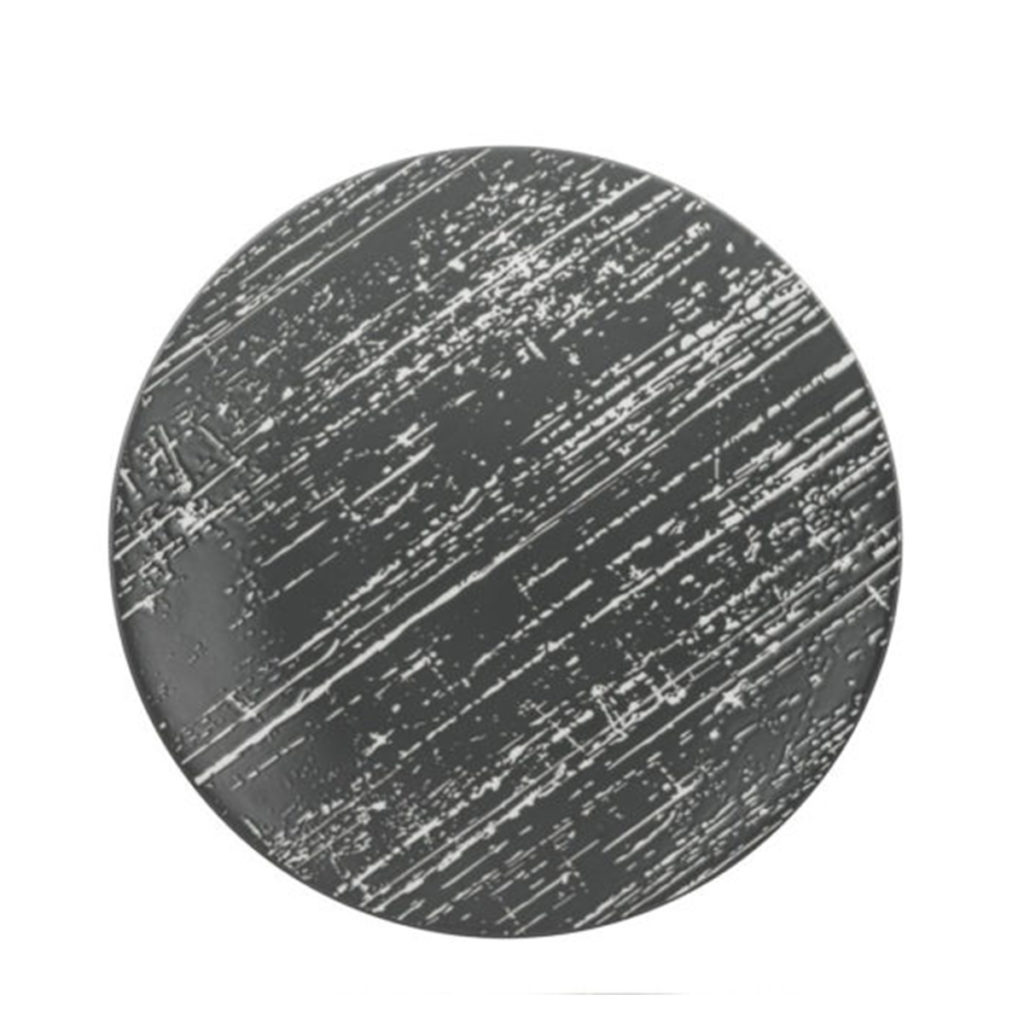
Earthenware
One of the oldest materials used to make crockery, earthenware is a ceramic that has been glazed and fired. It typically has a rustic look and can be quite thick and heavy. The appeal of earthenware is that it is normally cheaper than other forms of dinnerware; however, it is not the strongest material and can chip. In general, you should avoid unexpected temperature changes as this can damage your earthenware.
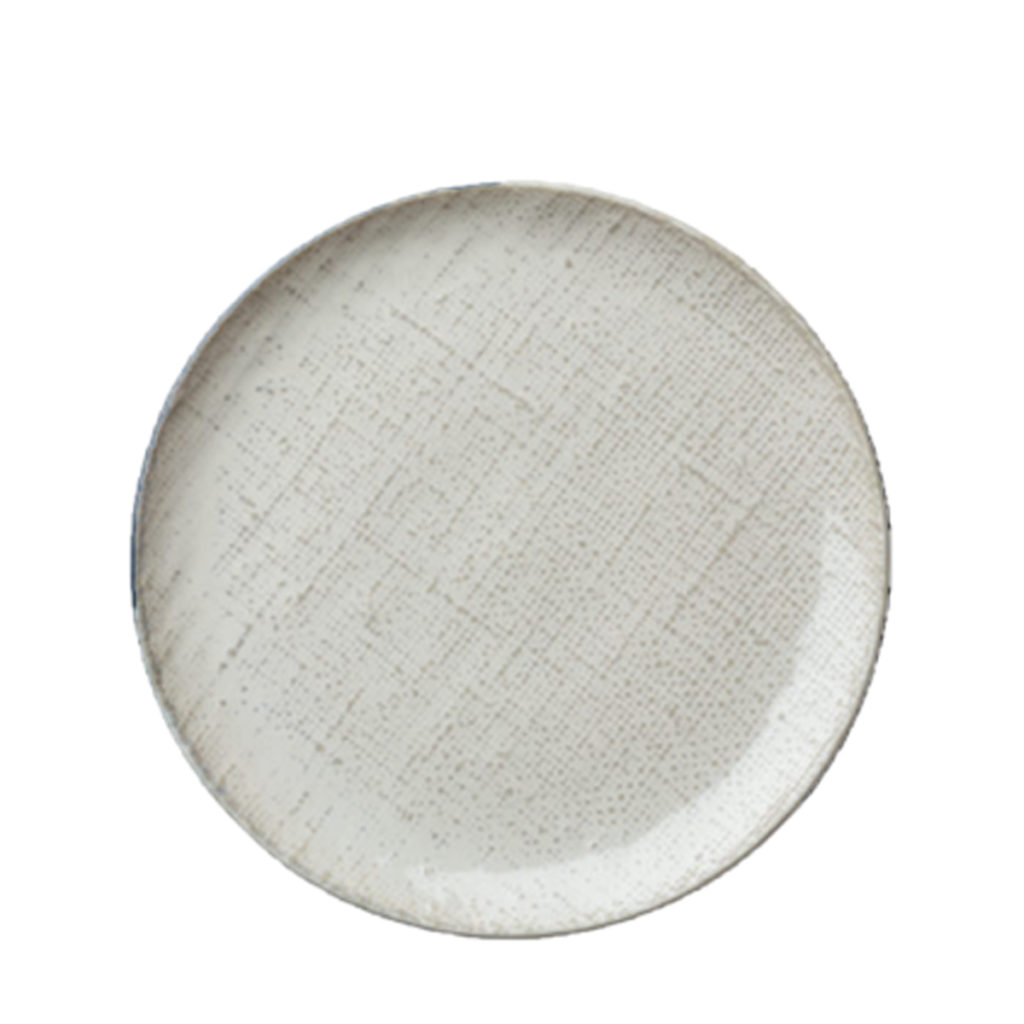
Stoneware
Stoneware is stronger than earthenware making it a great pick for everyday use; however, you should still not expose it to very high and low temperatures. You will find that stoneware often features a glass finish for added strength and durability. It is also finer and more opaque than porcelain and bone china. Stoneware is typically dishwasher and microwave safe.
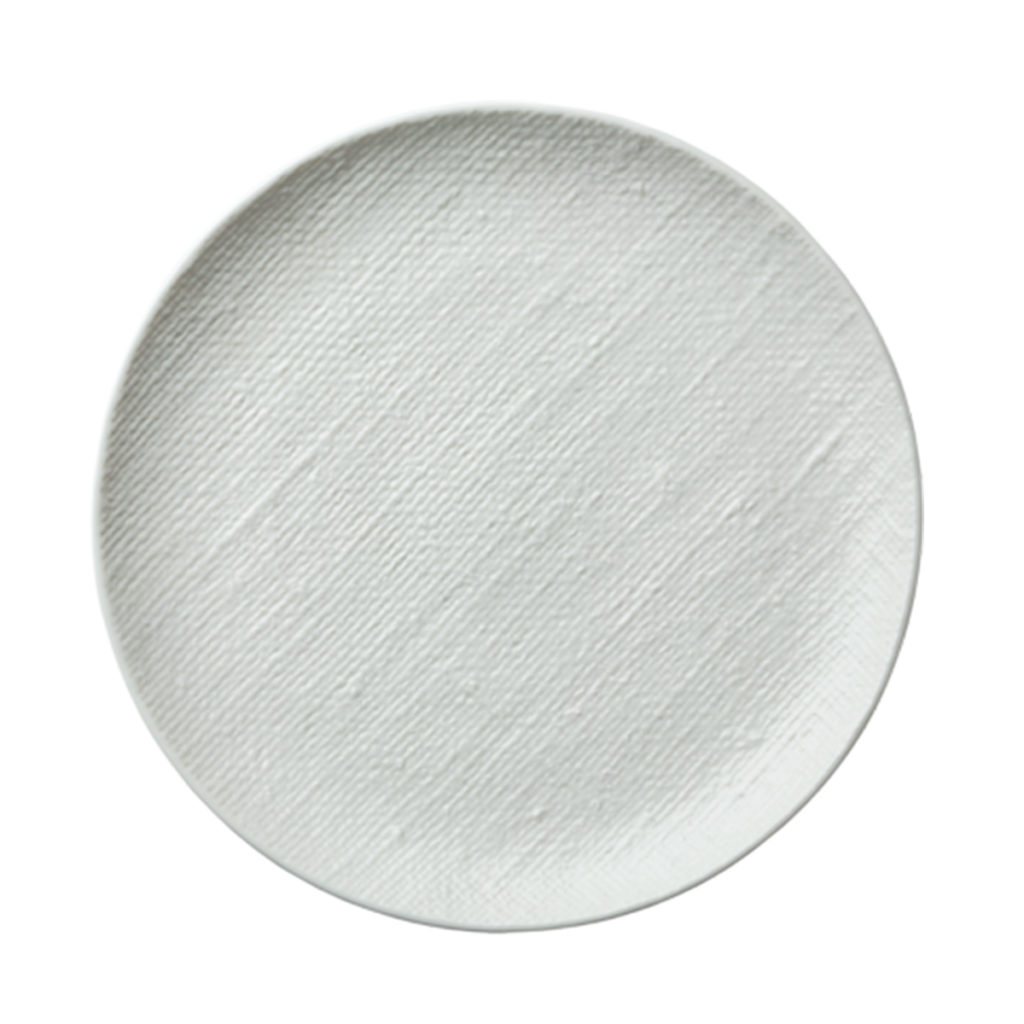
Porcelain/China
Both porcelain and china refer to crockery made from fine particle
clay fired at a high temperature. The result is a versatile material that is
particularly non-porous and strong. Porcelain and china are great picks for
formal settings as their firing process makes them look more delicate, thin and
able to have added shaped details. Thanks to their exceptional durability,
porcelain and china are typically microwave and oven safe; however, check that
your set doesn’t have any metal accents before you use it in the microwave.
Bone China
Bone china is made from a mixture of animal bones and porcelain
clay fired at a slightly lower temperature than traditional porcelain. The result
is a translucent, lightweight and delicate looking material that, despite its
fine appearance, is the strongest and most durable form of dinnerware. It is
generally oven, microwave and dishwasher safe unless it contains metal accents.
Renowned ceramic makers, Luzerne, have taken bone china to the
next level with their range of innovative crockery heralded as “stronger than
bone china”. Their products have extraordinary resistance to extreme
temperature and will not even crack when removed from an oven at 180°C and placed directly under running water. Their
bowls and plates are safe for use in commercial dishwashers, freezers, ovens
and microwave ovens. Luzerne dinnerware is also scratch and chip resistant.
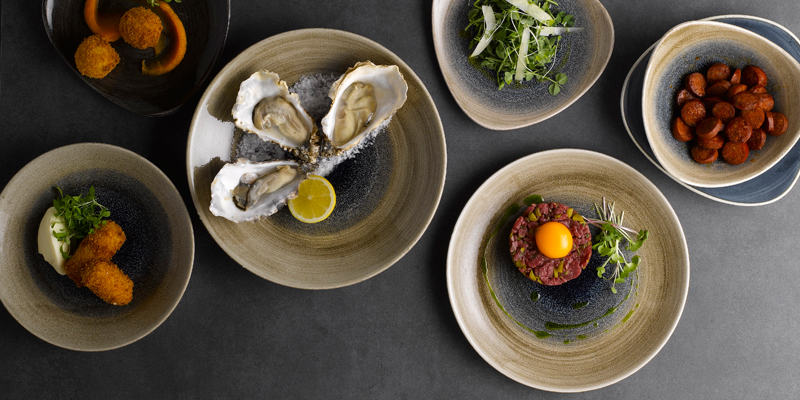
Types of Crockery
After you have gotten a grasp on the type of materials used
to make dinnerware, it’s time to decide what items of crockery you will need
for your menu. There are so many items to choose from including coupe plates, V-shape
bowls, charger plates, dinner plates, pasta bowls and the list goes on. Below
we discuss the most recognisable types of crockery and what they are used for.
BreadPlates
The bread plate is normally the smallest plate on the table
measuring about 130mm to 180mm in diameter. As the name implies, this plate is
used for bread and butter. It is often found on breakfast and informal dinner
settings.
Typically a little bigger than bread plates, appetizer plates are designed for the plating of bite-sized treats, starters and appetizers like fruit, cheese and charcuterie. The defining feature of these plates is that they normally have slightly curved edges.
Normally round in shape, salad plates can easily be mistaken
for bread plates but they are larger, typically measuring around the 205mm mark.
They are used for the service of individual portions of salad.
Dinner plates are normally 255mm to 305mm in diameter and
are used to serve the main course. These plates are appropriate for lunch and
dinner but lunch plates are normally slightly smaller.
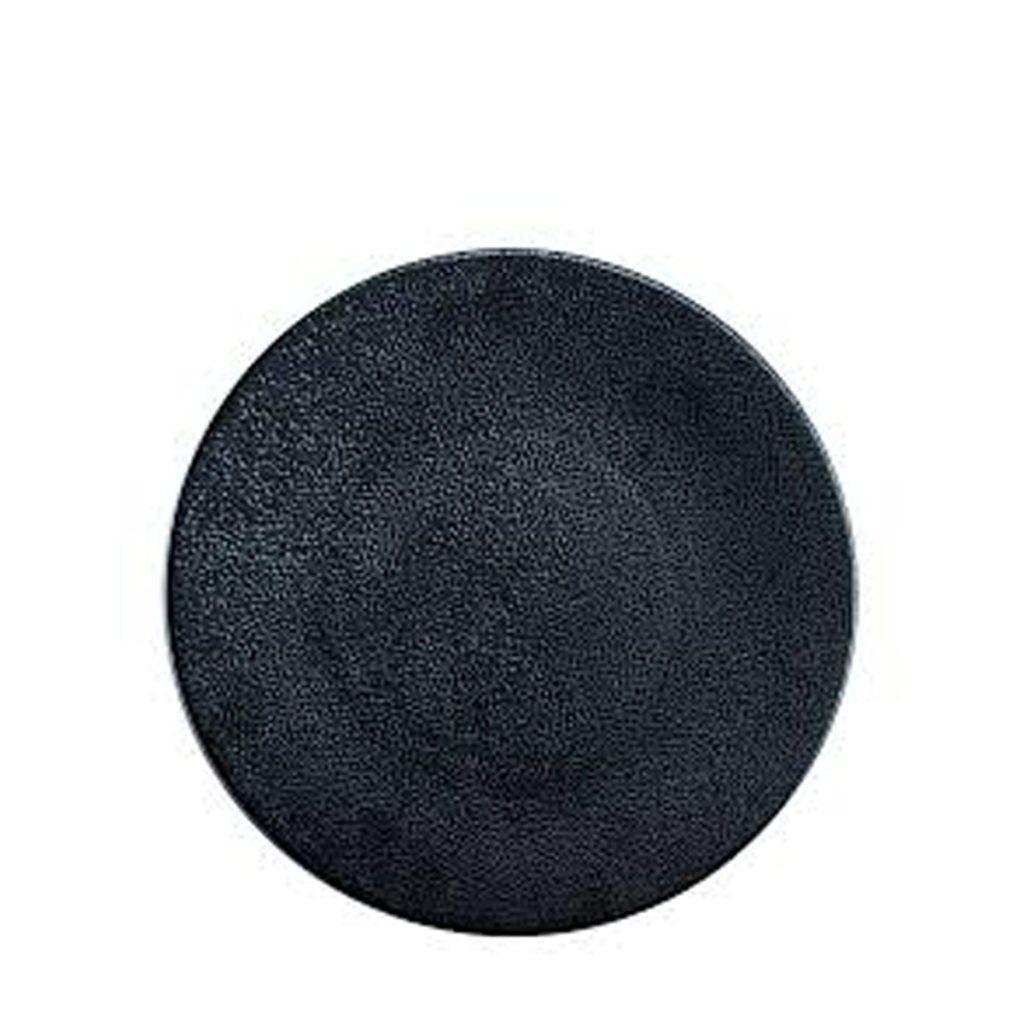
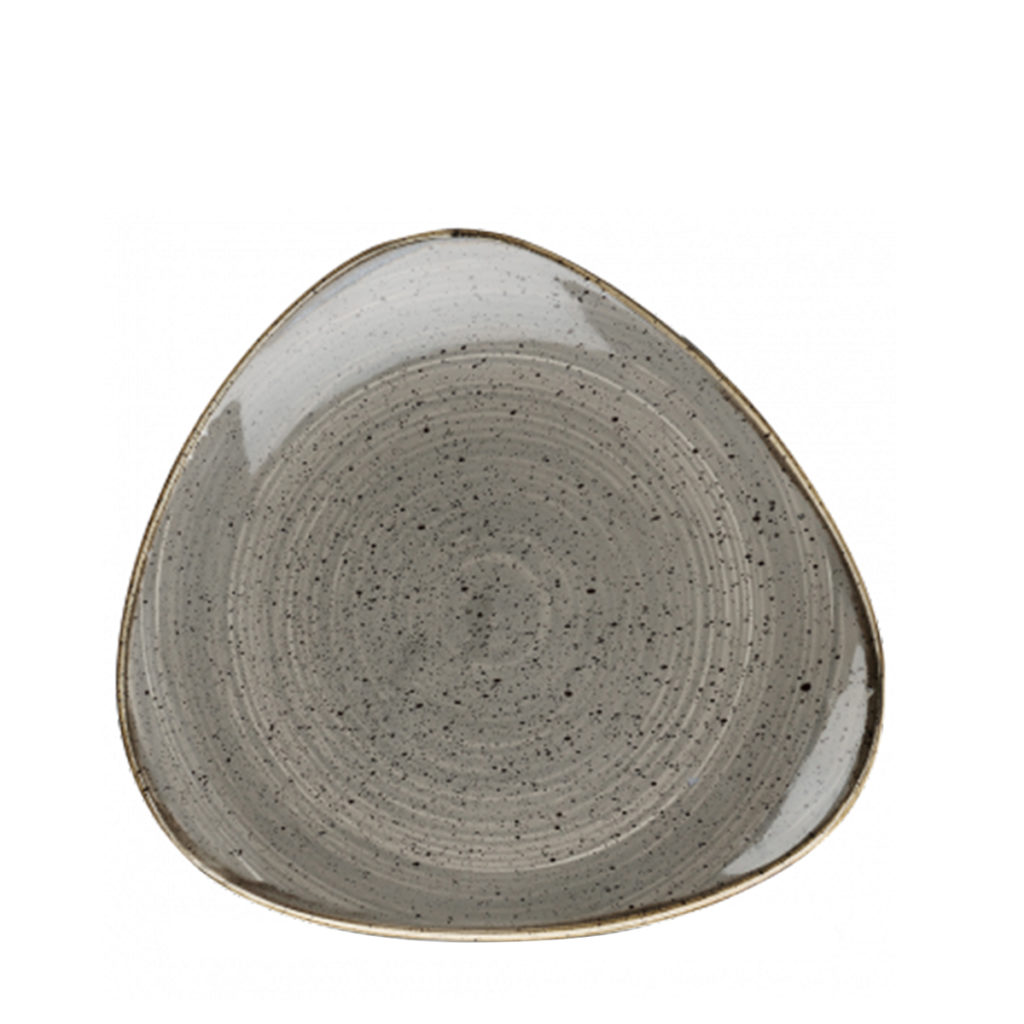
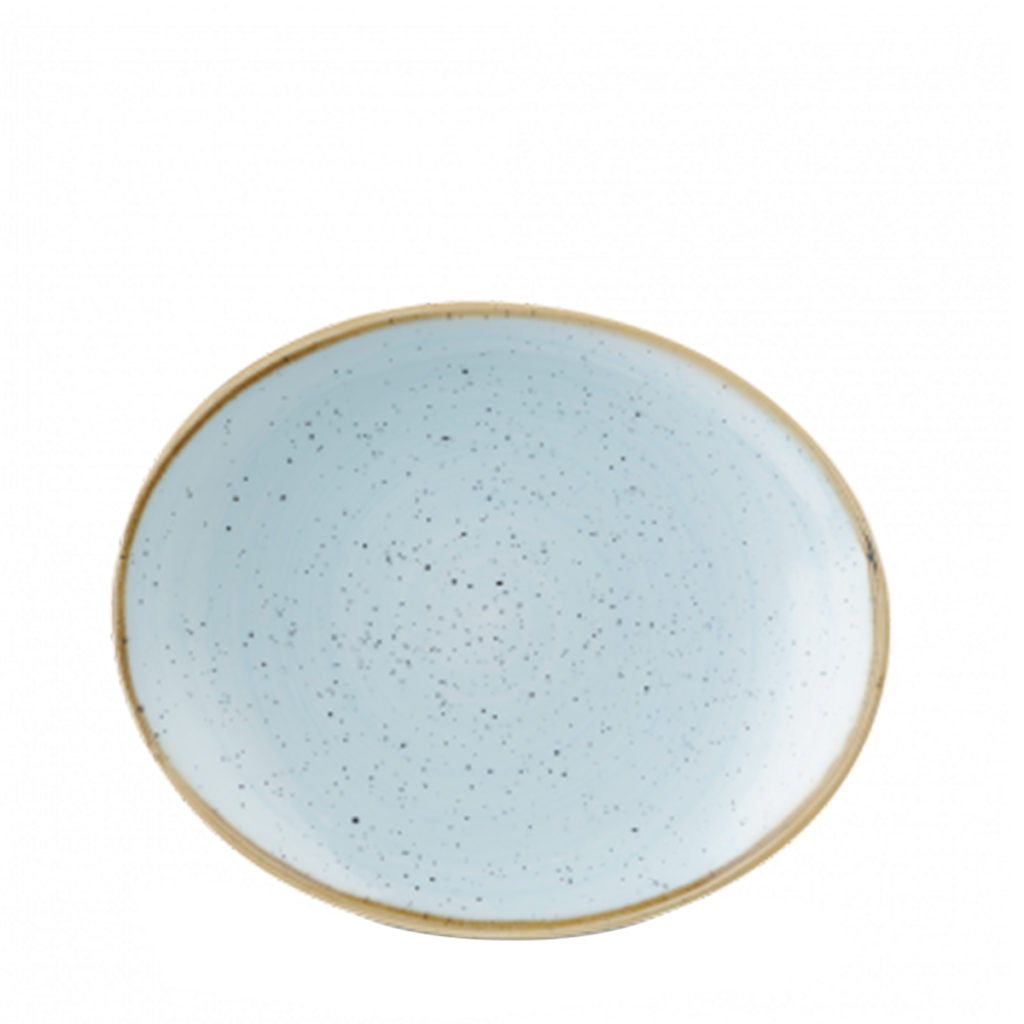
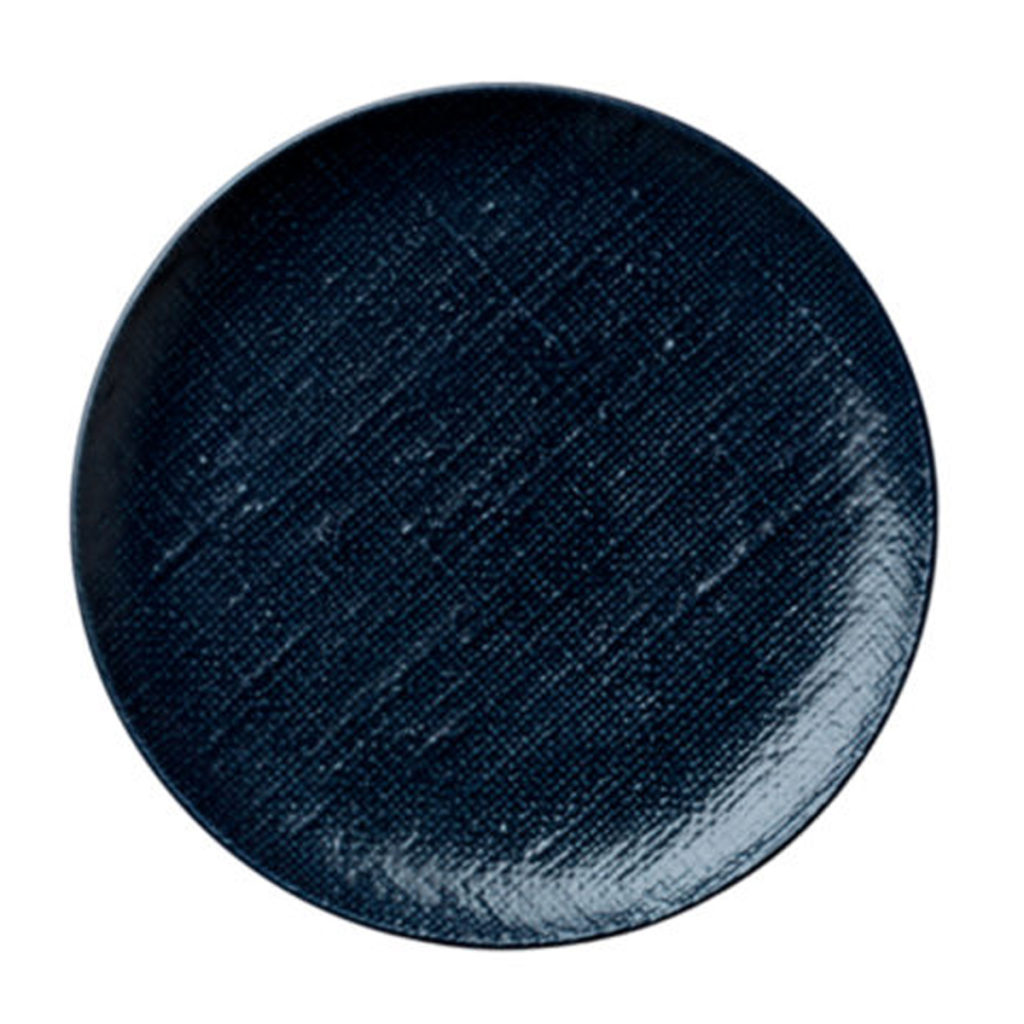
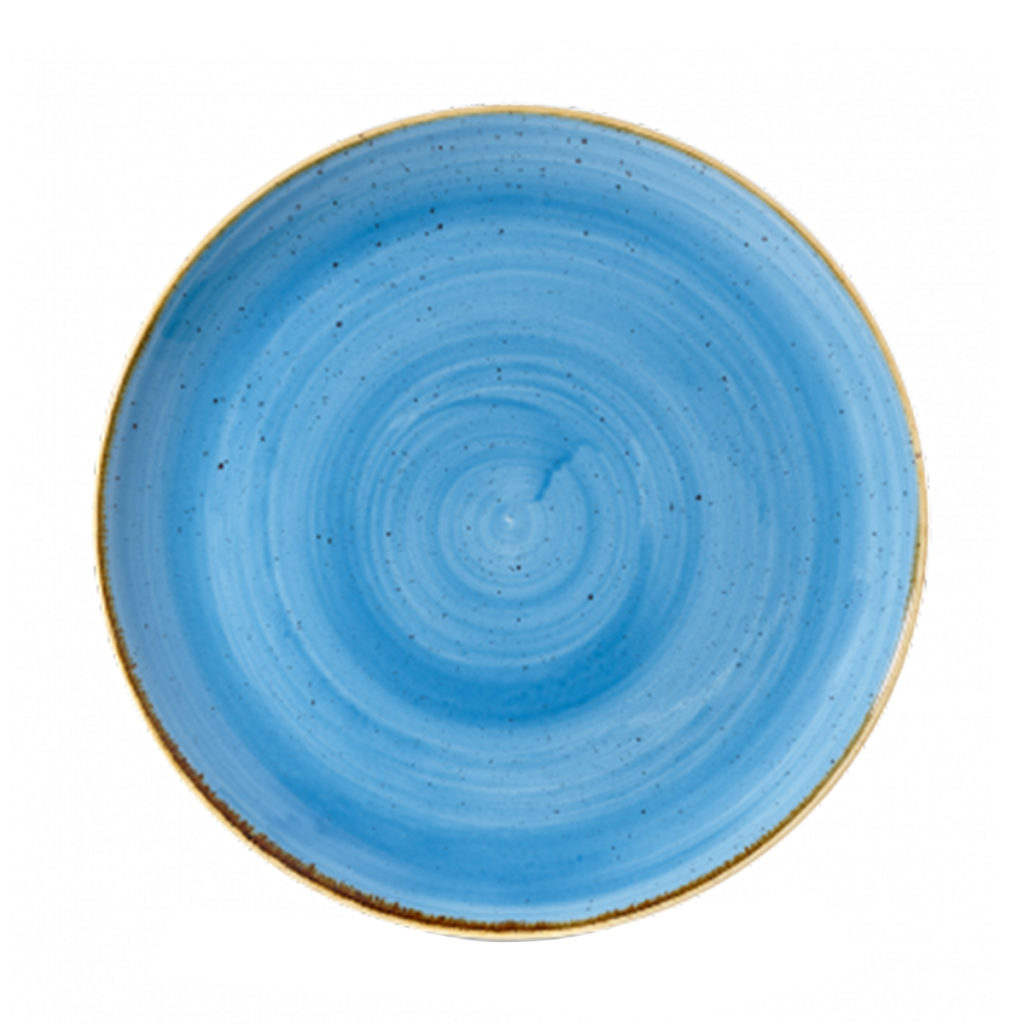
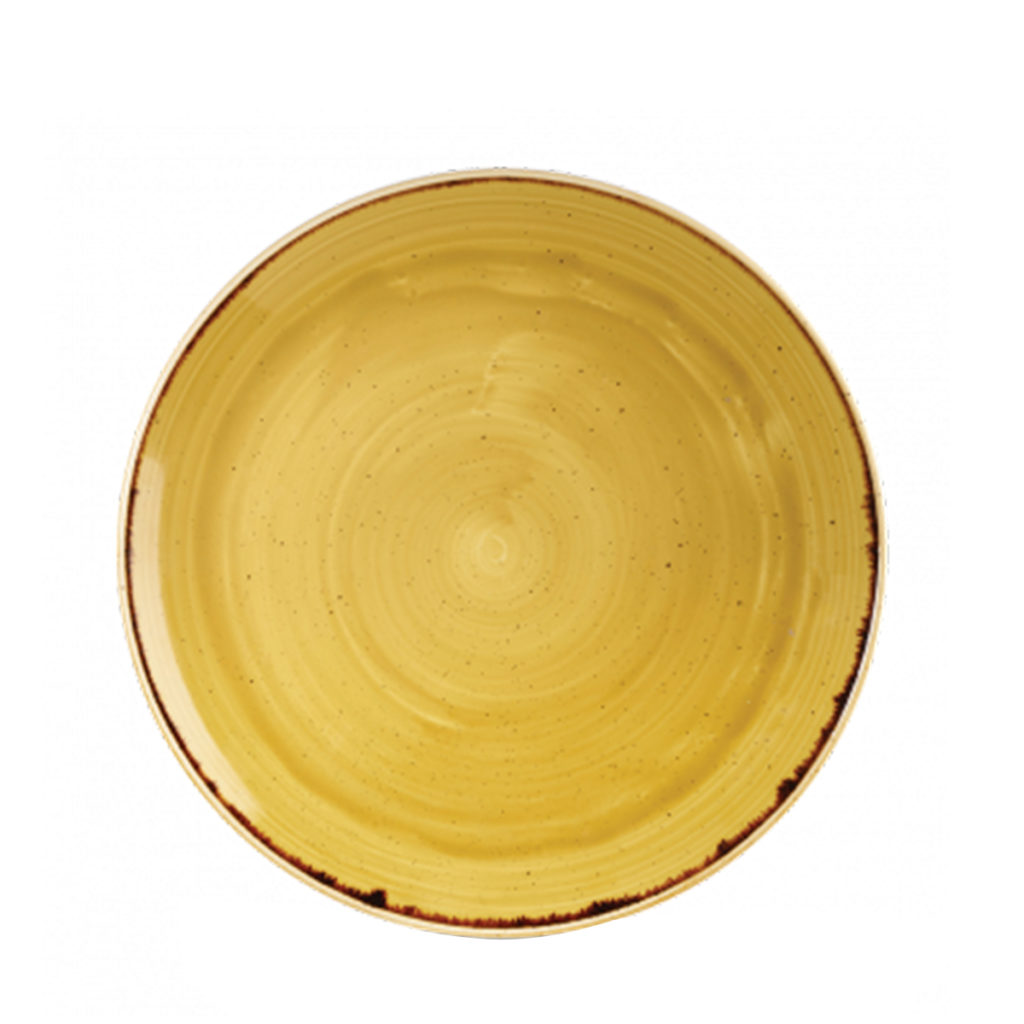
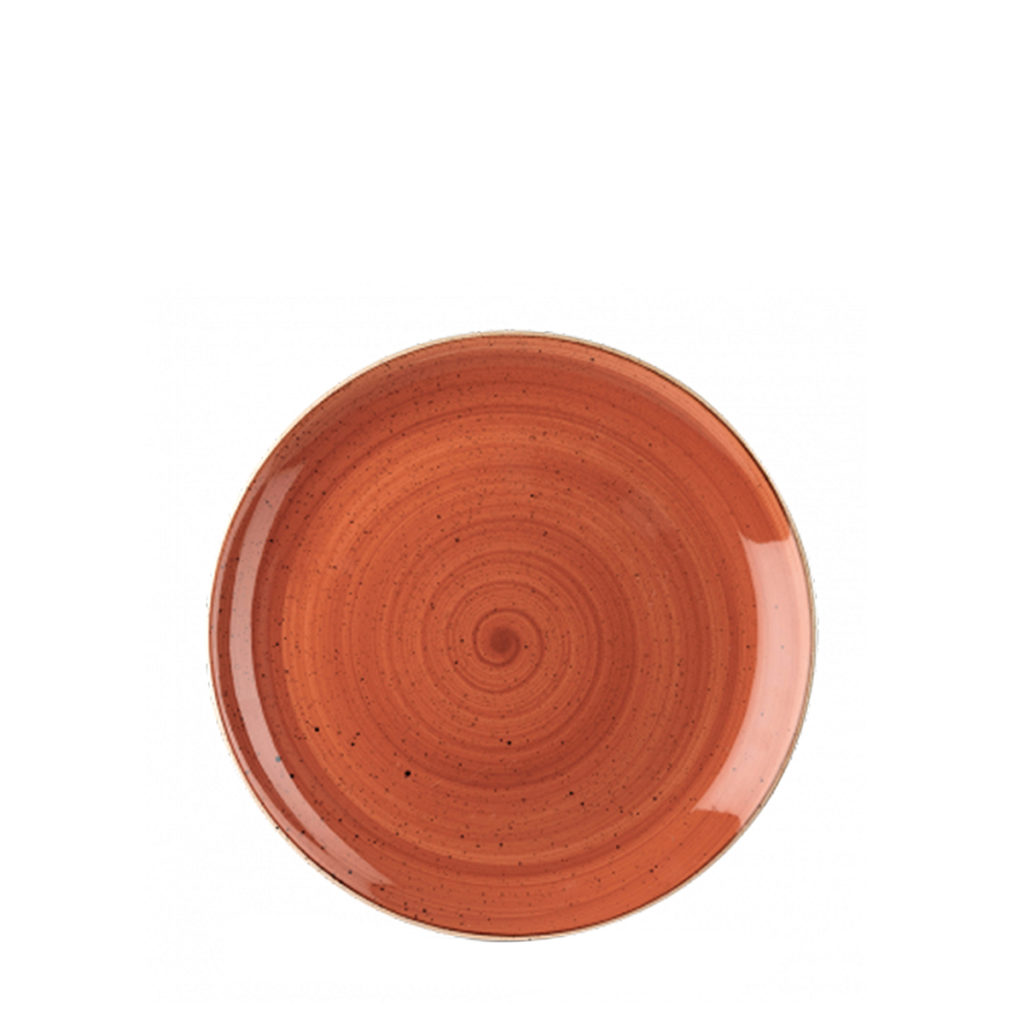
There are various styles of dinner plates including the European rim-shaped plate and Eastern coupe-shaped plate. Western meals are generally cut into smaller pieces at the table, which is why rim-shaped plates have a well to collect the juices flowing from the food. Coupe-plates, on the other hand, have no rim because it is made to accommodate the way food is prepared and served in the East. Eastern meals are normally cut into bite-size pieces in the kitchen as opposed to the table. Coupe plates are slightly larger to accommodate the various courses on one plate.
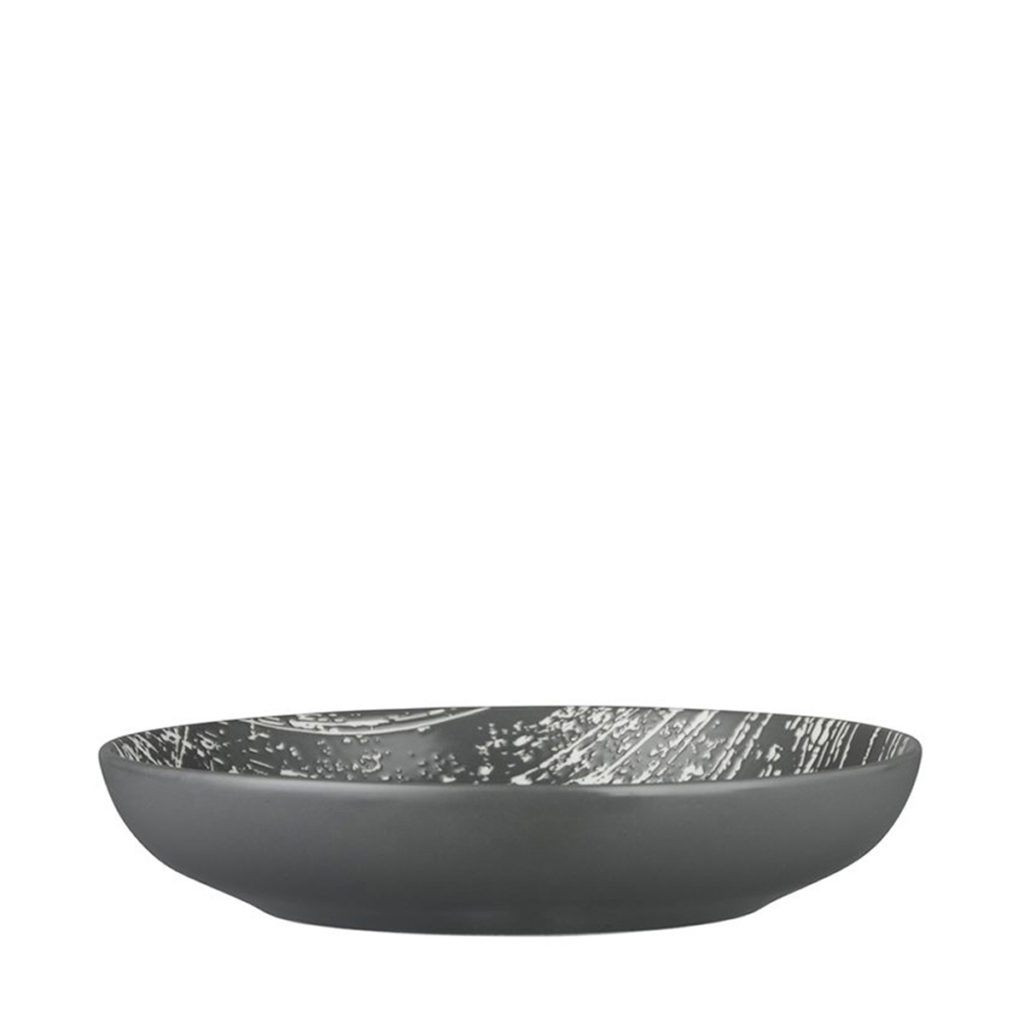
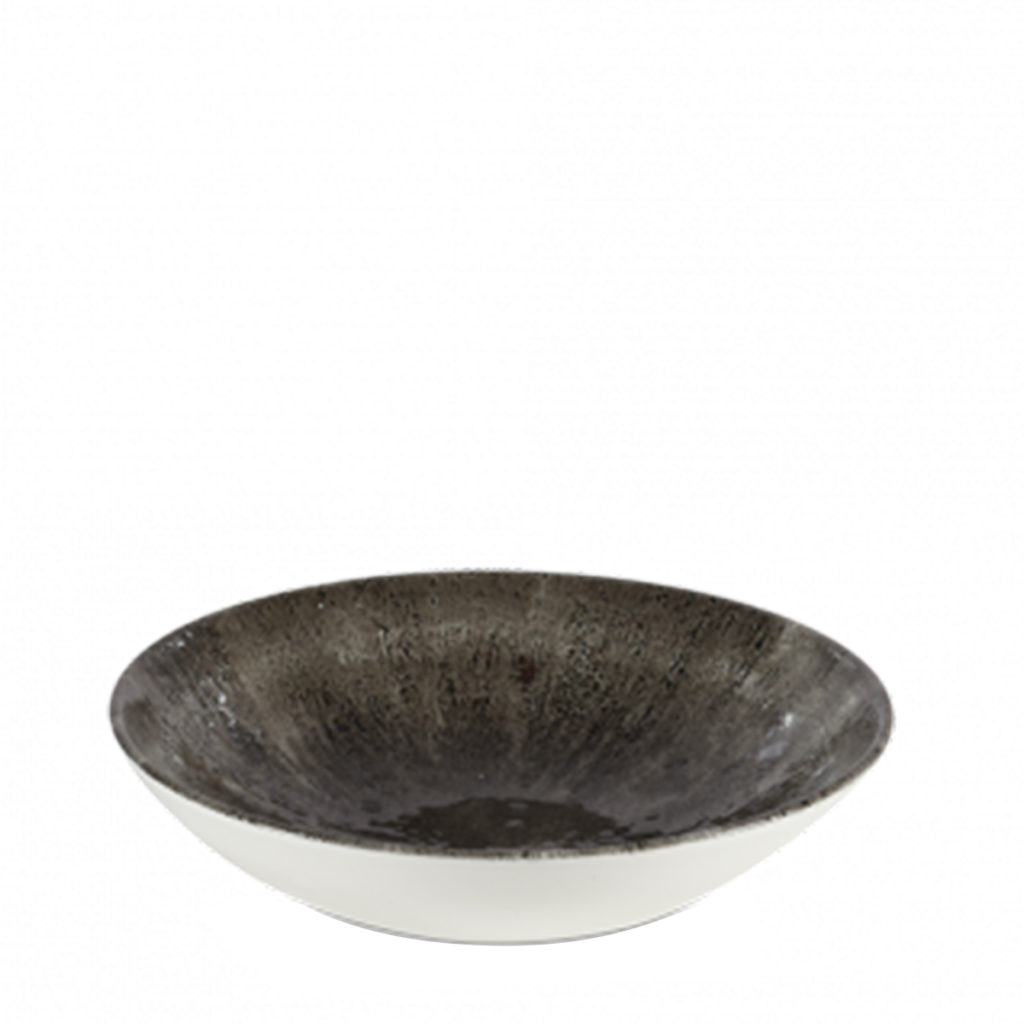
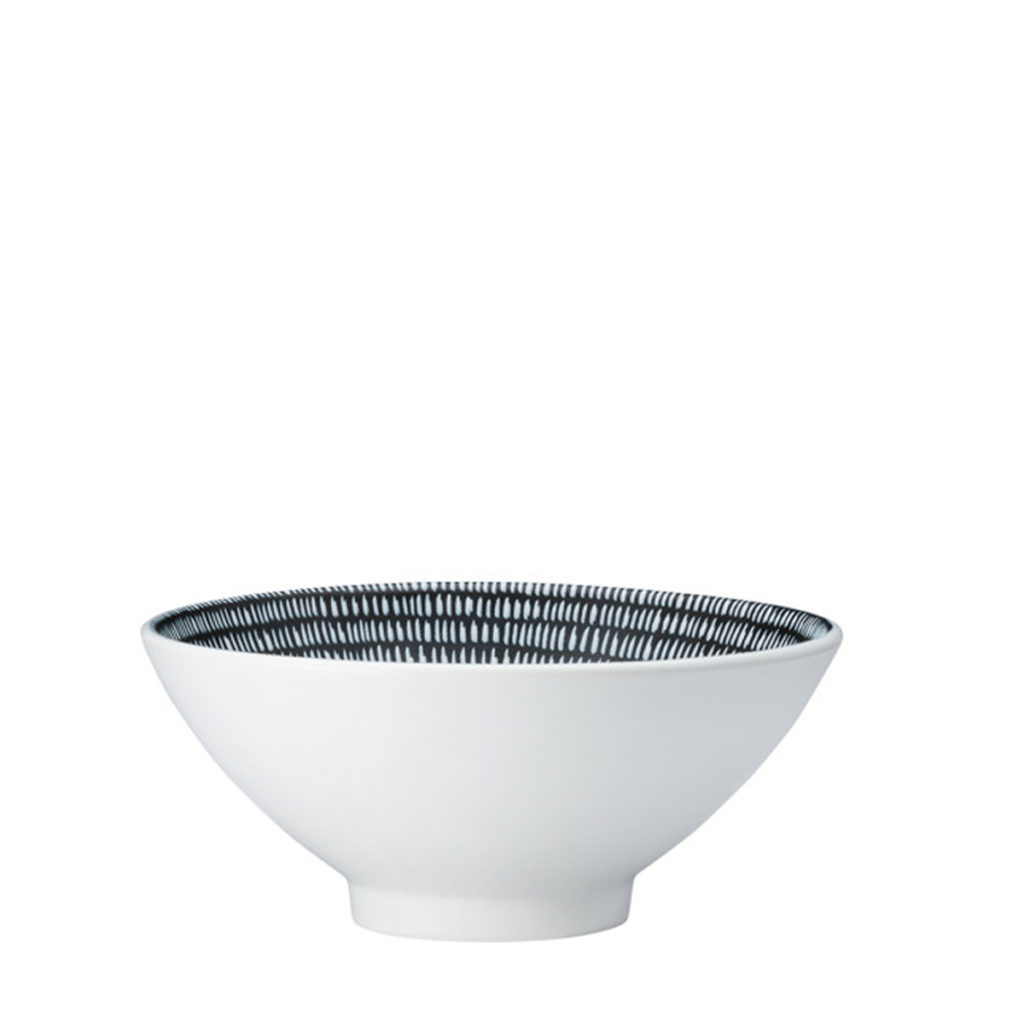
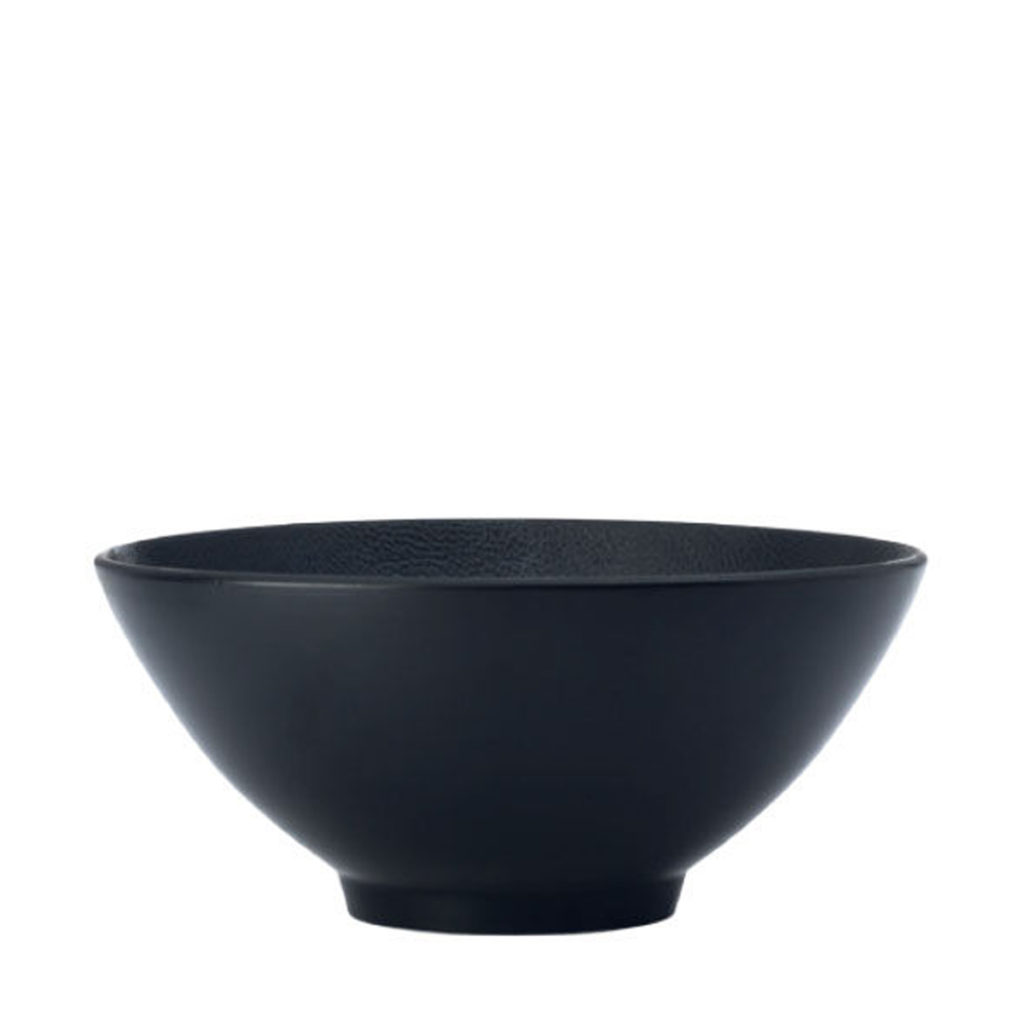
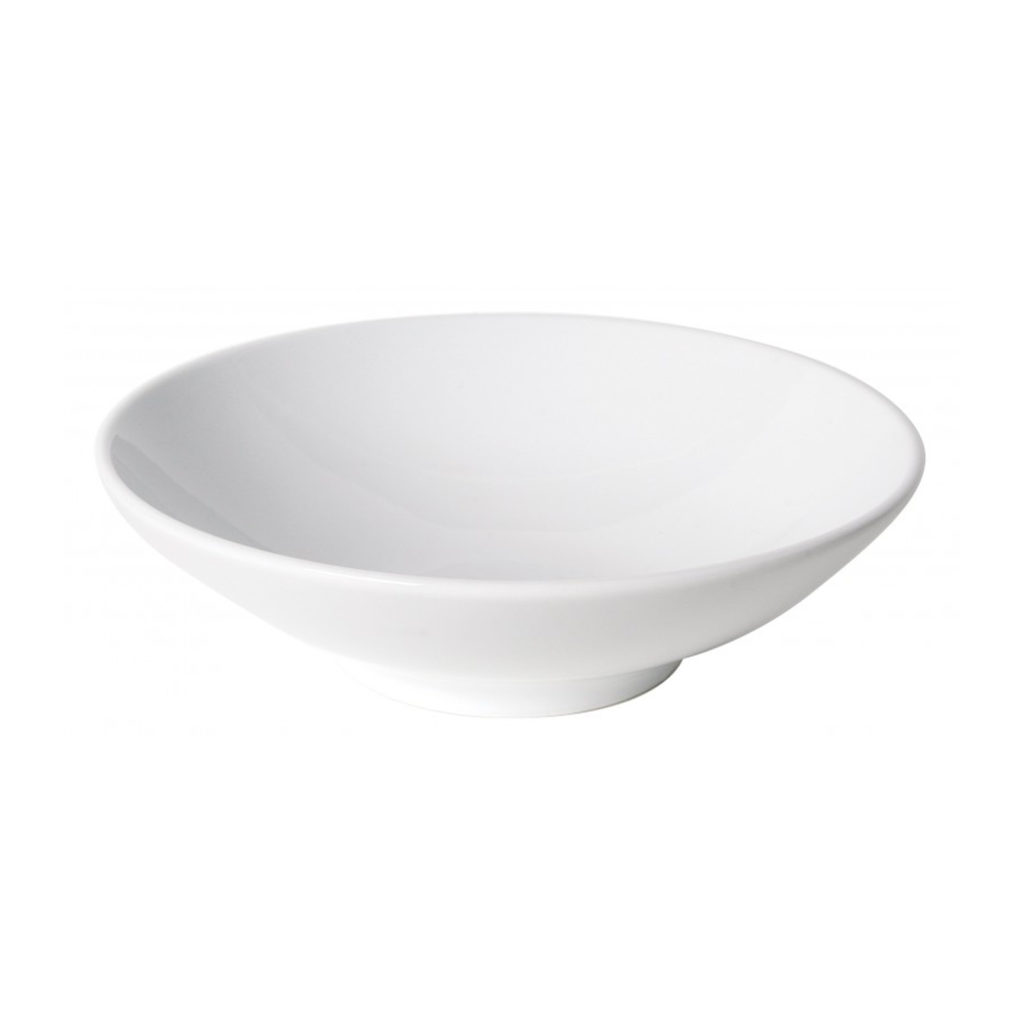
There are three different types of bowls typically used in food service. The size and shape of the bowl are determined by the temperature and texture of its contents. For instance, thick, chunky soups stay warm and are thus served in shallow, wide bowls so that they can cool down whereas smoother soups are served in deeper bowls to keep them warm for longer. We recommend to always use a charger plate with bowls as it helps protect your table.
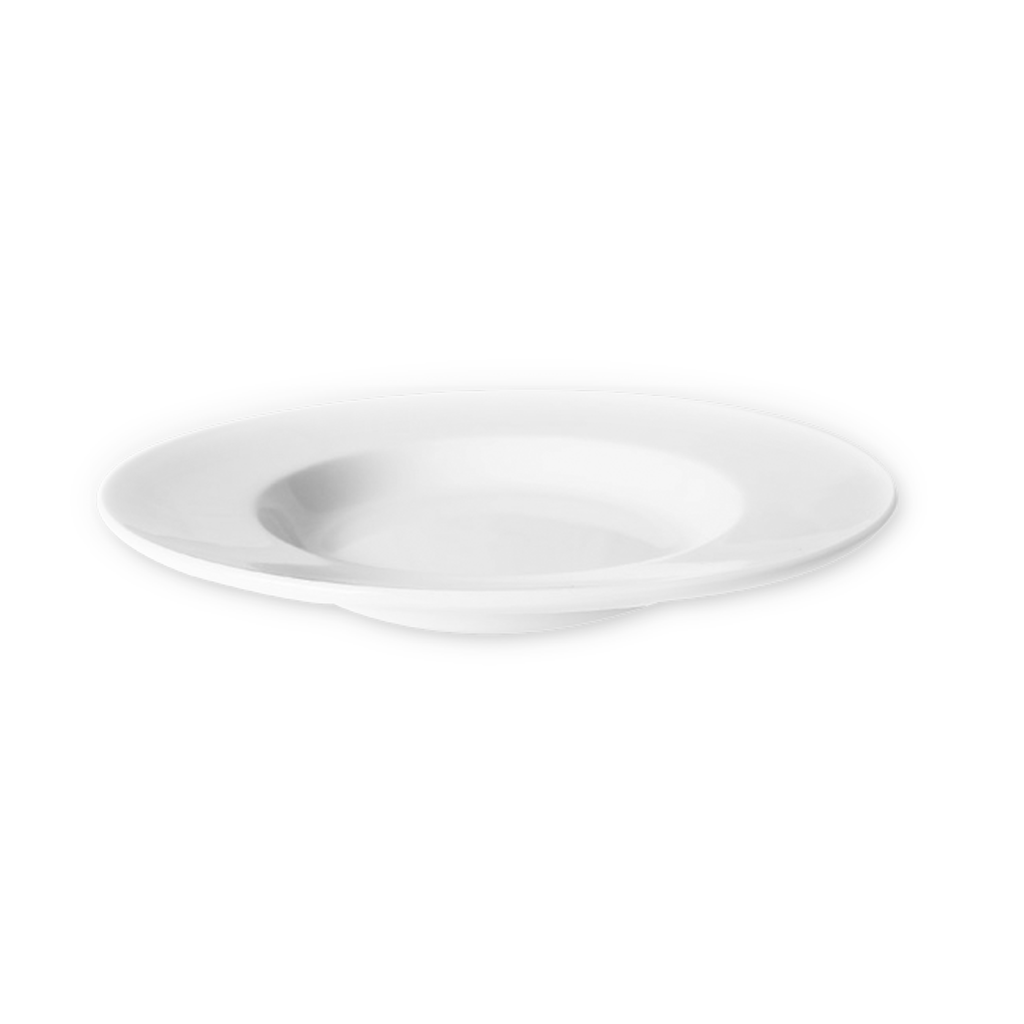
Soup Plate
Normally only seen in formal dining settings, soup plates
have a wide, shallow bowl with a flanged rim and a unique plate design with a diameter
of 240mm, a wide rim of about 38mm, 38mm depth and well with a diameter of
165mm.
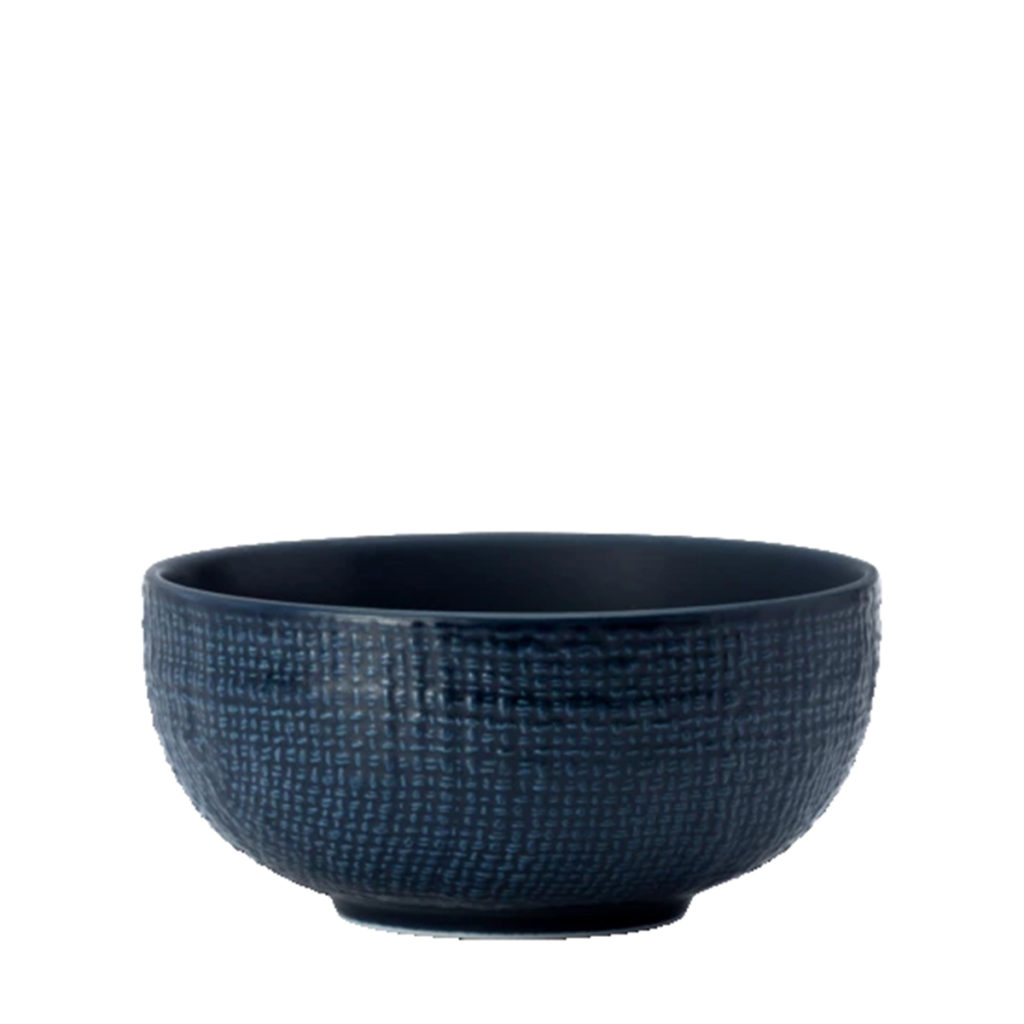
A coupe bowl has a saucer-like shape and can be used for a variety of meals. There are also different styles of coupe bowls on the market like V-shaped bowls that are narrower and wider.
These bowls are not usually used in formal settings. They
are appropriate for meals typically eaten with a fork or soup spoon, like salad
or pasta. Depending on their style and design, you could use these bowls for
the service of a variety of meals.
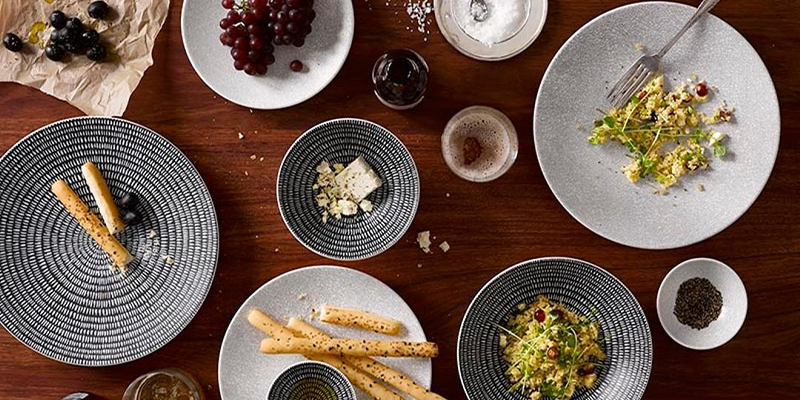
Your own taste should be the guiding principle for choosing
your dinnerware set; however, there are some considerations like trend, colour,
versatility and style that should always be kept in mind. Remember, crockery is
there for both functionality and to augment the presentation of meals. You may
find a certain set of cerulean plates particularly pleasing but later you realise
that they don’t complement the full scope of your menu.
When in Doubt Go Classic
A set of white dinnerware will never go out of style and thanks to their neutral colour they complement just about any dish. You may recognise Fortis’ brand of crockery from your local eatery as this brand is the go-to choice for hundreds of restaurants across the country. Their crisp white dinnerware features several durable properties and enhancements that make them tough enough for busy environments. Their Prima range has everything you may need from soup plates to square plates and more.
Though a complete set of matching dinnerware provides you
with a great foundation of crockery, it confines you to a singular look. For
this reason, many people choose to mix their plates and rather match them according
to meals. The second option also allows you to complement individual dishes
easier. Colour is your guiding principle when it comes to mixing dinnerware.
Make sure to choose items whose colours blend within a given harmony, for
instance, patterns of the same colour go together well and bring excitement to
your table setting.
It’s not just crockery that makes up your table setting. Cutlery, glassware, table linen and condiment holders together complete your table presentation. An important element that is often overlooked is texture. Match smooth dinnerware with fine textures in cutlery and linen like silver, crystal and tightly woven lines to lend your table setting a truly upmarket look and feel. Dinnerware with coarse finishes like pottery works terrifically with rustic materials like wood, stone, and loosely woven textiles.
At the end of the day, it’s up to you. As much as dinnerware is there to complement your menu and setting, it’s also there to communicate your own style and taste. There is an inexhaustible list of dinnerware brands available at your fingerprints including world-renowned brands like Luzerne, Fortis and Churchill with various ranges and styles to choose from so have fun with it. Shop durable and long-lasting crockery at Core Catering Supplies.
The key to a successful restaurant
lies in the menu. Your restaurant could serve the most delectable dishes this
side of the country but without a properly engineered menu, how are you going
to convince customers to try it?
It all comes down to word choice. The best
menu descriptions are always short, informative and, most importantly, tempting. The right combination of words
can send your sales through the roof, whereas a poor selection will leave your
customers confused, uninspired and uninterested. Luckily, we’ve put together this menu writing
guide that will lead you into the terrain of tantalising tastes and leave your
guests salivating.
What Does It Taste Like?
Flavour is the deciding factor in any order so you need to write a description that builds excitement and anticipation for what’s to come. With the right choice of words, you’ll be able to convince an indecisive or hesitant customer to make a decision and try something new. Be precise and choose from these words to send your customers over the edge:
Bittersweet: A less harsh taste than bitterness. Couples
tartness with sweetness.
Citrusy: A bright flavour like that of lemons,
limes, oranges, and other citrus fruits.
Cooling: A taste that mimics the feeling of cold
temperature. Often used to describe mint.
Earthy: Reminiscent of fresh soil. Often used to
describe red wines, root vegetables, and mushrooms.
Fiery: A taste that feels as though it gives off
heat. Another word for spicy.
Fresh: A light and crisp taste. Often used to
describe produce or herbs.
Fruity: Any taste reminiscent of sweet fruit
flavours.
Full-bodied: Rich flavour that can feel heavy in the
mouth. Often used to describe wines.
Herbal: A bright, fresh, or sometimes earthy taste
created by the incorporation of herbs.
Honeyed: A sweet or candied taste that may be
reminiscent of honey.
Nutty: Any taste similar to the flavours of nuts.
Often used to describe cheeses.
Rich: A full, heavy flavour. Often used to
describe foods containing cream.
Robust: A rich taste with some earthiness. Often
used to describe wines or aged liquors.
Sharp: A harsh, bitter, or tart taste.
Smoky: A taste reminiscent of the smell of
smoke.
Sour: A biting, tangy, tart flavour.
Spicy: A burning taste from hot spices.
Sweet: A sugary flavour.
Tangy: A biting taste that feels tingly in the mouth.
Yeasty: An earthy taste reminiscent of yeast. Often
used to describe beer and breads.
Woody: An earthy, sometimes nutty taste. Often
used to describe coffees or cheeses.
Zesty: A fresh, vivid, or invigorating flavour.
What Does It Feel Like?
Texture is yet another important consideration for your menu items. The right choice of words can help your guests imagine what it will be like eating your food even before they order it. Choose from the following list to give your diners a complete sensory experience what’s to come:
Airy: A light, pillowy texture often created by the incorporation of
air.
Buttery: A smooth and creamy texture similar to that
of butter.
Chewy: The texture of a food that needs to be chewed thoroughly
before swallowing. Can be light and bouncy or heavy and sticky.
Creamy: A smooth and rich texture that usually comes from the
incorporation of dairy.
Crispy: A light texture with a slight crunch.
Crumbly: The texture of a food with a loose
structure that falls apart into small pieces or crumbs.
Crunchy: A firm, crisp texture often identified by
the sharp, audible noise that the food makes when being eaten.
Crusty: The texture of a food with a hard outer layer and soft
interior.
Delicate: A light, fine texture that may come apart
easily.
Fizzy: A texture brought on by the presence of many small bubbles,
usually referring to carbonated liquids.
Flaky: A light texture characterized by layers that come apart during
eating.
Fluffy: A light and airy texture.
Gooey: A viscous, sometimes sticky texture arising from the presence
of moisture in a dense solid food.
Hearty: A firm, robust texture.
Juicy: A succulent, tender texture characterised by the presence of liquid in solid food.
Silky: A fine, smooth texture characterised by a sleek feel in the
mouth.
Smooth: A consistent texture free of grit, lumps, or indentations.
Succulent: A tender, juicy texture.
Tender: A soft texture that is easy to break down.
Velvety: A smooth and rich texture.
How Is It Made?
Using words that describe the preparation method of your dishes also help to give your guests an idea of what the food will taste, look and feel like. The following words communicate all the above:
Baked: A food that was cooked in an oven, often resulting in a crispy
outer coating.
Blanched: A food that was scalded in boiling water
and then moved to cold water to stop cooking. Results in a softened texture.
Blackened: A food that was dipped in butter and coated
with spices before being cooked in a hot pan, resulting in a blackened
appearance.
Braised: Food that is briefly fried in a small
amount of fat and then is slowly stewed in a covered pot. Results in a seared,
crispy exterior coupled with a tender interior texture.
Breaded: A food that was coated with a breadcrumb
mixture or batter that is then baked or fried into a crispy outer layer.
Broiled: A food cooked with intense radiant heat, as
in an oven or on a grill. Often results in a darkened appearance and crispy
texture.
Caramelised: A food that has been cooked slowly until it
is browned and becomes sweeter in taste.
Charred: Food that is grilled, roasted, or broiled
and gains a blackened exterior coupled with a smoky flavour.
Fermented: A food that has been introduced to
bacteria, yeast, or another microorganism to produce organic acids, alcohols,
or gases. May result in a pungent, biting flavour.
Fried: Food that is cooked by submerging partially or fully into hot
oil. Often results in a crispy or crunchy texture and golden colour.
Glazed: A food that becomes moistened by having a flavourful coating
dripped or brushed onto its surface. May result in a glossy appearance and
thin, crisp outer layer.
Infused: A food that has been steeped in liquid with
another ingredient in order to extract the flavour of the ingredient. Often
used with herbs.
Marinated: A food (usually meat) that has been soaked
in liquid containing flavourful ingredients like herbs, spices, vinegar, and
oil.
Poached: Food that has been cooked in nearly boiling
liquid. Often results in a tender, moist texture.
Roasted: Food that has been cooked with dry heat in
an oven or over a fire. Often results in a browned exterior and crisp coating.
Sautéed: A food that has been cooked quickly in a
small amount of fat.
Seared: A food that is cooked in a small amount of fat until caramelised
and then finished by roasting, grilling, or another method. Results in a crisp
outer texture and tender interior.
Smoked: Food that is cooked or preserved by long exposure to smoke
from smouldering wood. Results in a distinctive, bold flavour.
Whipped: Food that has been beaten to incorporate
air. Often results in a light, fluffy texture.
Appealing words that catch the eye will help your clients order faster, increase your turnover and up your sales. When you sit down to write a menu make sure to take your time whether it’s your first menu or an overhaul. With the proper time and consideration, you’ll be able to craft an irresistible menu that will keep clients coming back to try every item.
Whether you’re a pro chef or home cook, a quality knife collection goes a long way in any kitchen. Knives are designed for specific purposes and using the correct knife makes every cut easier and faster, saving you loads of prep time. There are so many different kinds of knives on the market which can make starting your own collection a daunting task.
For this reason, we’ve created this handy guide to break down everything you need to know about knives from entry-level utility blades to special blades designed for specific tasks.
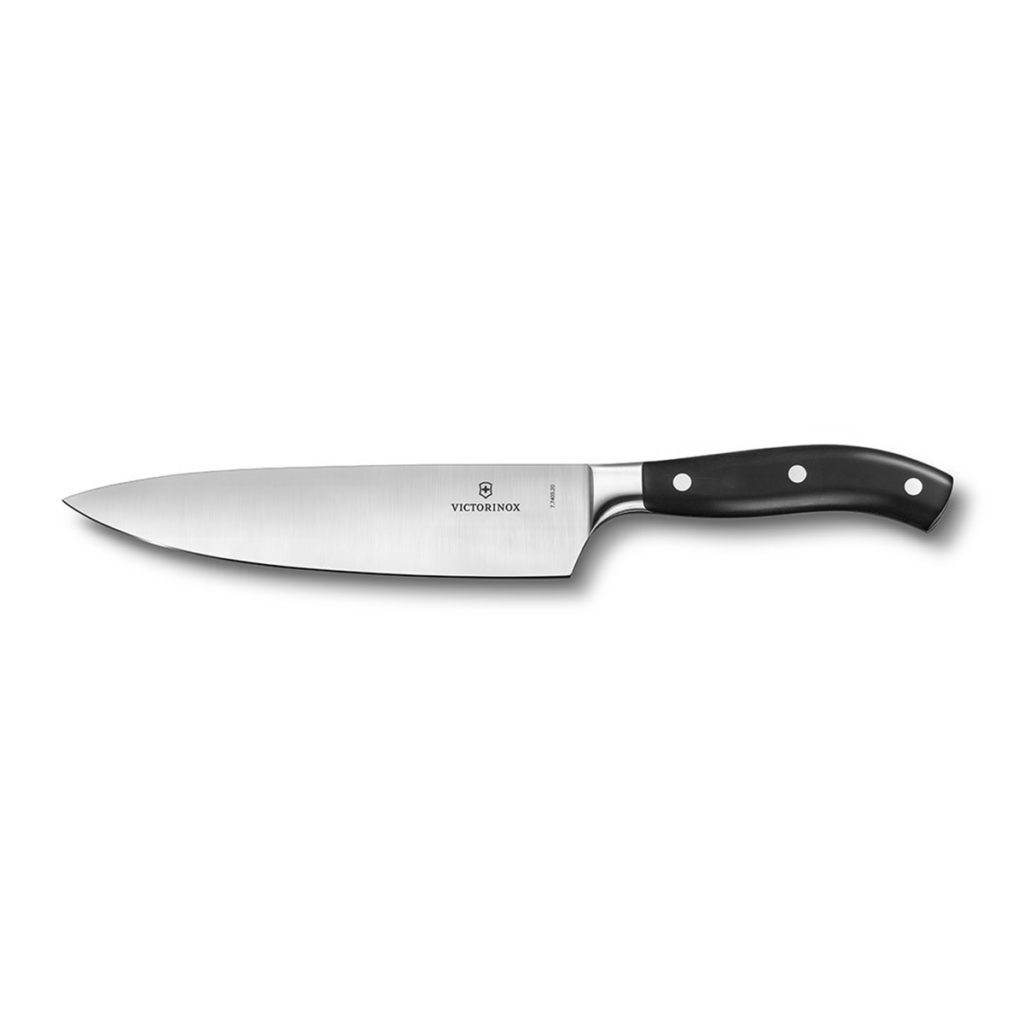
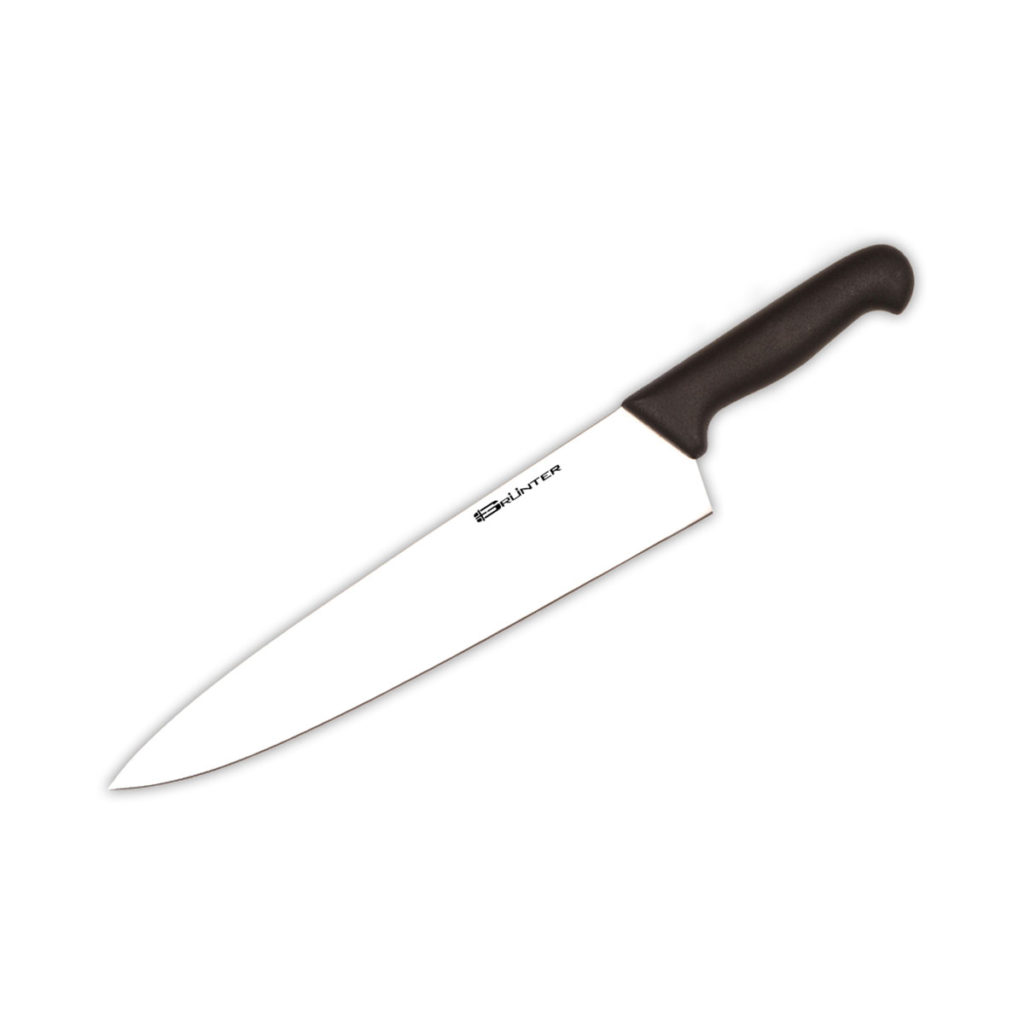
Chef’s Knife/Cook’s Knife
The chef’s knife should be the first addition to your collection because of its immense versatility. It features a curved blade design that makes your common kitchen tasks easy like slicing and chopping a variety of ingredients from meat to vegetables. Because of its flexibility in the kitchen, this is the knife you should spend the most on.
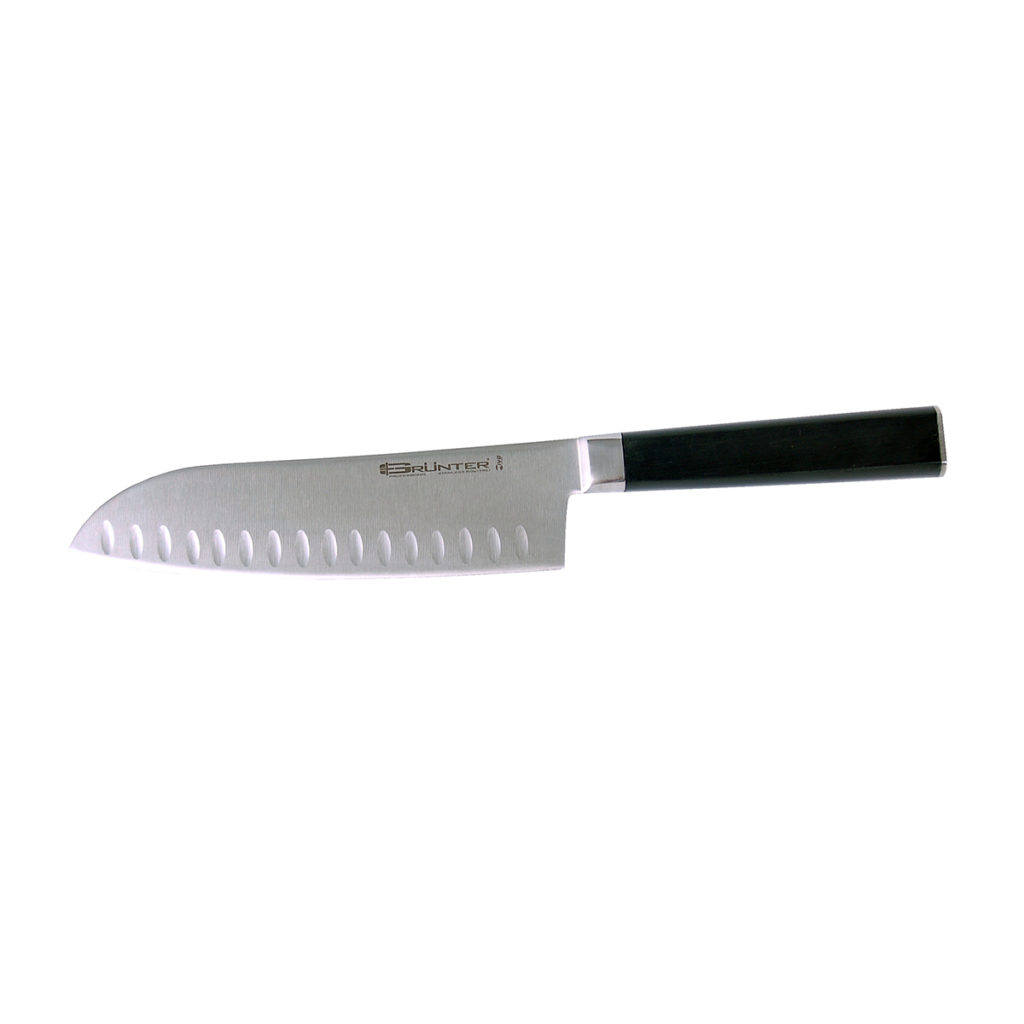
The Japanese equivalent of a chef’s knife, the Santoku knife is equally useful for a range of prep tasks. The main difference between the two is their blade design. The shape of the Santoku blade employs a forward-slicing motion whereas rounded blades are made for rocking motions like dicing and mincing. The unique, Granton edge of the Santoku knife facilitates airflow which makes slicing through ingredients easier than with straight blades. It also keeps food from sticking to the sides of the blade. We recommend the Santoku knife as an all-rounder, specifically for those who prefer a smaller, lighter knife.
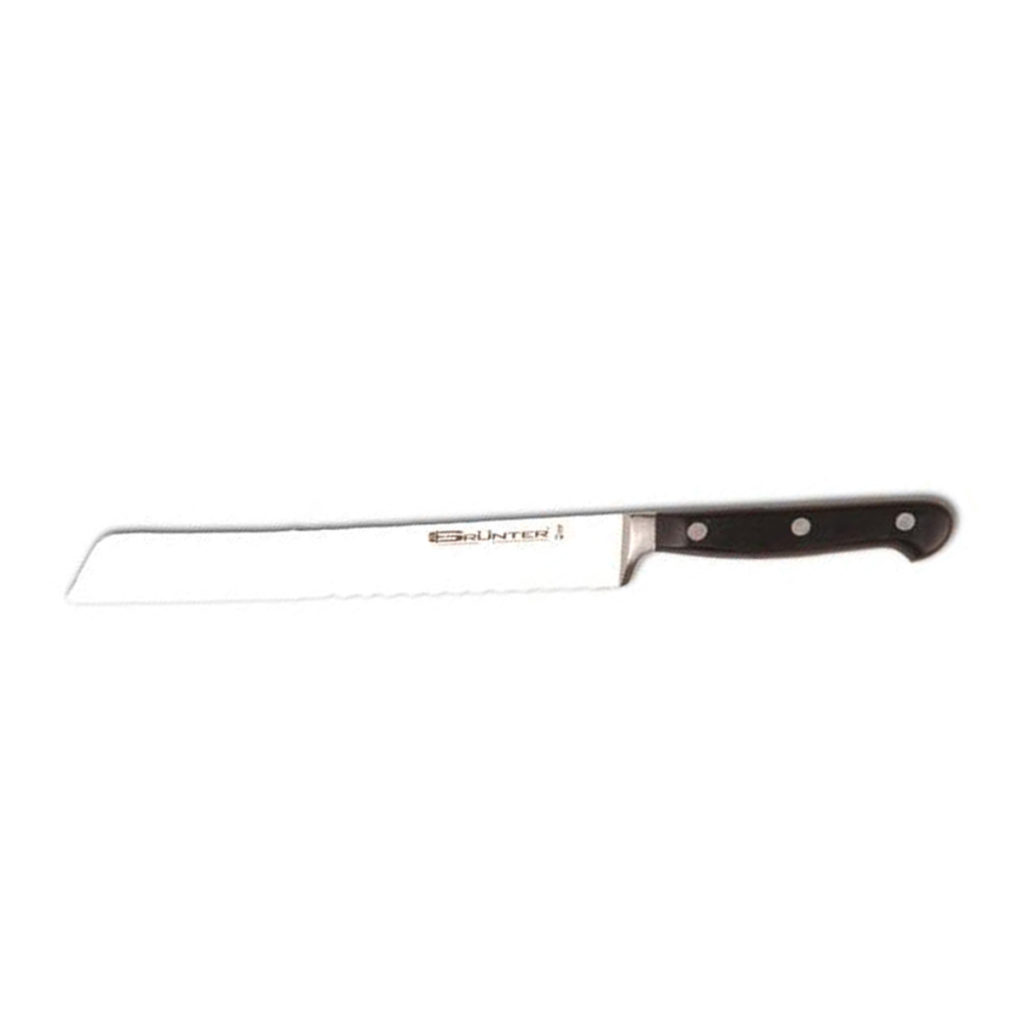
Don’t let its name fool you, the bread
knife can actually be used for several kitchen tasks thanks to its serrated
blade design. The unique shape of the blade, like a saw, keeps food in place as
you slice through it, allowing you to preserve its structure. Avoid crushing
and damaging bread, layered cakes and soft fruits and vegetables with this
handy blade. Round out your collection with this indispensable tool.
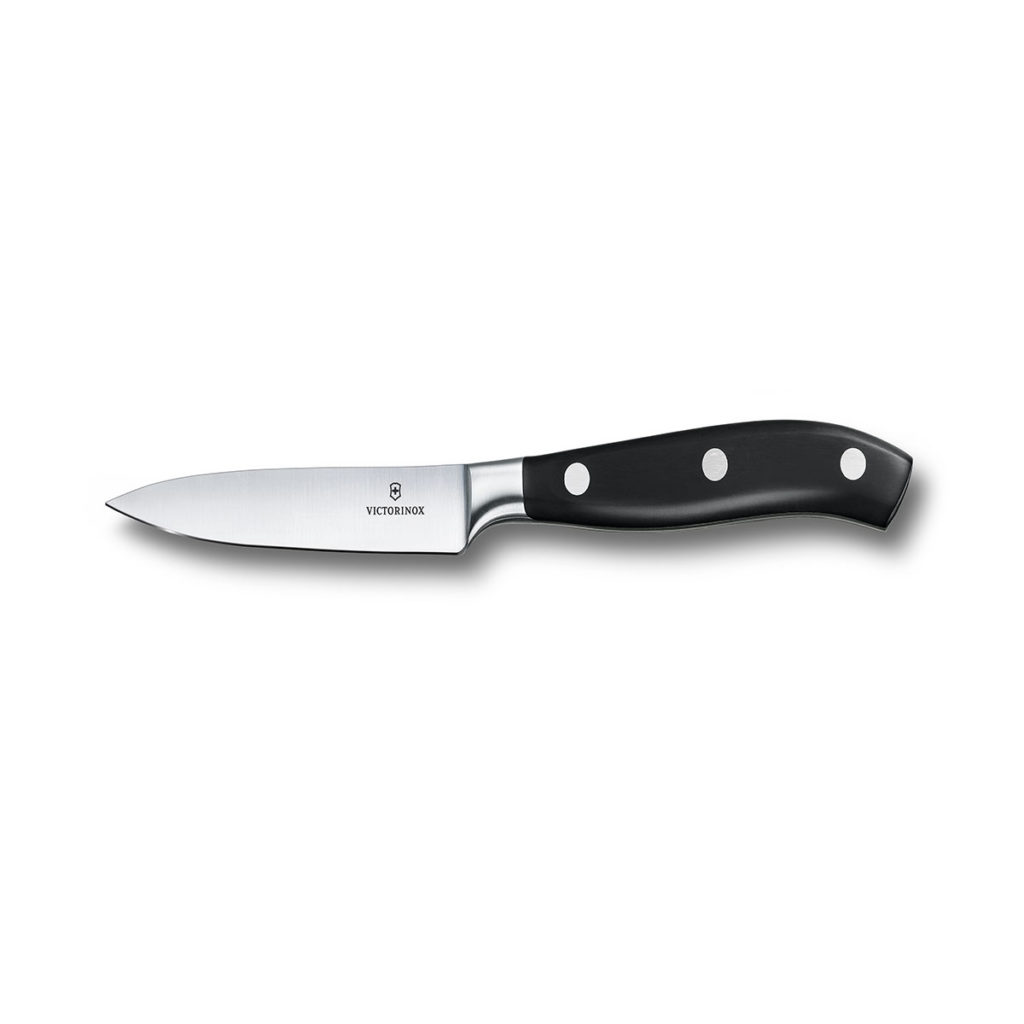
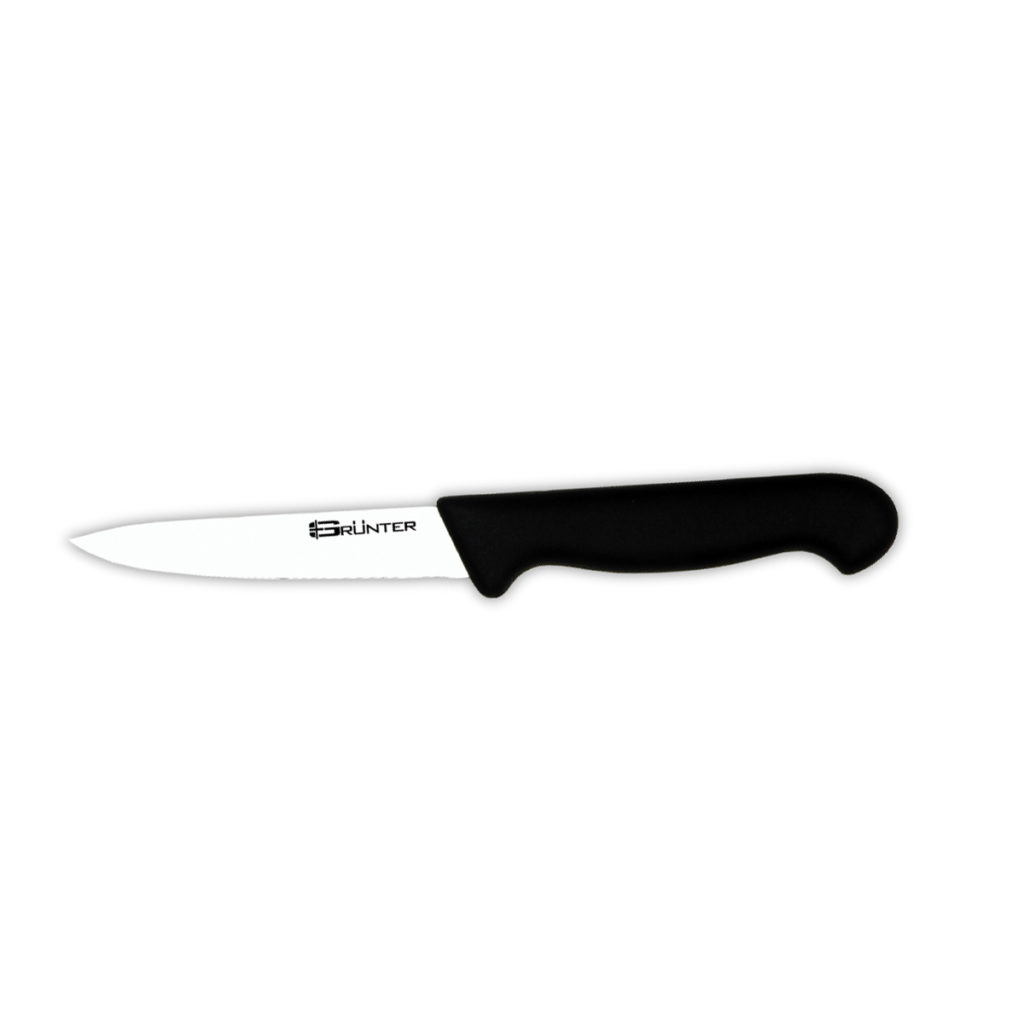
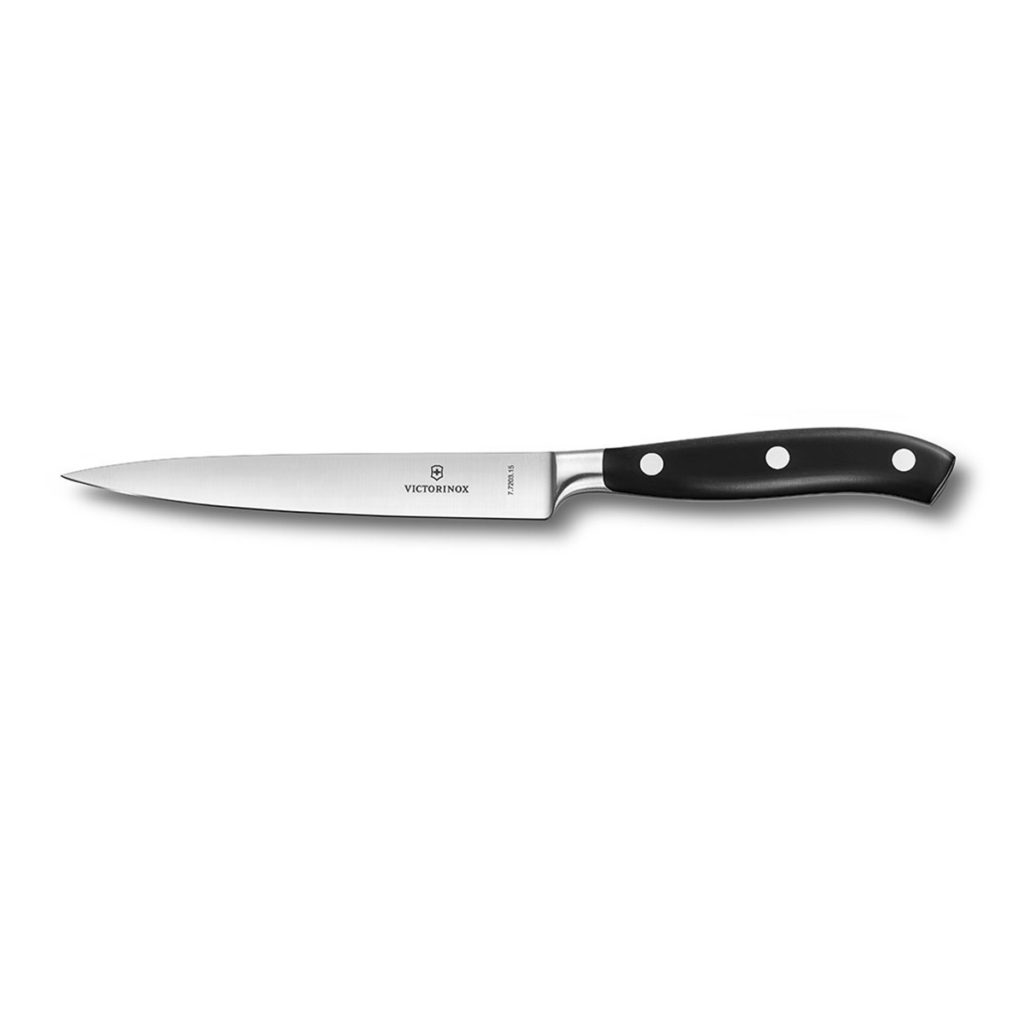
The paring knife is similar to a
chef’s knife but it’s much smaller with an average blade length of about 90mm.
Such a small blade allows you to perform more precision tasks so if you love
making garnish, this is the knife for you. It is also commonly used for cutting
and peeling fruits and veggies as well as trimming excess fat with ease.
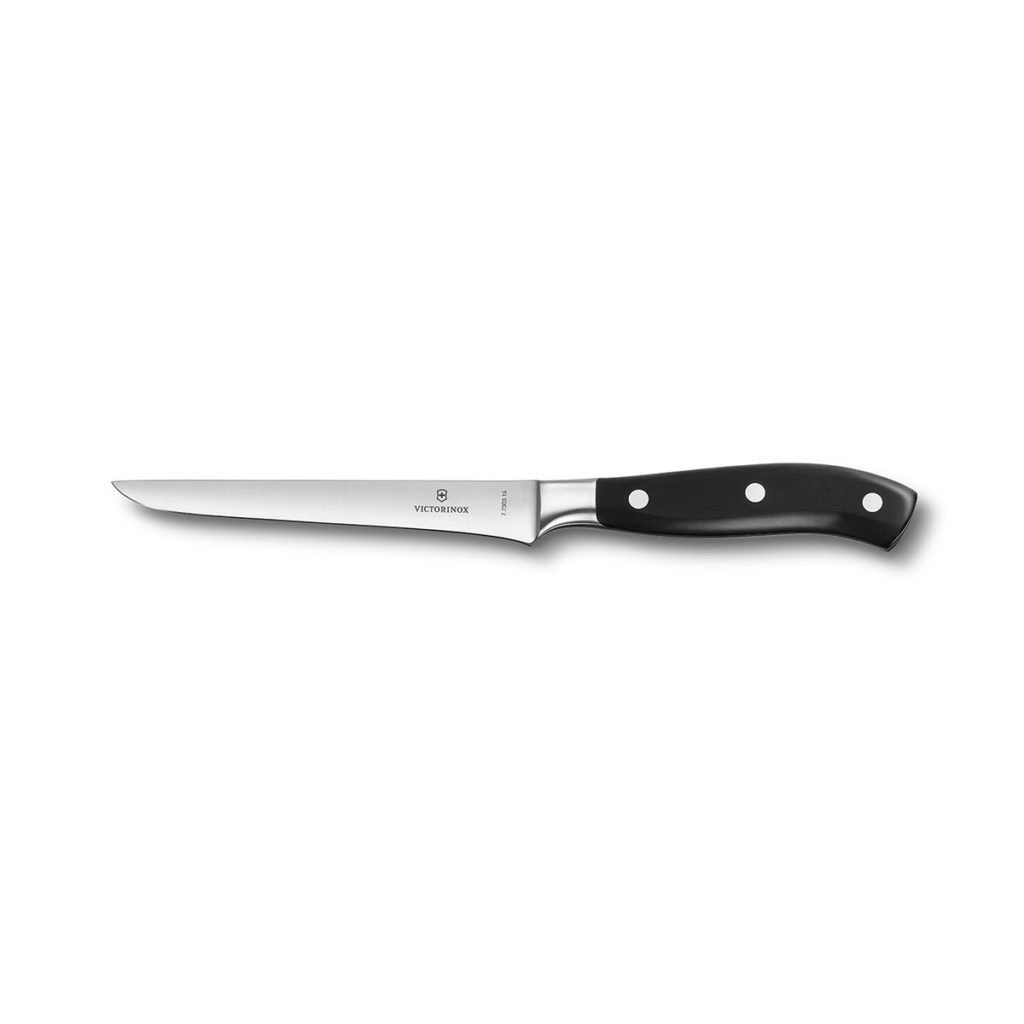
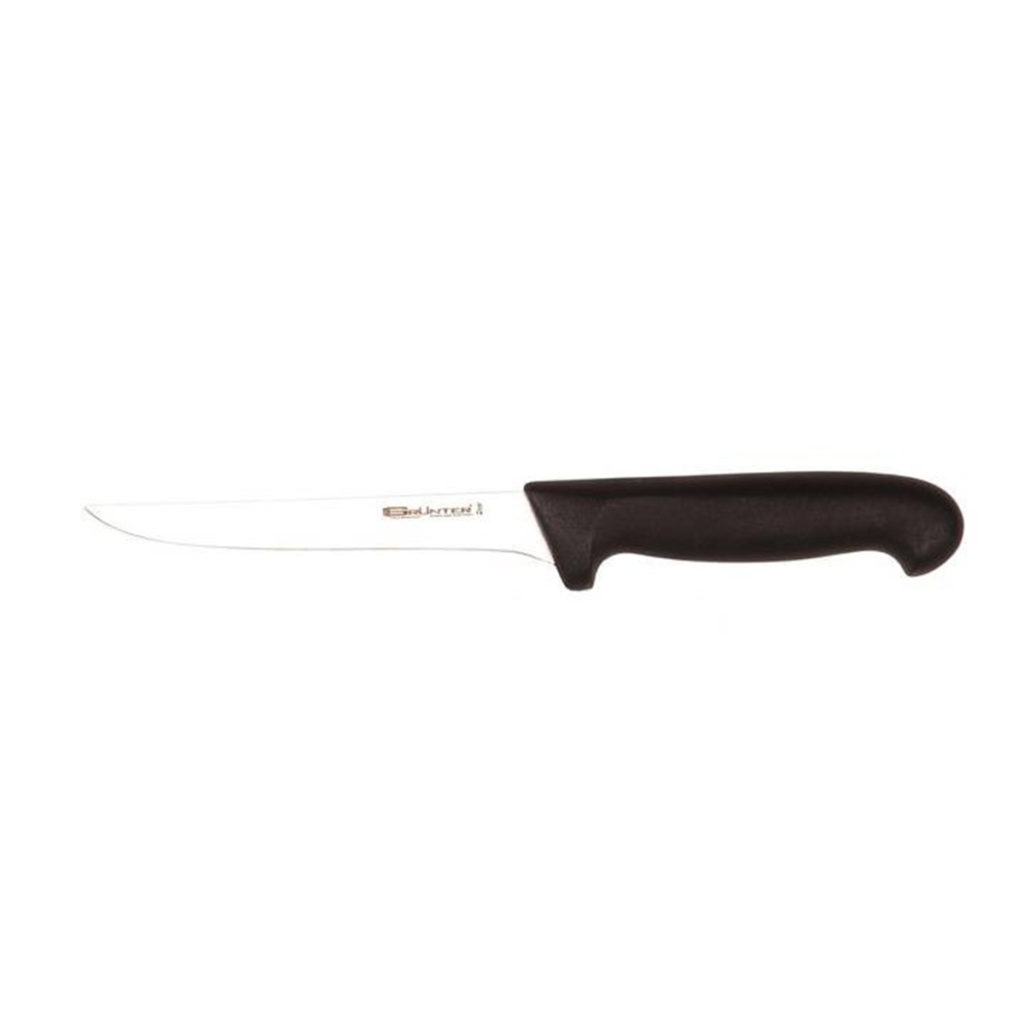
You guessed it! The boning knife is designed for separating meat from the bone, but it can also be used for other tasks, for instance, a smaller boning is perfect for peeling and trimming vegetables. You will find boning knives in two varieties, stiff and flexible. Your flexible boning knives are best used for de-boning meat as the unique thin blade bends with the curves of the bone, leaving very little behind. Stiff boning knives are best used for separating larger cuts of meat into primal cuts.
These knives are characterised by their extra-long, narrow blades that cut through meat like butter. Slicing and carving knives are made to perform similar tasks; however, their differences in design are what define their purpose in your kitchen. Carving knives have pointed edges that allow you to easily work around bones, whereas slicing knives are rounded at the end, perfect for cutting through boneless meats like salmon.
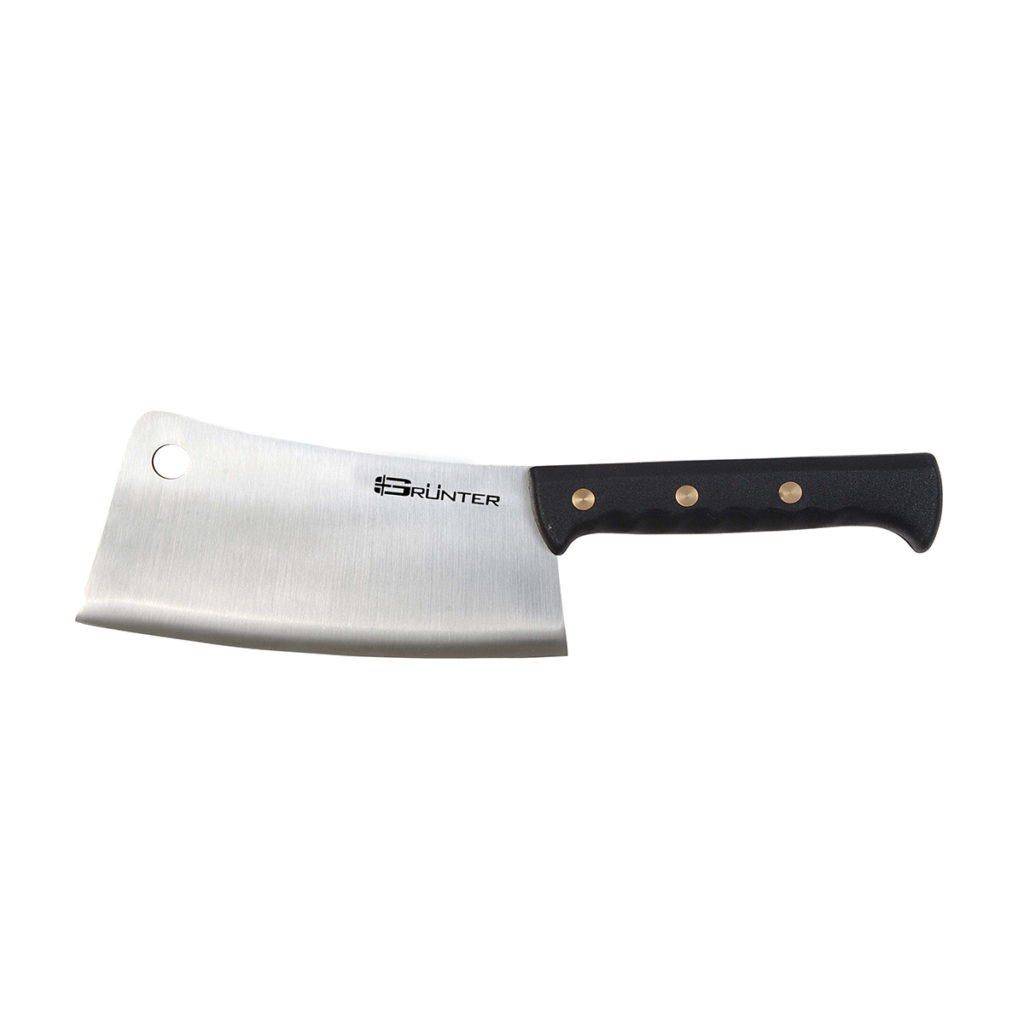
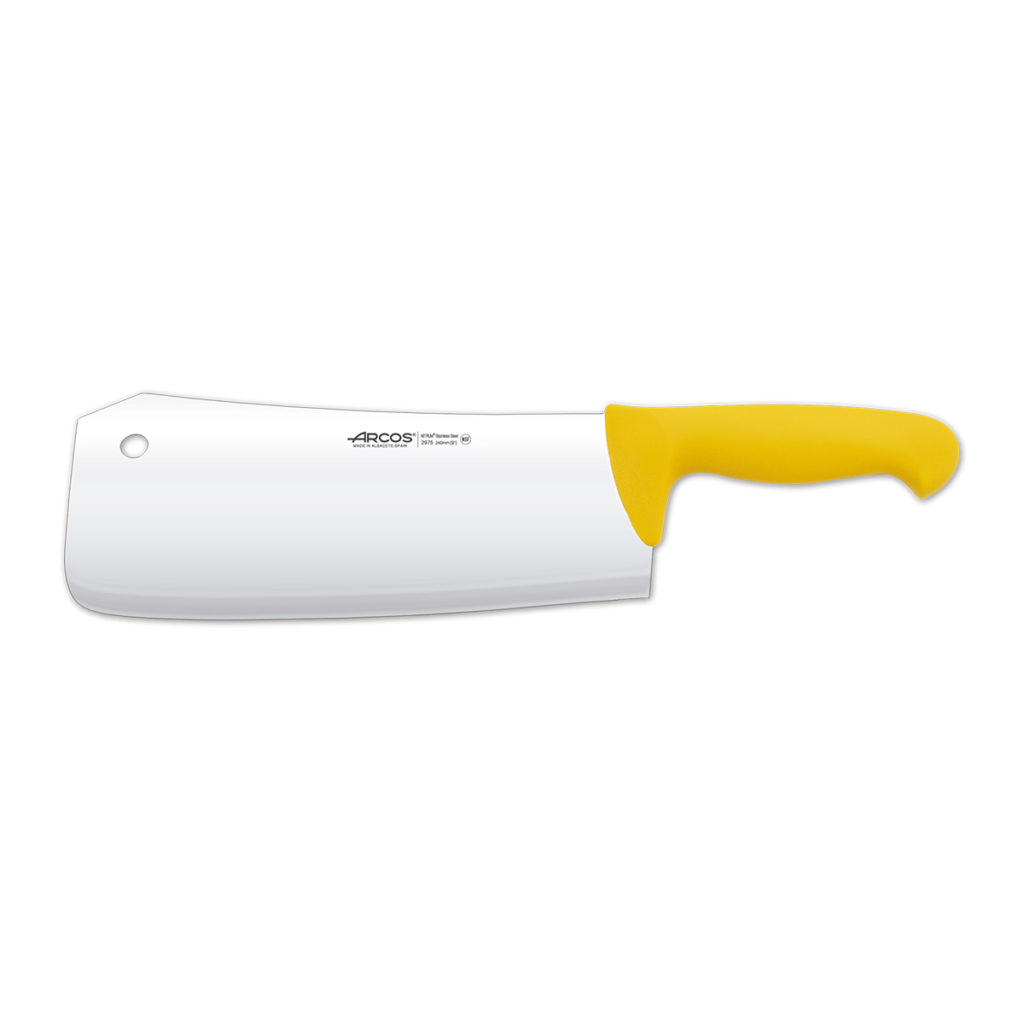
The cleaver is your most bulky
knife and typically has a thick spine and exceptionally durable blade. Its size
and weight allow you to perform difficult tasks like cutting through bone, meat
and hard vegetables with ease. You won’t typically find these knives in home
kitchens but they are a must for any pro chef working in a commercial kitchen.
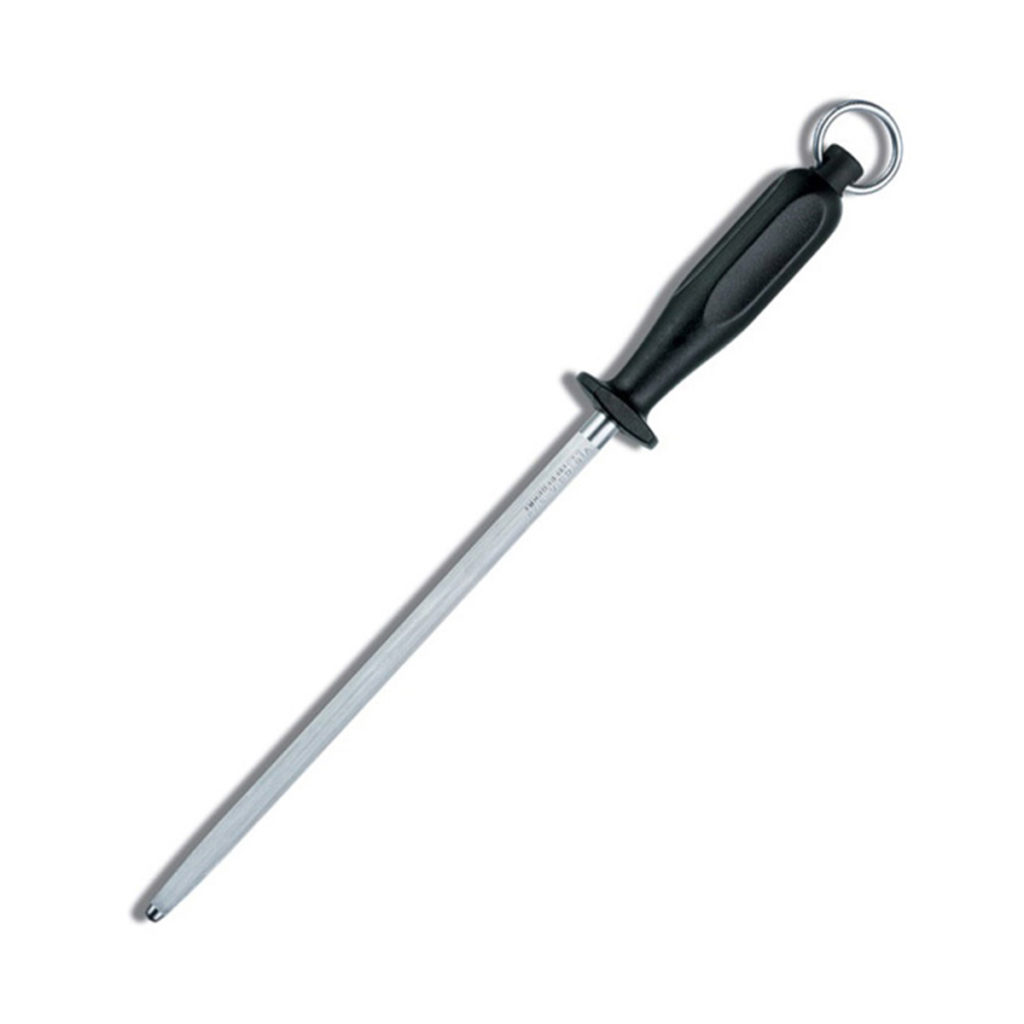
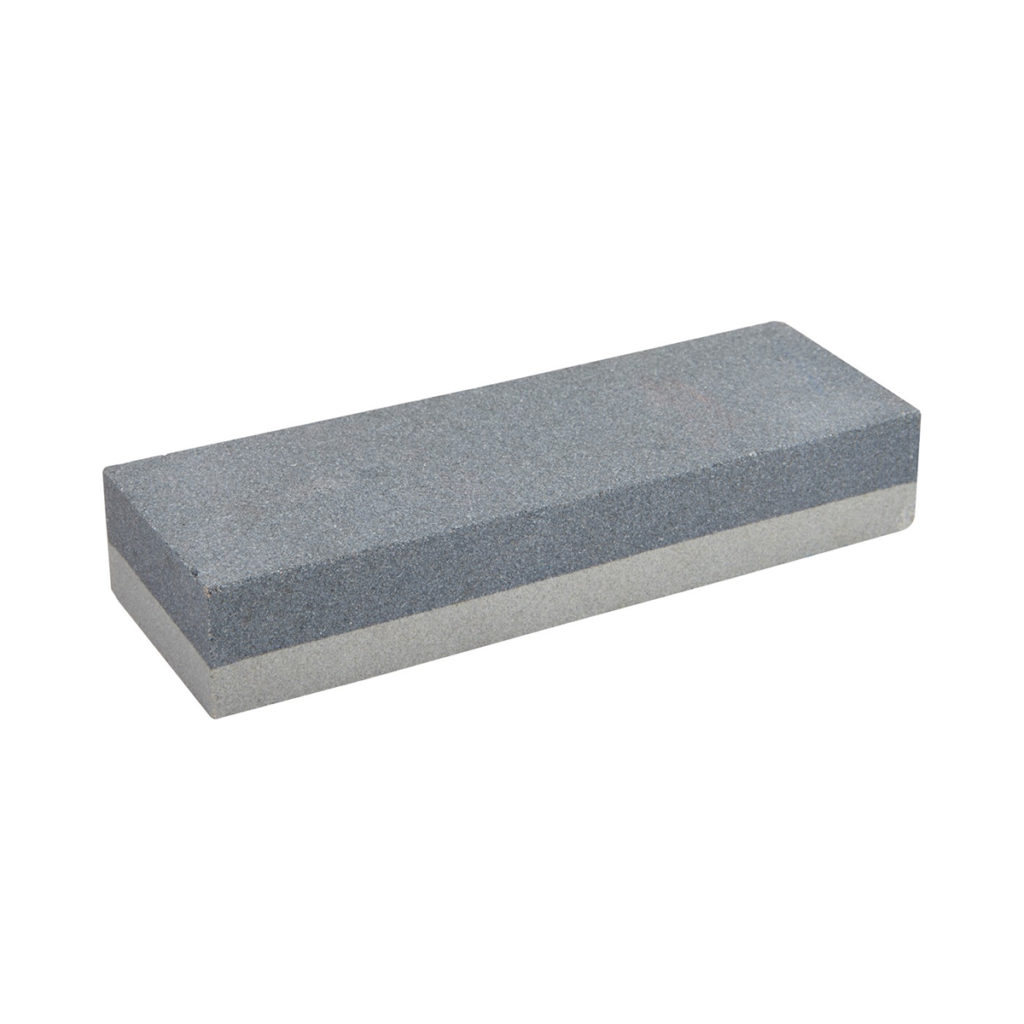
The following products are not knives themselves but they are essential additions to your knife collection, keeping everything sharp and working optimally. These tools allow you to take proper care of your knives ensuring they last as long as possible.
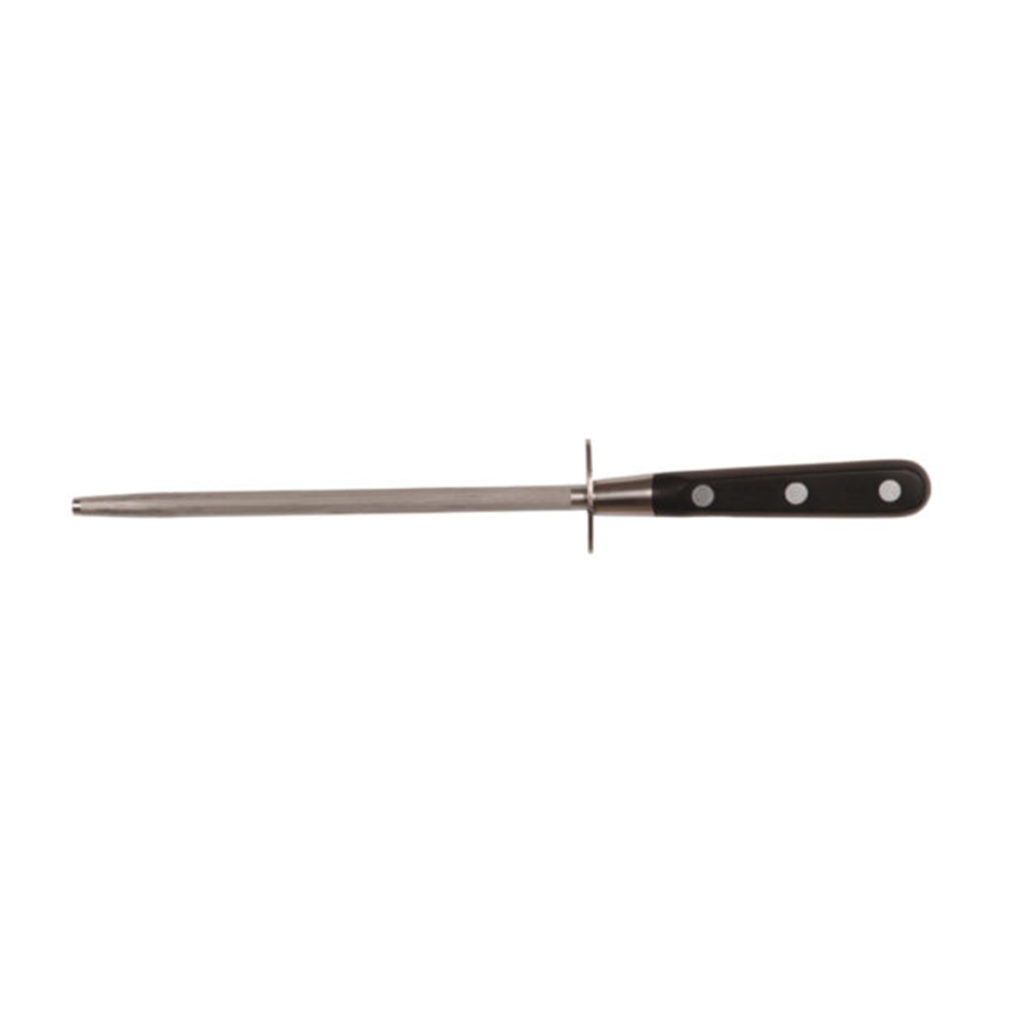
Honing Steel
For proper care, honing steel should be used every time you use your knives. These handy tools gently bend the edge of your knife back to its original shape after use (hone), this prevents your knives from curling or dulling over time. They are typically made from ceramic or steel with both options working equally well. Whichever one you choose, it will be a great investment for your kitchen, keeping your expensive knives in top working condition.
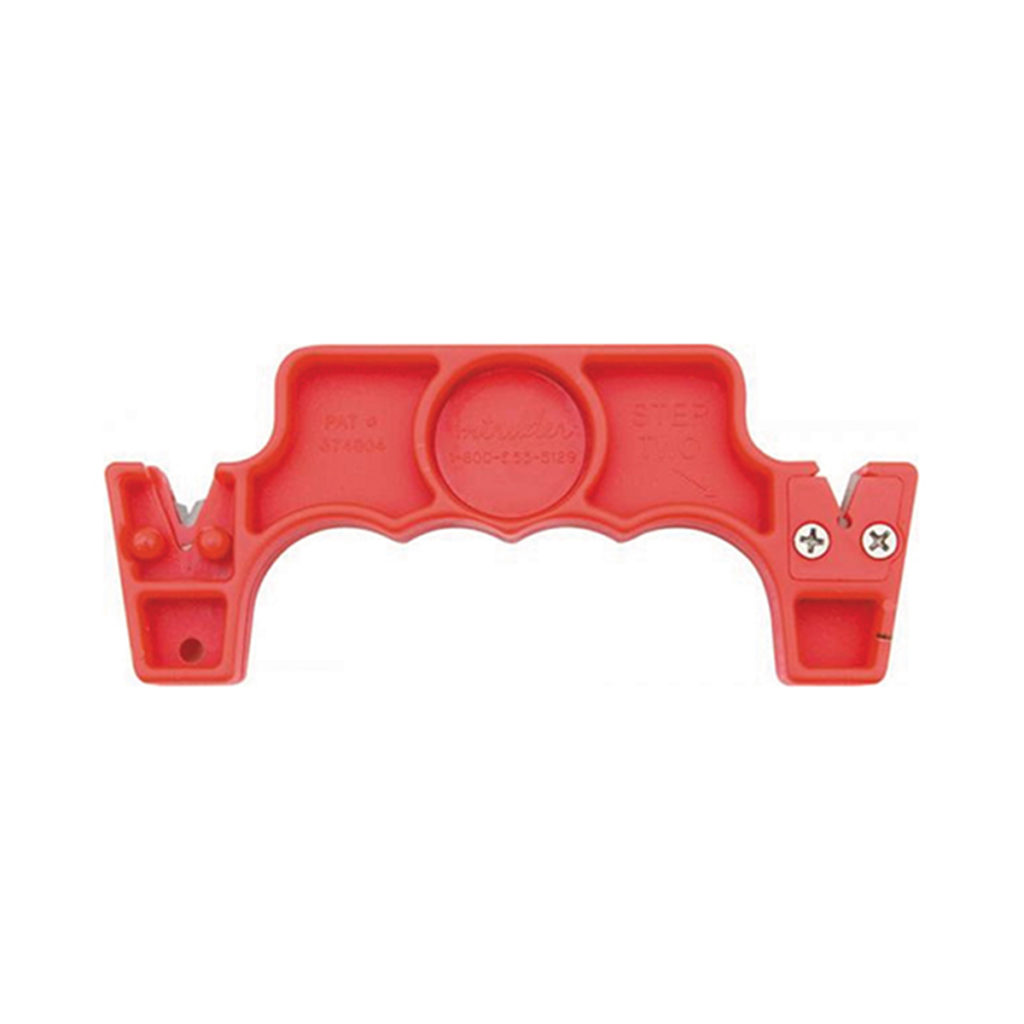
Despite what you often see, knives should only be sharpened
once or twice a year if you want them to last long. This is because these
sharpening tools actually remove the dull metal from your knife’s edge to
create a new sharper edge. If you use these sharpeners too often, you will
leave your knives brittle, weak and breakable.
So now that you know more about the different knives, their uses and how to care for them, the next step is actually finding them. Core Catering Supplies has an extensive range of chef’s knives from the world’s leading brands for your perusal. Whether you’re stocking up your home kitchen or hospitality kitchen, we have what you’re looking for. Kit out your kitchen with our quality knives.
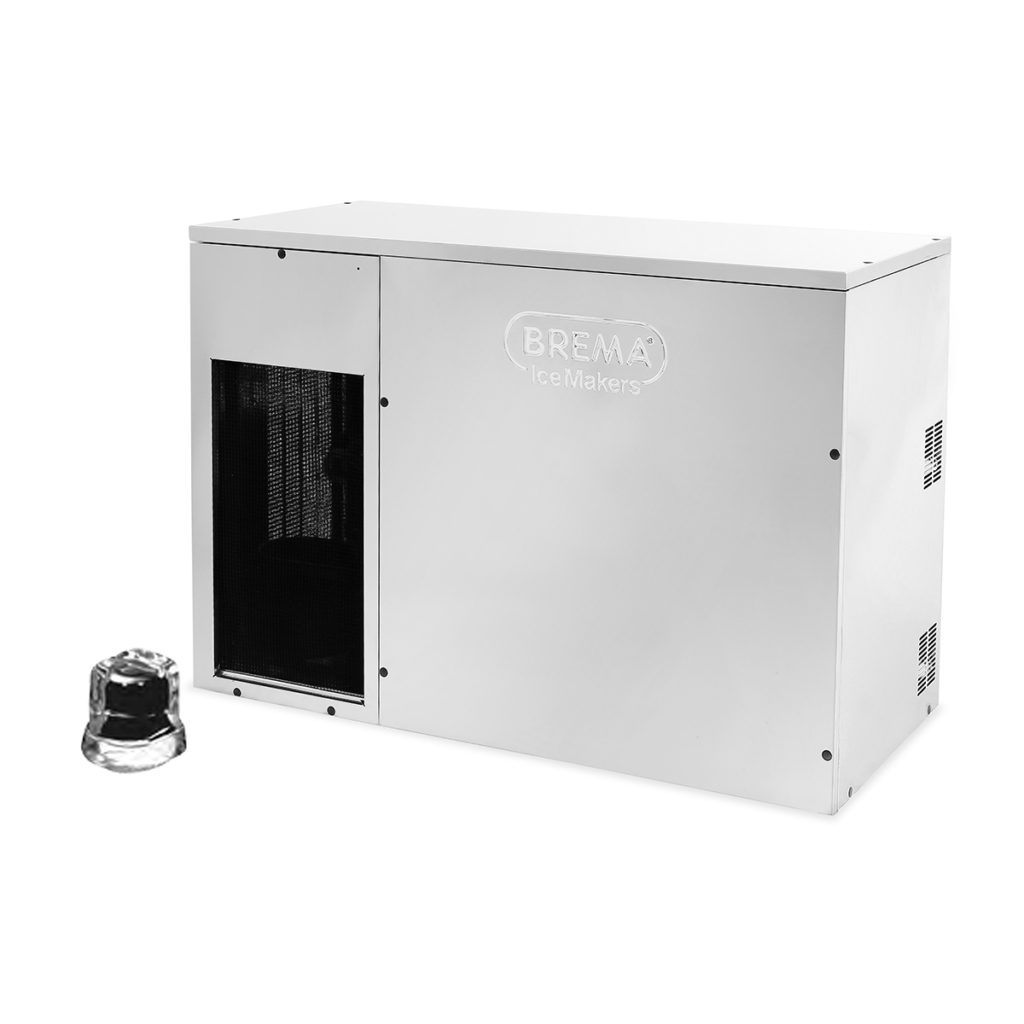
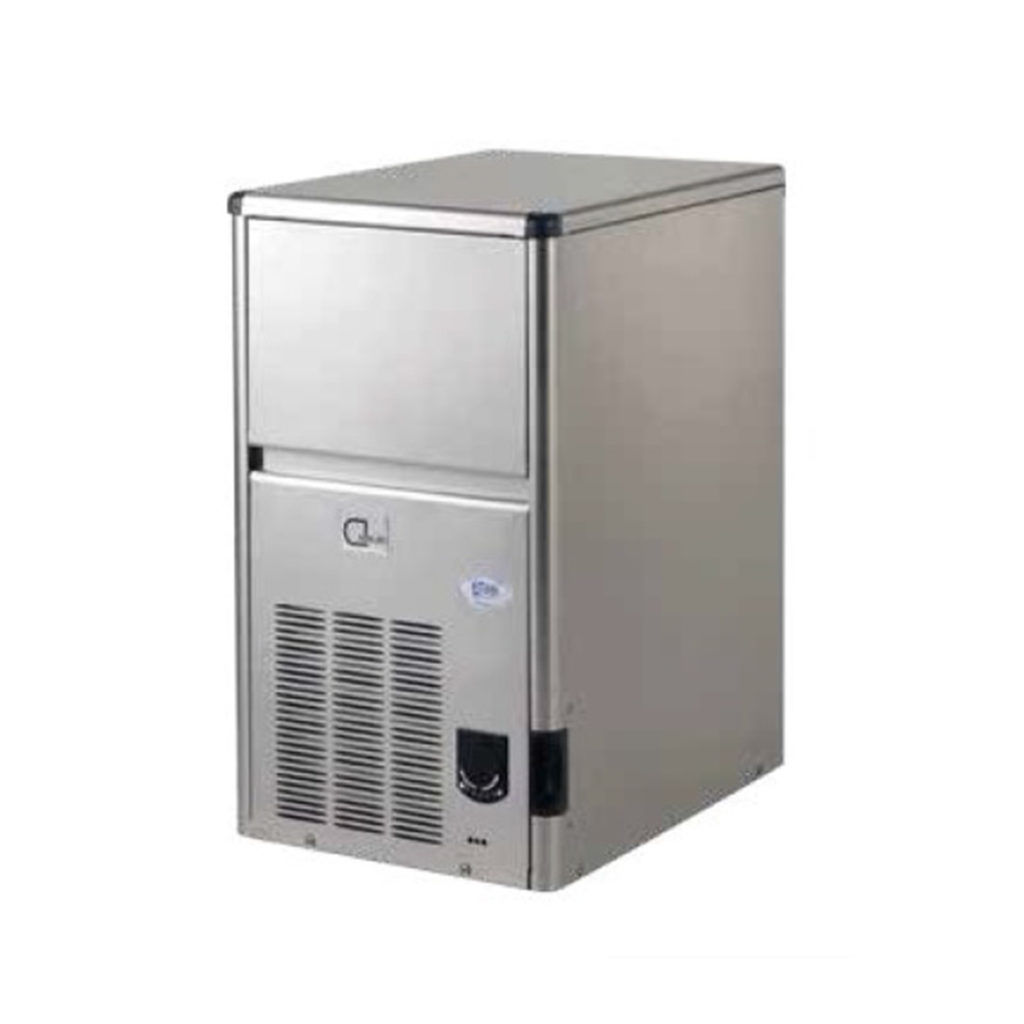
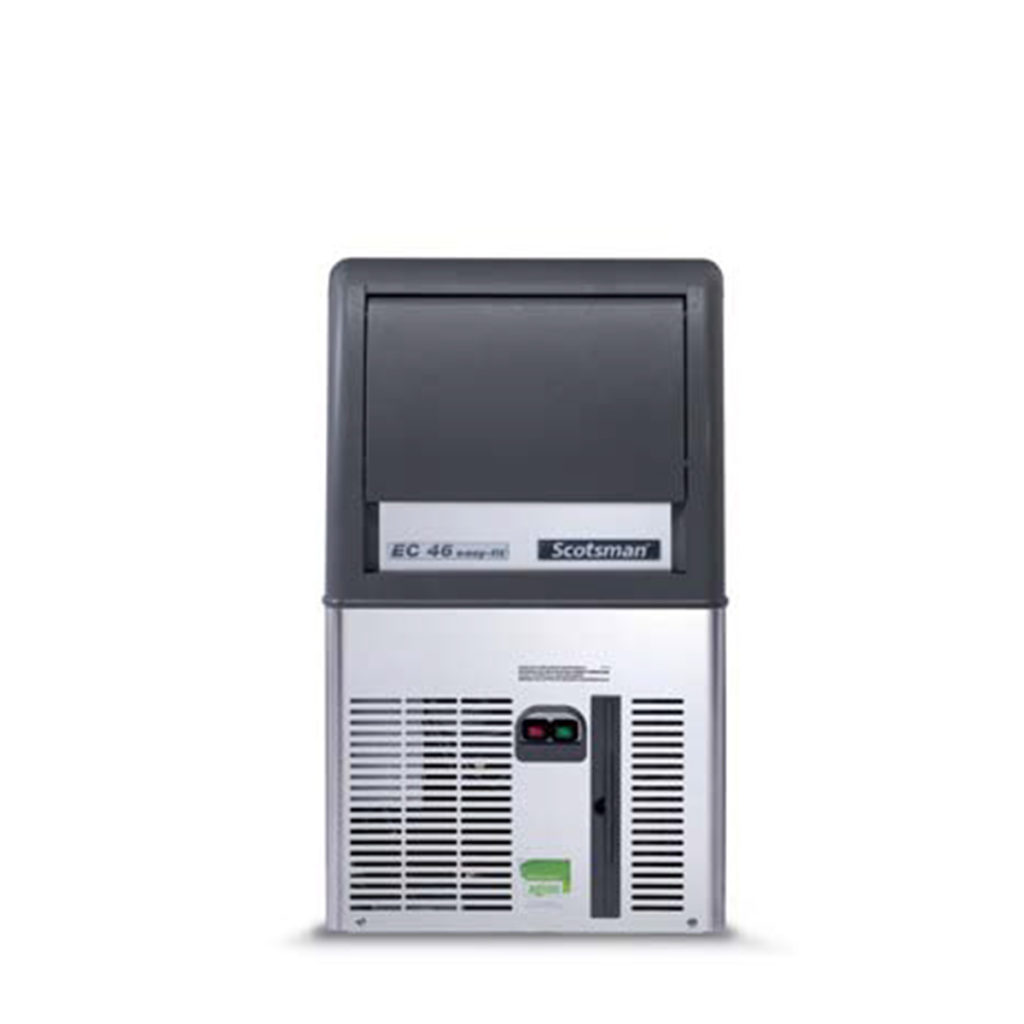
There are so many commercial ice machines out there making it difficult to decide which ones to invest in. The first question you should be asking yourself is how much you will need and how often. It makes little sense to purchase a large ice maker when your business doesn’t serve many patrons daily and vice versa. Once you have established how much you need – the rule of thumb is 300g per patron – you need to choose the type of machine that fits your business. Commercial typically one of the following: modular ice machines, self-contained machines, undercounter ice machines and countertop ice dispensers.
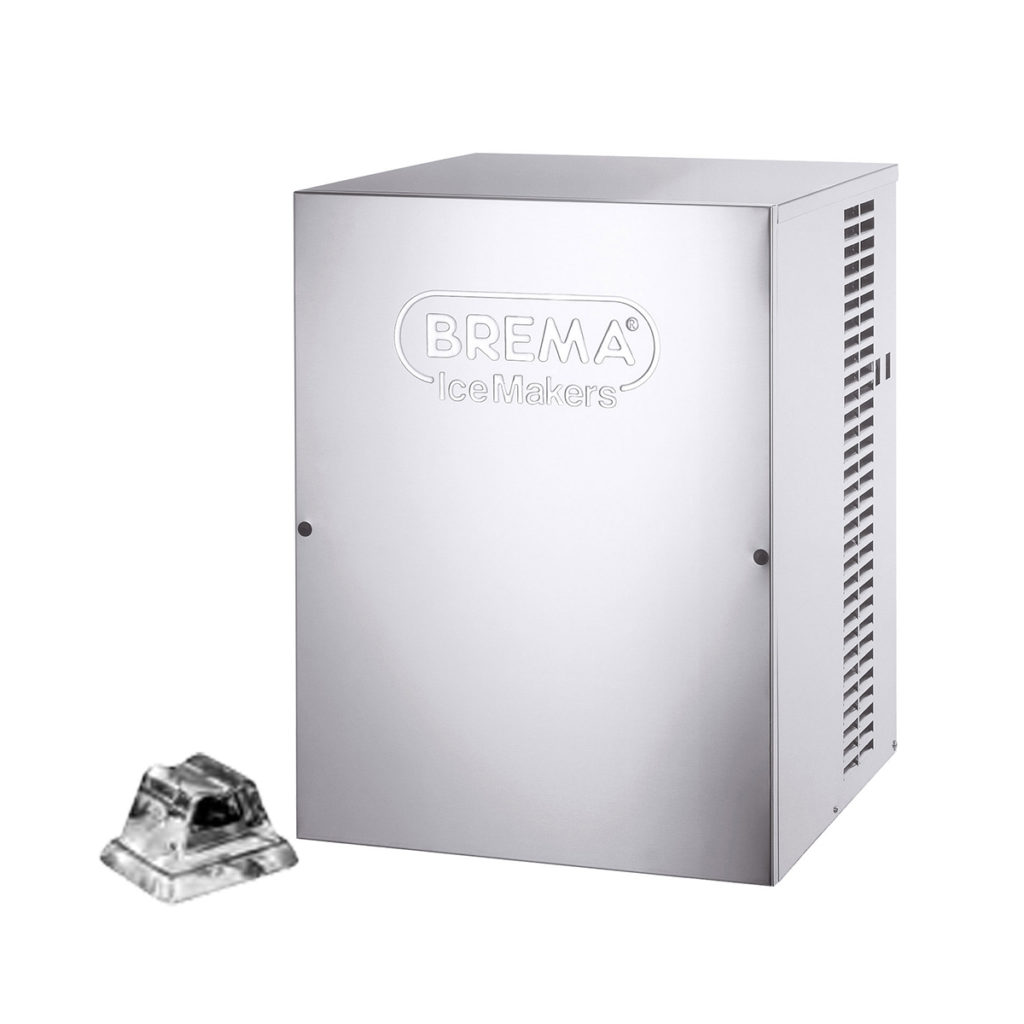
Modular Ice Machines
Designed
to sit on top and supply ice to ice machine bins, modular ice makers can also
be used with ice dispensers and soda dispensers, and allow you to swap out bins
and bases. They typically produce between 140 to 330kg daily.
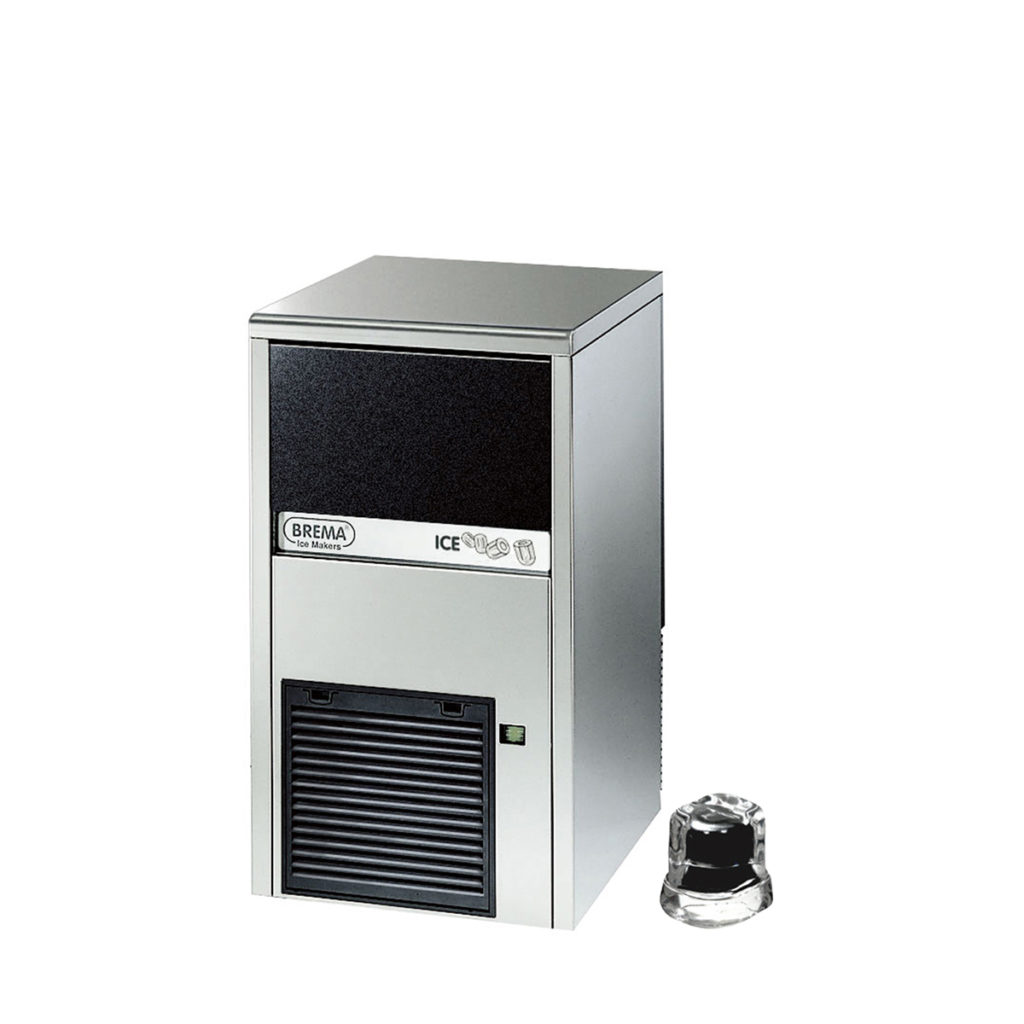
Unlike
modular ice machines, these appliances come complete with their own bins or
dispensers to assist with ice collection and production. They are generally
larger than other ice makers but can be found in a range of sizes, allowing you
to find one that best meets your needs.
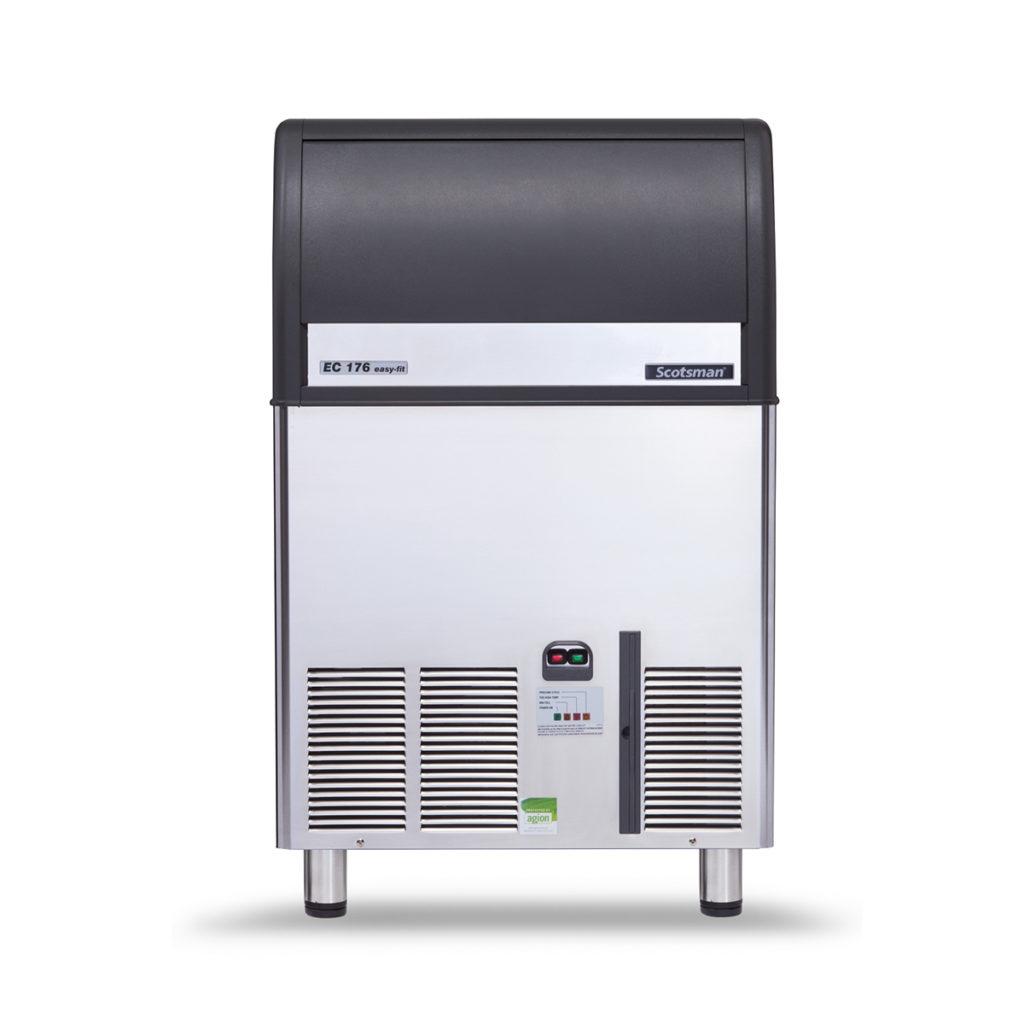
As
the name suggests, these appliances fit snugly under the counter are typically built
as a self-contained unit, meaning they have their own ice bins. These are
generally suited for small bars, cafes and restaurants.
After
you have chosen the type of ice machine for your business you must make sure
they produce the kind of ice you need. Some types of ice melt slower while
others may be easier to chew which allows you to use it for a variety of
purposes.
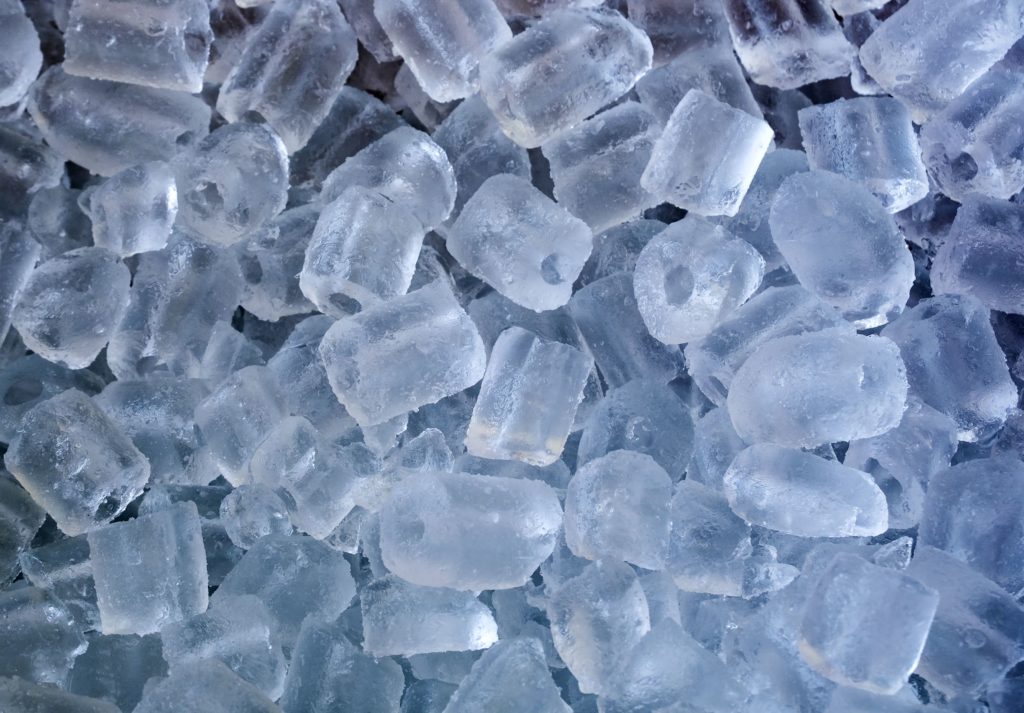
Cube Ice
Cube ice is the preferred option for commercial businesses as they offer the best customer experience. This is because they melt slower than other types of ice, ensuring your drinks don’t dilute as quickly. Cube ice also comes in a variety of shapes and sizes, so find the ones you like best.
Nugget Ice
Nugget ice is made from compacted flake ice and is thus softer, for this reason, it is the ideal, blender-friendly ice but can also be used for a variety of purposes like chilling drinks and food displays. It has a small cylindrical shape and is easy to chew.
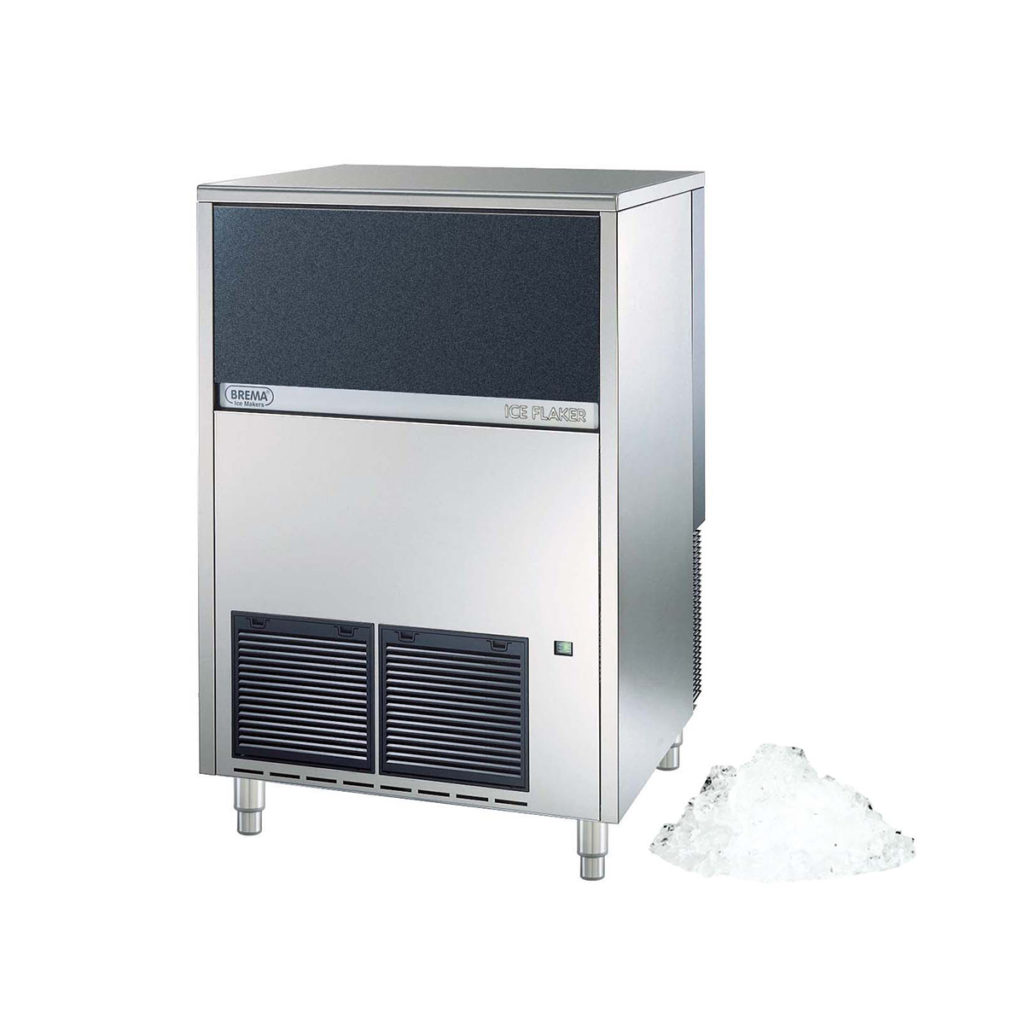
Flake Ice
Flake
ice is almost exclusively used in food and drink displays as they cool food
quickly, keep it fresh and can easily be moulded into any shape. This type of
ice is made just below zero degrees Celsius.
Different
Types of Ice Machine Condensing Units
The next step
is determining what type of compressor you want your ice machine to have.
Air Cooled
Air-cooled ice machines are typically your most energy-efficient ice machines because they don’t incur additional water costs. However, certain conditions must be in place in order for them to work, for instance, air-cooled ice makers must have at least 152mm distance from air intake and discharge areas.
Water Cooled
Water-cooled ice machines use water for cooling and are thus more expensive to use. It is recommended to use a water-cooled ice machine only in one of the following circumstances.
If the ambient temperature is above 26°C
If the area has air filled with contaminants
If there isn’t enough clearance for an air-cooled option
Remote Cooled
Typically only used if an air-cooled or water-cooled can’t be installed as it is much more expensive. These machines are air-cooled but the cooling condenser is put in a different place as the ice machine itself, normally outside with refrigerant lines connecting the two parts. This results in a much quieter and cooler ice machine.
Figuring
Out How Much Ice You Need
Before you make a purchase, check the ice yield of the machine you are looking at. This will be described as how many kilograms of ice the machine produces in 24 hours. Always keep in mind that future consumption of ice could increase for instance with changing seasons or business expansion, so try to choose a machine that will you allow to deal with unpredictability.
Below
you will find a list of estimates we have compiled to help you plan your
purchase:
Restaurant: 500g of ice for every meal sold
Cocktail bar: 1kg of ice per seat
Beverage service: 148ml ice per 207-296ml cup, 237ml ice
per 355-473ml cup and 355ml ice per 532-710ml cup
Benefits
of Using More Than One Ice Machine
You
might think its best practice to get all of your ice from one machine but what
about its downtime? What happens if it breaks and you’re waiting for it to get
fixed? If you use multiple smaller machines you can ensure you always have ice
on hand in a crisis scenario. It will also help your staff get ice faster,
cutting down service time as they can fetch ice from multiple sources.
External
Factors That Affect Ice Output
You
will find that ice makers are sized according to their ice output, however, there
are factors that could affect prevent them from running optimally. Here’s how
you can create the optimal environment for your ice maker.
Air temperature: Make sure you follow the ventilation and air temperature guidelines in the manual of your machine. Especially when using air-cooled ice machines, poor ventilation and high ambient temperatures can have a dramatic effect on output.
Water temperature: Make sure the water feeding into your system is the proper temperature. If it is too hot, the machine will have to work harder and consume more energy, resulting in lower output.
Water quality: Make sure your potable water is properly filtered as mineral deposits can form on the internal components of your machine, slowing down the flow of water into the machine.
Maintenance: Make sure to follow the machine’s manual on maintenance and cleaning if you want it to function optimally. If you do not properly clean the machine buildup can form inside it, constricting water flow and creating bad quality ice.
Installation
Advice
Once you have bought your ice machine, you have a few things to consider before installing it. Place your ice maker in a location that not only has optimal ventilation but is also easy to reach for your staff. Make sure your ice machine has a cold water supply with a shutoff valve and a floor drain. As most machines are not equipped with a cord and plug, you will need to get an electrician to hardwire the machine for you.
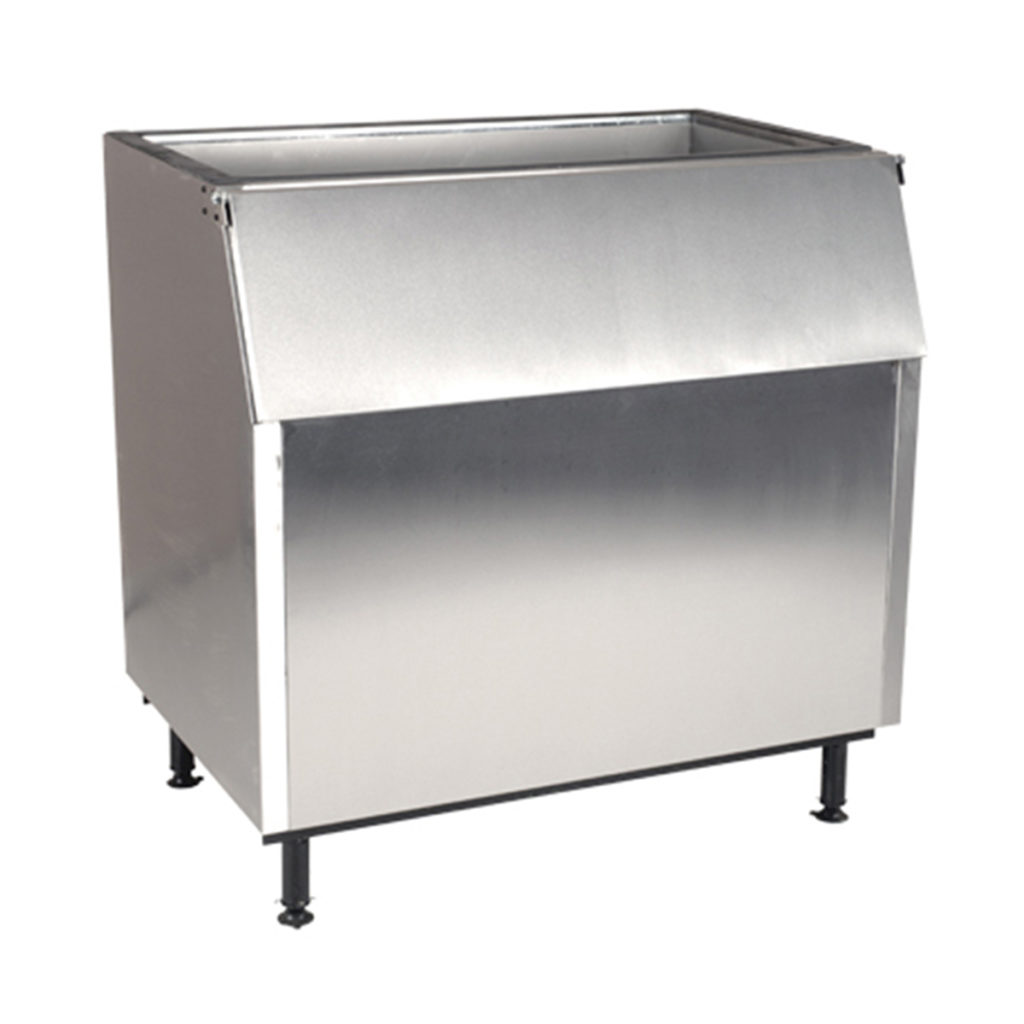
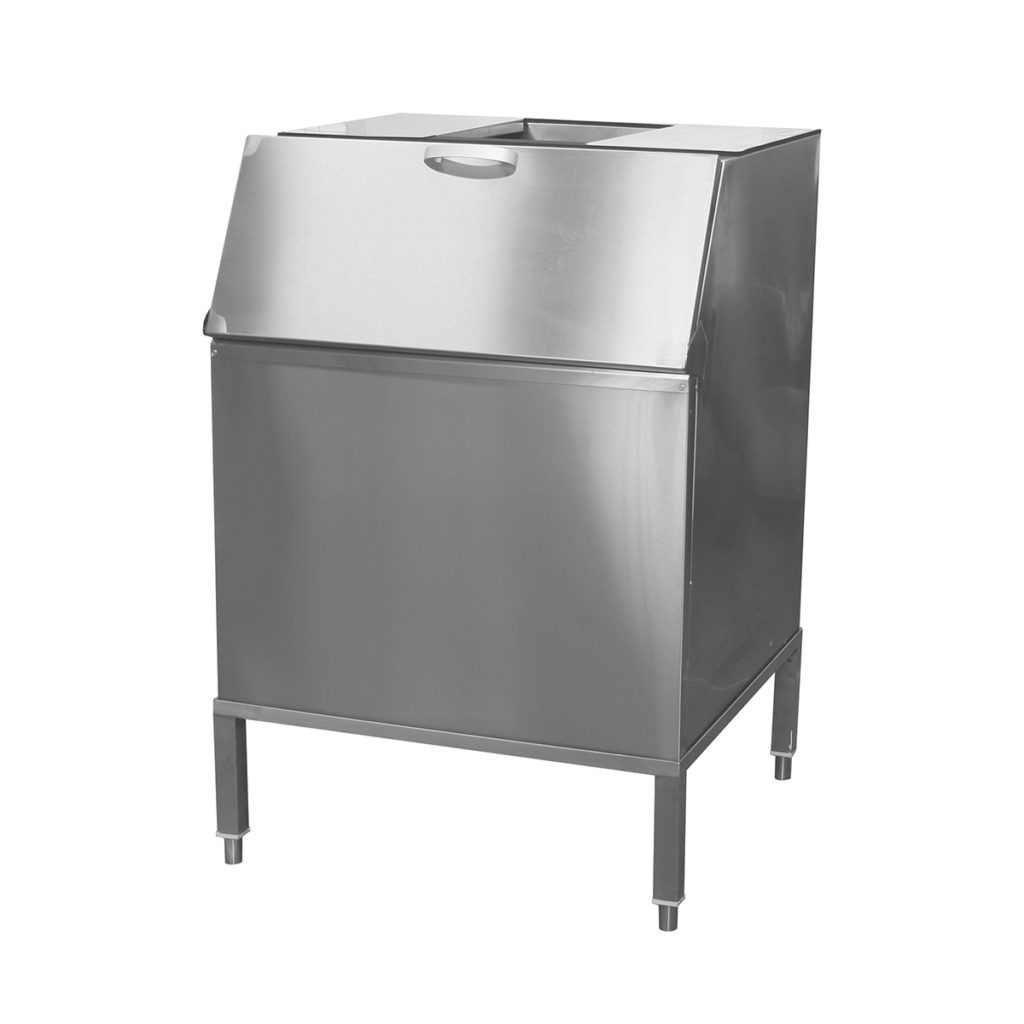
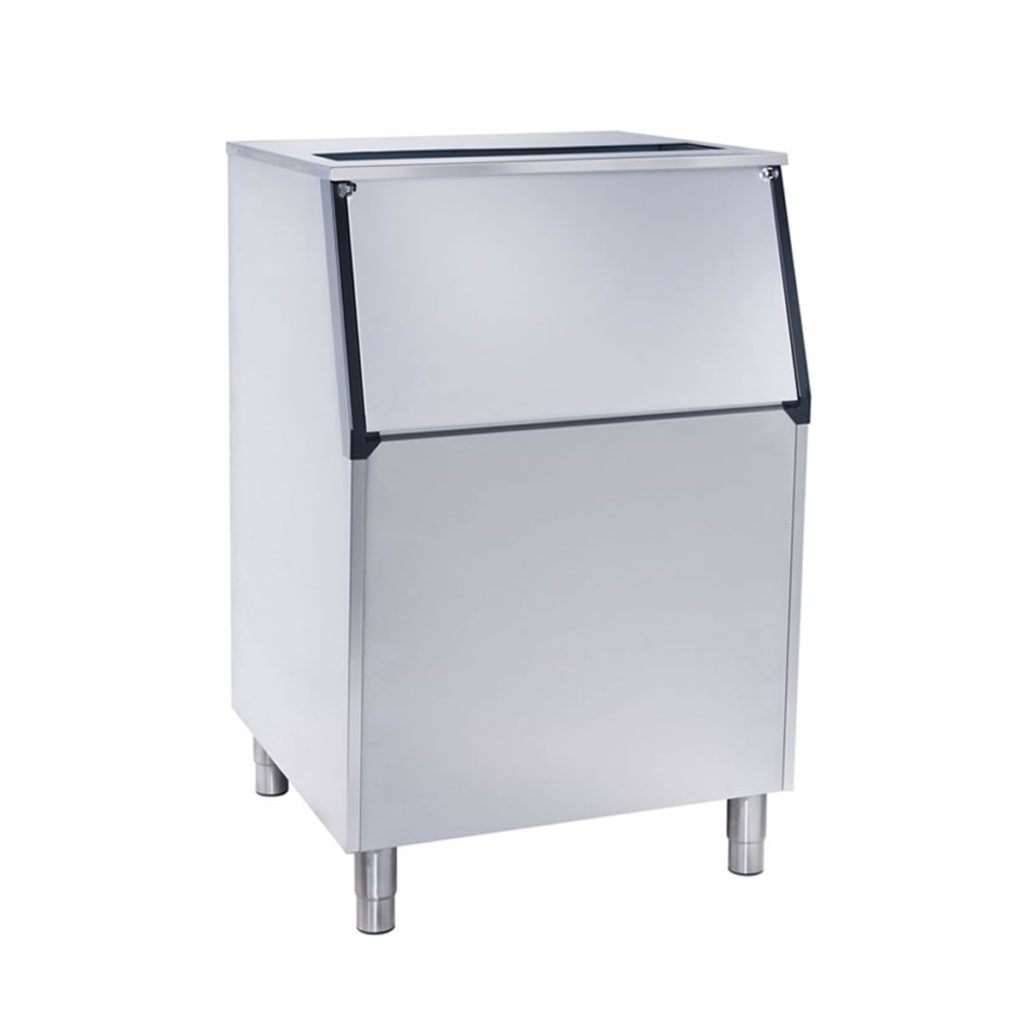
Choosing
the Right Ice Bin
When
using modular ice machines you need to have a corresponding ice bin that
captures and stores the ice you are making. Choosing the right ice bin can be
just as tricky as choosing the right ice machine so we have created a list of
tips for you to assist with your choice.
Size: Obviously the bin must have enough space for your ice
output, however, we recommend you choose one that has a slightly larger
capacity than the ice you use daily. However, avoid choosing a bin that is too
big as it can result in wasted ice and it can become an excellent breeding
ground for mould and bacteria.
Schedule: Choose a bin that matches your peak
times so that you can plan your ice production in advance. If your business is
only busy during very specific times, you can, for instance, choose a small ice
machine with a larger bin so that you always have enough ice for those hectic
periods.
Daily use: Keep in mind that your staff will be
collecting ice as your machine continually produces it so you could actually
choose a smaller bin than the capacity of the ice maker.
There are so many benefits to using filtered water for your ice production from making beverages taste better to prolonging the life of your machine. Unfiltered water can create mineral deposits in your machine, which, as we explained previously, can prevent your machine from functioning optimally. In some cases, you can even void the warranty on your machine if you were using poor quality water.
Ice
Machine Accessories
We
offer a range of accessories that complement the use of your ice machines and
make your staff’s life easier.
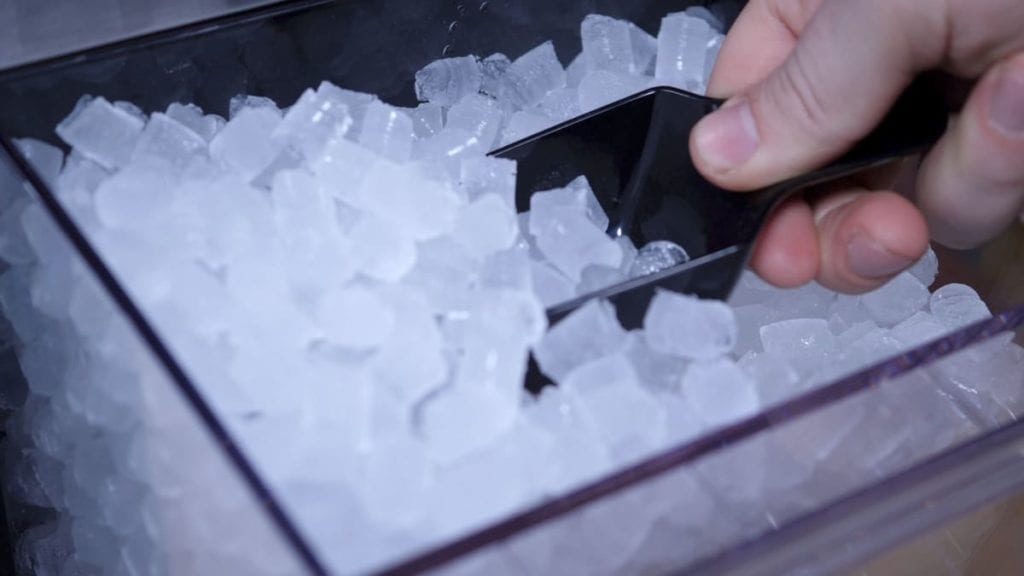
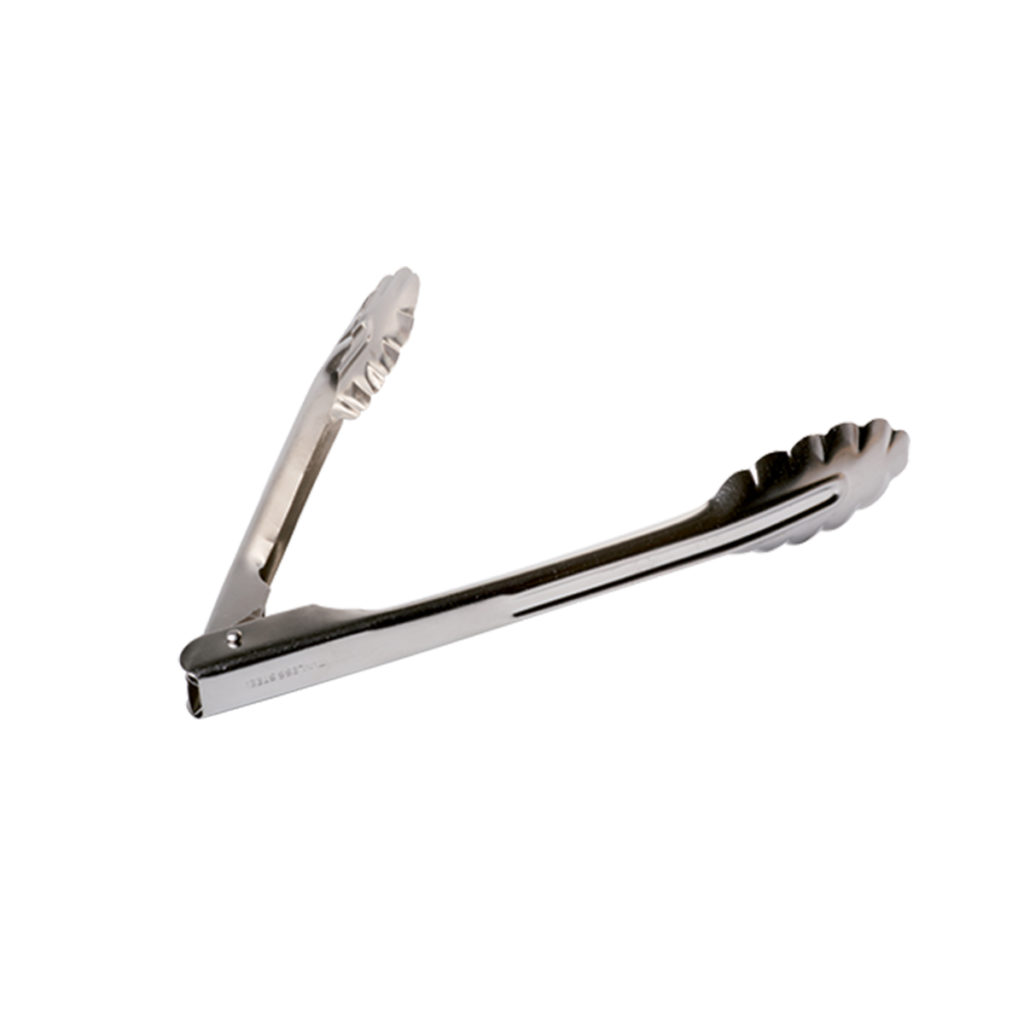
Ice Buckets and Scoops
Hygiene
and food safety should be one of your top concerns in the foodservice industry
so make sure your staff handles ice in the most cleanly fashion. You can use
ice buckets to transport ice around the establishment and ice scoops provide
your staff with a clean utensil to collect ice.
We cannot stress this enough. If you are operating a restaurant, catering business, café or any other food service establishment, you need to know about food allergies. Studies show that about 6% of South Africans suffer from some or other food allergy that if triggered, can lend them in the emergency room. For this reason, you need to make sure your business follows all the necessary guidelines to protect your patrons and you from allergic reactions, otherwise you could have a PR nightmare on your hands or even worse – a lawsuit.
Want to know how to do
it? We at Core Catering Supplies are here to get you in the know ASAP. Keep
reading for everything you need to know about food allergies, including what
they are, how to prevent reactions and how to protect your customers.
What Are Food
Allergies?
Unfortunately, studies
show that the number of people suffering from food allergies is on the rise so
it seems this problem isn’t going anywhere. It has even been reported that more
than half of the number of fatal episodes occur outside the home – even more reason to pay attention to this
guide. Understandably, this results in cautious customers who may avoid eating
out if they even just have a mild food allergy.
But don’t throw in the towel just yet, creating a food-safe environment in your business is actually much easier than you may think. There are several strategies you can employ to earn the trust of your food-sensitive patrons. Start by making sure you understand what your customers are and if you can work around it. To do this, you’ll need great communication between your front- and back-of-house staff. You’ll also need to make sure that everyone is knowledgeable about the ingredients they use so that they can detect known allergens.
Within the service industry, food allergy reactions are normally triggered by either cross-contact or cross-contamination. Thankfully, you can avoid both scenarios quite easily.
What Is Cross-Contact?
Cross contact occurs when different foods come into contact with each other. If one of the foods contains an allergen, this allergen gets transferred from one type of food to the other because their proteins mix. At this point of contact, both items of food will contain microscopic trace amounts of the allergen.
Preventing
Cross-Contact
There are many ways
you can avoid cross-contact in your foodservice establishment as we’ll show you
before. Before we start, we need to clear up some common confusion. Cooking
does not eliminate or reduce the likelihood
of an allergic reaction caused by cross-contact, whereas with cross-contamination
cooking can help.
Follow Proper
Sanitation Practice
Make sure that everyone in your staff washes, rinses and properly sanitises all the cookware, utensils and equipment after they used it to handle a food allergen. This doesn’t mean a simple rinse or wipe, a proper clean using soap and water is necessary. Also, ensure that your cooks and chefs wash hands and change gloves before and after handling food with known allergens.
Use Different
Equipment
In order to avoid
cross-contact, your staff needs to use separate equipment to prepare meals for
customers with food allergies. This includes all your appliances like grills,
fryers and blenders because microscopic traces of the allergen could still be
lurking on their surfaces if not cleaned properly.
Setup A Food Safe
Serving Plan
Once the special,
allergen-sensitive meal has been made, you need to make sure it arrives at the
right customer without getting contaminated on the way. For instance, you can
use a different coloured bowl or plate to label their meal so that your servers
know it’s been made with special care. After pickup, your servers must also
deliver allergen-sensitive meals separately otherwise cross-contact can occur
due to close to the close proximity between multiple plates.
What Is Cross-Contamination?
Cross-contamination occurs when bacteria and other microorganisms contaminate food during storage and preparation. You can generally avoid carrying over foodborne illnesses caused by cross-contamination by properly cooking the food beforehand; however, that’s not always the case. For this reason, you should aim to avoid the scenario entirely. Here’s how:
Follow Proper Storage
Guidelines
Make sure to store
your ingredients in such a way that they can’t contaminate one another, for
example, you must keep raw meat and seafood in a sealed container on the bottom
shelf of your refrigerator so that their juices can’t drip onto other foods.
Keep Food Clean
Once you have washed
produce, keep them in clean storage containers instead of placing them back in
their original packaging. This is because the packaging itself could be host to
the bacteria or microorganisms in question.
Use Colour-Coded
Kitchen Equipment
Make sure to kit out
your kitchen with HACCP colour-coded knives and other utensils to avoid cross-contamination
altogether. HACCP colour coded utensils designate green for fresh produce,
white for dairy, yellow for raw poultry, red for raw meat, blue for raw fish
and brown for cooked meat.
Now that you know how
to avoid food allergens from getting to your customers, you must be thinking about
what foods to look out for in the first place. There are over 160 known sources
of food allergens in existence so it’s impossible to prepare your kitchen for
all of them in advance. Instead, make sure to ask your patrons if they have any
allergies before they place their order. Luckily, 90% of all food allergy
reactions are caused by a small group of allergens known as the “Big Eight”.
1 – Dairy Milk
A dairy milk allergy
is one of the most common of the lot and mostly affects babies and young
children. Those who are allergic to cow’s milk should also avoid the milk from
other animals like goats to be safe.
Some sources – butter, cheese, pudding, sour cream, caramel, chocolate, lunch meat and steak
2 – Eggs
The white of an egg
contains the protein that causes allergic reactions, but it’s best to avoid the
food altogether if you are sensitive to eggs.
Some sources – baked goods, macaroni, marshmallows, mayonnaise, foam topping on drinks and egg was for baked goods
3 – Peanuts
Peanuts grow
underground and are in the same family as beans, peas and lentils, making them
different from tree nuts. However, tree nuts and peanuts often come into
contact with one another during the manufacturing process.
Some sources – baked goods, candy, peanut butter, mixed nuts, chili, egg rolls, pancakes and meat substitutes
4 – Tree Nuts
These include walnuts,
almonds, cashews, hazelnuts, pistachios and Brazil nuts. Generally, if you are
allergic to one of them, you’re allergic to all of them.
Some sources – nut butter, pesto, artificial nuts, coconut, cereals, energy bars, flavoured coffee and Italian sausage.
5 – Fish
Cross-contact is very
common in seafood restaurants, so if you’re allergic to fish, you should avoid
these establishments completely. If you are allergic to one kind of fish, there
is a 50% chance that you are allergic to other types of fish as well.
Some sources – all types of fish, barbecue sauce, Caesar dressing, meatloaf and Worcestershire sauce
6 – Shellfish
There are two groups
of shellfish: crustacea (shrimp, crayfish and crab) and mollusks (clams,
mussels and oysters). The majority of shellfish allergy reactions are as a
result of crustacea and they are usually severe.
Some sources – all types of shellfish and Asian dishes that use fish sauce as a flavour base
7 – Soy
Soybeans are typically
found in processed food products, Asian food and meat substitutes.
Some sources – edamame, soy sauce, tempeh, tofu, canned tuna, processed meat, crackers and canned soup
8 – Wheat
Wheat is the root of
gluten intolerance and occurs in a ton of ingredients. You can easily substitute
wheat with alternative grains like barley, quinoa, rice and rye.
Some sources – bread, couscous, flour, seitan, ice cream, imitation crab, marinara sauce and processed meat
Create An Allergen
Safe Menu
Another way you can
avoid food allergy reactions in your restaurant is by creating an allergen safe
menu that clearly identifies where possible allergens may occur and shows your
guests what’s in the different meals. You can:
Mention the “Big Eight” in a meal’s description if it’s used in the preparation
Provide a general disclaimer for food items that can’t be altered to accommodate food allergies
Offer substitutes for common allergens
Market allergy-friendly meals on your menu using words like gluten-free or dairy-free
Include a notice on your menu that reminds guests to inform their servers of their food allergies
There is much to gain from creating a food allergy sensitive foodservice establishment. Not only will it prevent possible trips to the emergency room but it can also generate new revenue opportunities through marketing meals for certain people like the gluten or dairy intolerant. Make everyone feel comfortable in your business and you’ll see them coming back for years to come.
The most used appliances in your
kitchen, whether it’s a small-scale restaurant or a massive foodservice establishment,
are reach-in refrigerators and freezers. These pieces of equipment, if chosen
correctly, can improve the quality and speed of service in your business. The
proper unit can even save you money. For these reasons, you must take your time
and plan which refrigerators will work best in your business. In this guide, we’ll
take you through and explain a whole range of products so that you can make an
informed decision about your fridge’s door type, compressor and size.
Ordering Your Fridges
If your business has a lot of
space for multiple fridges, you must order larger fridges further away from the
hottest parts of your kitchen as the heat will make them work harder and
consume more energy. Smaller, one door reach-in fridges, on the other hand, are
able to stay cool in the work area of your kitchen more easily. Below we
discuss the optimal location for different fridges to maximise labour and
energy efficiency.
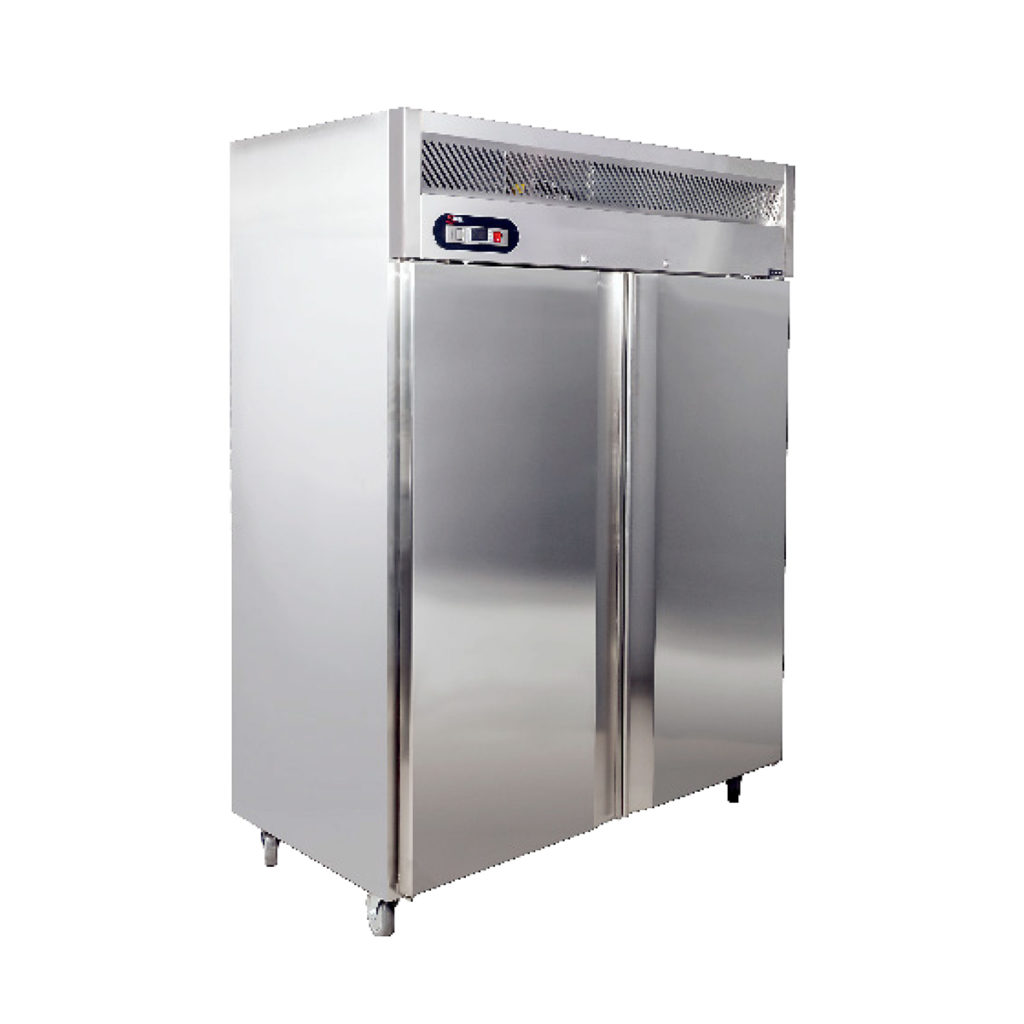
1, 2 or 3 Door Reach-in Refrigerators and Freezers
A 2 or 3 door reach-in
refrigerator and freezer should be kept inside the prep area of your kitchen as
it is normally used to store food items that you have prepared in bulk for use
throughout the week. In other words, it allows you to cut down on food prep
times. Place it close to your walk-in fridge and freezer so that you can easily
restock it as needed.
Commercial Kitchen Single Door Refrigerator By Salvadore
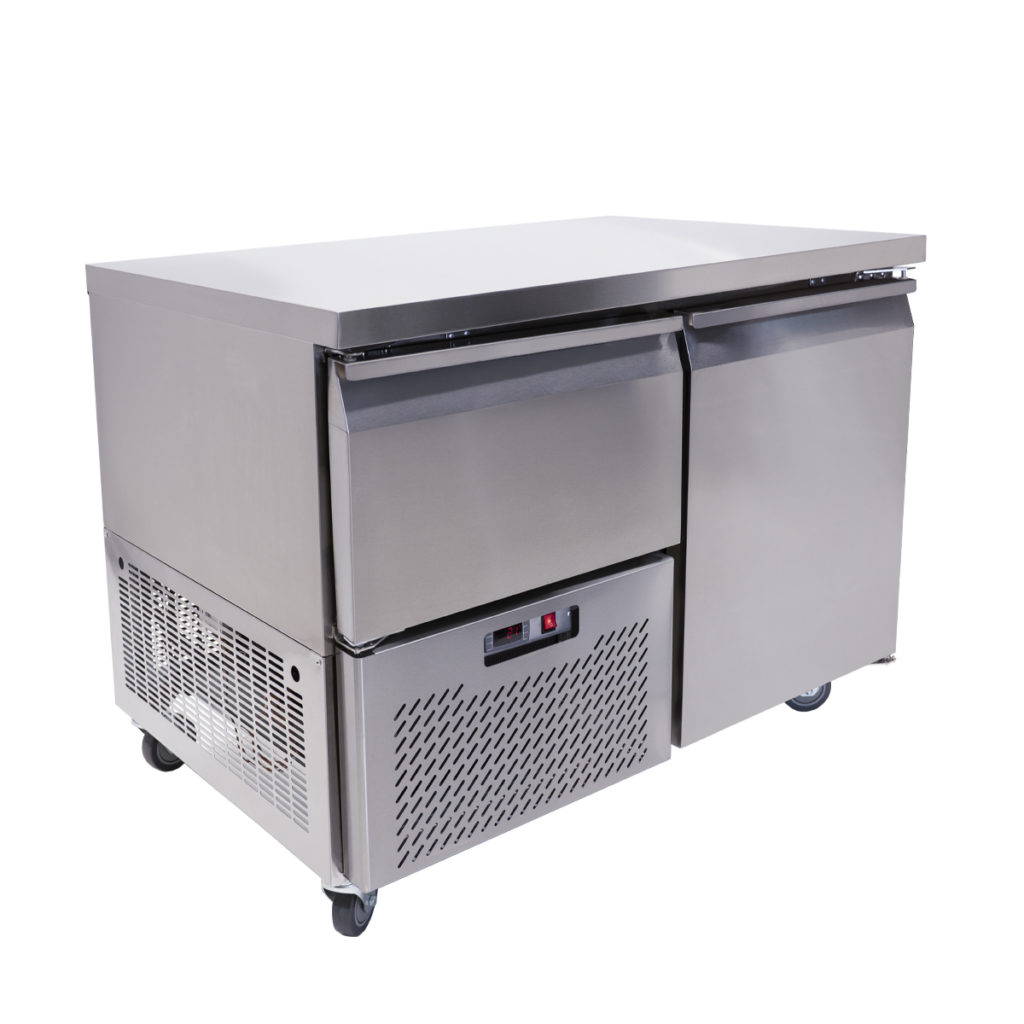
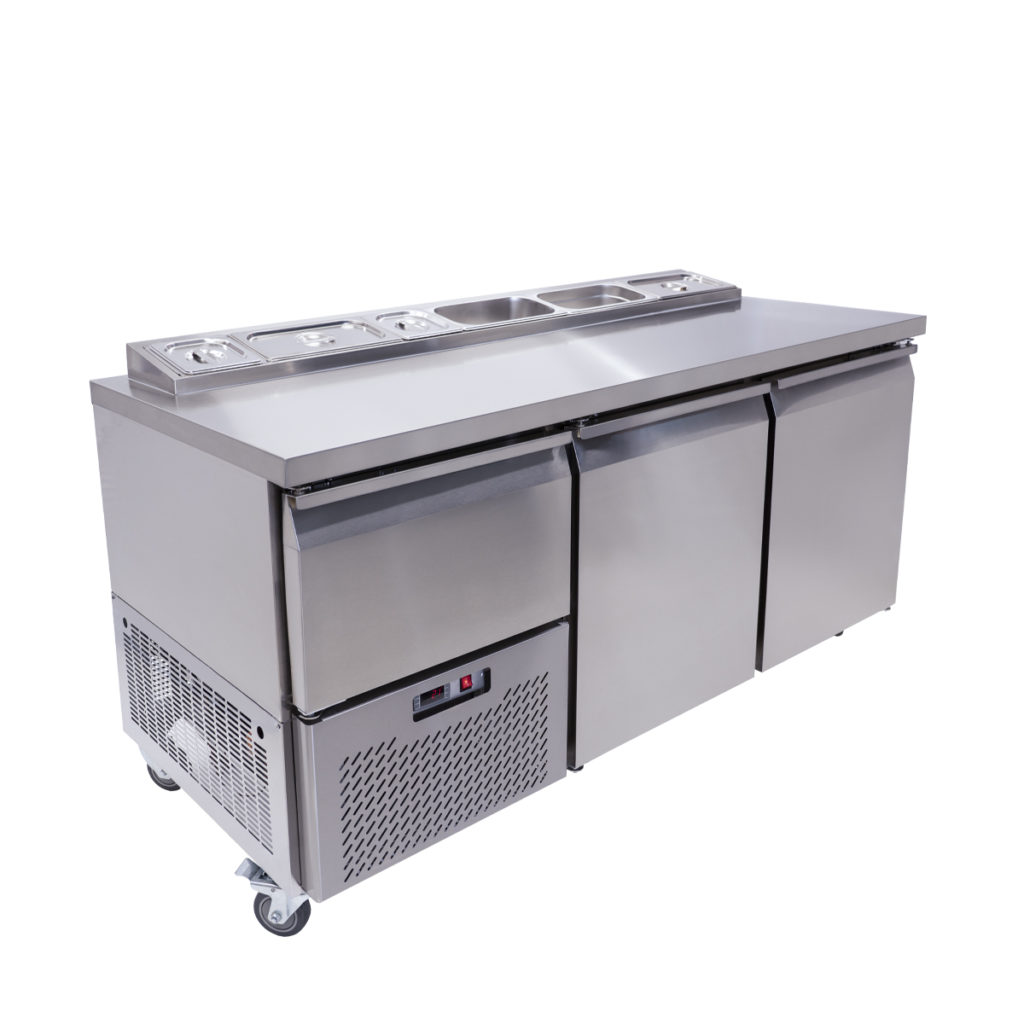
Underbar fridges are placed close to service areas like bars or prep areas because they can keep ingredients chilled and fresh till they need to be used or plated. They are a great choice where space is a concern, offering you cooling options without cutting down on kitchen space.
DEEP 1.5 DOOR STAINLESS STEEL UNDERBAR By Salvadore
The compressor regulates the internal temperature of your unit and, for this reason, it must be placed away from warm air as warmer ambient temperatures will make the machine work harder. Choose between bottom- and top-mounted compressors for an option that works best in your environment.
Bottom mounted compressors are
best for hot environments because warm air rises, ensuring it pulls in cooler
air. Though they may take up some extra space, they do make items on your
bottom shelf easier to reach. The biggest drawback is that it can get clogged
from dirt on the floor.
Top-mounted compressors are better for cooler environments and are less likely to get clogged with dirt. However, if it does get dirty, it’s much more difficult to clean as it is a bit out of reach. They are also a great choice for smaller environments because they do not take up storage space.
Choosing Between Door Types
The most important factor to consider when looking at different door types is the flow of traffic in the environment and how wide the aisles are in your kitchen. You can easily obstruct people and create congestion with certain doors if the location is not properly taken into account. Below you will find a short discussion on three different door types.
Swing Doors
Units with this option normally have a stay-open feature which makes loading and unloading inventory a breeze. However, if your kitchen is small, it can really obstruct traffic flow.
Half Doors
Just like swing doors, half doors
can also easily block traffic flow in your kitchen but, because they are split
into two sections, you can open one section at a time. This allows you to conserve
energy and keep the internal temperature consistent.
Pass-Thru
Pass-thru units have doors on
either side making them a great addition to your kitchen because they assist
both serving and kitchen staff. For instance, your cooks can prepare cold items
like desserts, slide them into the fridge and servers can take them out the
other end as needed.
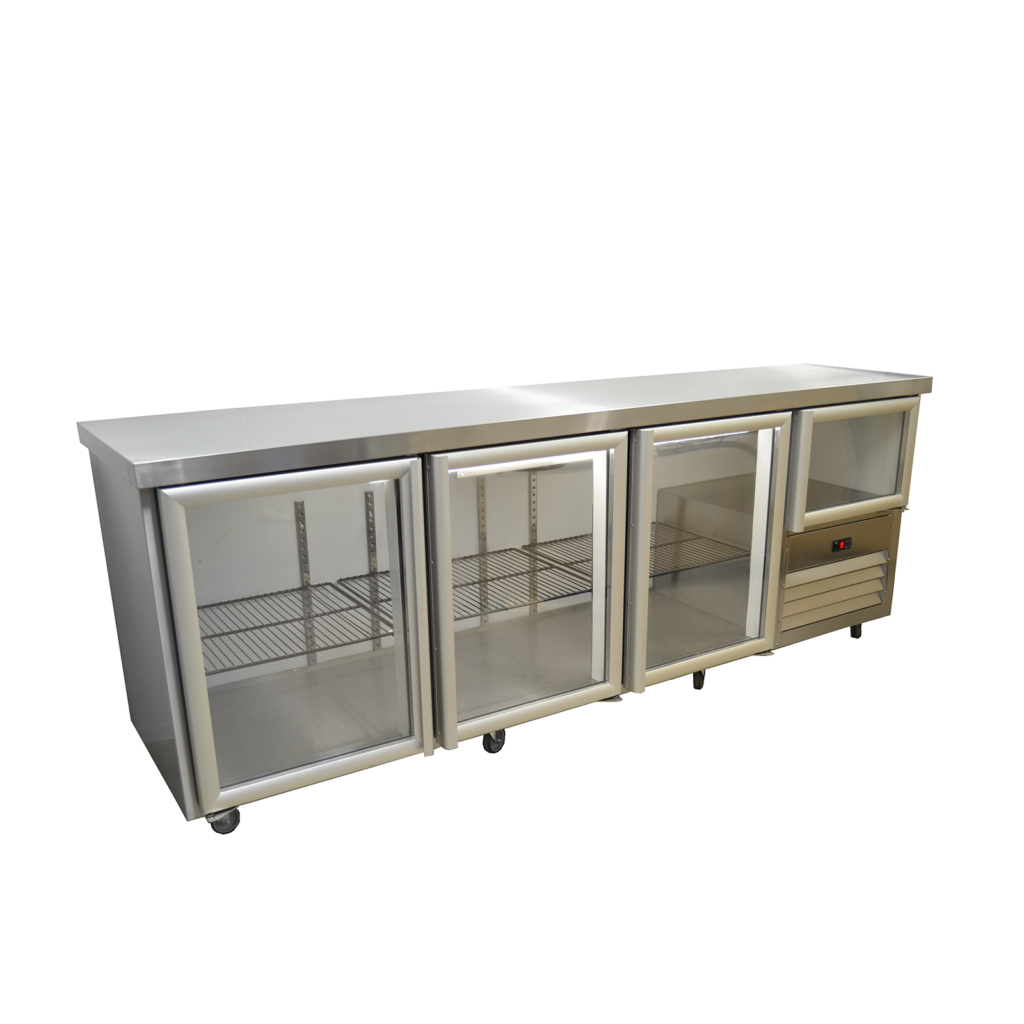
Glass or Solid Doors?
Solid doors are easier to clean, provide more insulation and are thus more energy-efficient than glass doors. However, glass doors allow you to see the contents inside the fridge which shortens the time spent in front of it looking for ingredients.
Other Important Features
RemovableGaskets
The gasket of your unit is
responsible for creating the airtight seal around your fridge’s door, keeping the
cold air inside. Some gaskets are removable which makes them very easy to clean
and sanitize.
DigitalThermostats
Check that your cold storage appliance
has a digital thermostat. These devices give you more accurate temperature
readings and they are much easier to adjust and monitor, which means you might
save on service costs.
Specification Line vs Standard Duty
If you see a product is referred to as “Spec Line” it means that the unit is the top-of-the-line offering of the manufacturer. Spec Line products have all the latest features, modern technologies and most customisable options, compared to standard duty machines.
Installation
After you have decided on your fridge or freezer, you need to start thinking about how you are going to install it. The first step is making sure you can actually manoeuvre the appliance into your establishment, so remember to measure doorways and hallways in advance.
When installing the machine, make sure to follow the specifications set out in the buyer’s manual. You will need to install your unit in a well-ventilated environment that is dry and not prone to dust because these conditions can severely damage it. You should only install your unit on a level surface, and away from heat and moisture-generating equipment. If you do not follow these specifications, your warranty will most likely be declared void. Your unit must also be supplied with the right voltage set out in the manual and it should have its own dedicated electrical circuit.
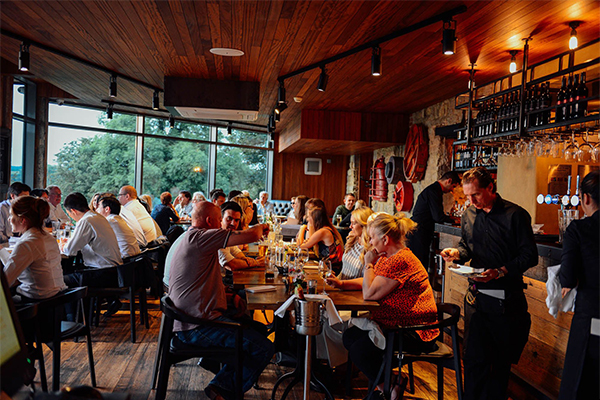
An important part of making a profit in a restaurant is maximising table turnover rate. The faster you can get diners in and out of your business, the more money you stand to make at the end of the day. However, mastering table turnover is a tricky business. You want your diners to have a comfortable experience so that they will come back once again but you also want to serve as many parties as possible. You’ll need to walk this fine line in order to ensure that your restaurant comes out on top.
So how do you maximize
table turnover without appearing inhospitable? Simple, follow our 4 top table
turnover tips below. From the psychological to the simple, we discuss several
strategies you can start employing immediately.
Bear in mind the differences between casual and fine dining restaurants. Generally, fine dining establishments will keep their guests for longer times as several courses will be served. Patrons pay for a luxury experience, meaning your servers will be much busier keeping these guests happy. Casual establishments, on the other hand, aim to turn each table three times throughout dinner service or one every hour and a half. This may seem easy to achieve, but if you’re dealing with pesky ‘campers’, you stand to lose a lot of profit. Most of the tips we share are more suited to casual dining experiences, however, you can modify them for fine dining use as well.
1 – Subliminal Strategies
Studies have shown
that there are several psychological factors that affect how fast people eat
and you can employ these strategies to maximise your table
turnover. Consider using the following tricks to influence your diners eating
speed.
Rearrange your restaurant. Place your tables away from corners and walls and try to seat as many guests in the middle of the dining area as possible. Seeing as the middle of the room is often the busiest spot in the restaurant, it will influence guests to eat faster. Avoid using seating that is anchored to the floor like booths because it has been found that people tend to linger longer on these types of seating.
Switch up colour schemes. It has been proven that bright colours like red, yellow and orange raise an individual’s heart rate and blood pressure and this stimulus also subconsciously encourages you to eat faster. In other words, bring bright and vibrant colours to your dining space and crockery to maximise table turnover.
Music makes the people eat faster. It’s a little known fact that louder music with a more upbeat rhythm excites people and encourages them to eat faster.
2 – Organise Your Seating System
If you haven’t done
this already, make sure you have an organized seating and reservation system.
To do this, you will need to perfect communication between your waiters and
hosts. A well-running system will have the waiter signal the runner to clear
tables as soon as they pick up the bill and the host that their table will be opening
shortly. This allows the host to seat customers almost immediately. If your
host can get customers to their table sooner, you stand to improve your table
turnover rate. The following tips also help to organise your seating system:
Pre-assign tables to guests waiting in line so that guests can be seated as soon as they open up.
Keep your waiting area close to the host’s stand so that he/she can easily find customers waiting in line when their tables open.
Reconsider your reservation policy. If you only accept walk-ins, you never have to deal with groups that don’t show up.
3 – Don’t Wait On Waiters
Nothing aggravates
diners more than having to wait on waiters. If your waiters don’t arrive at
their tables immediately, they are adding to that table’s occupancy, slowing
down your table turnover. For this reason, you must keep your serving staff on
schedule by following the tips below:
Ensure servers arrive at their tables within minutes of seating guests.
The first question your waiters need to ask is “what brings you in today?” This allows them to tailor their service to the needs of the guests, expediting service.
Waiters must take drink orders immediately and bring out water as soon as possible.
If it’s a large group, consider assigning multiple servers and runners to the table to hasten service.
Runners shouldn’t wait for the guests to leave before clearing the table, rather they should begin the process as soon as guests finish their meals.
Prepare cutlery in advance so that tables can be reset quickly after service.
Waiters can place the check on the table before guests have asked for it to subtly signal them to leave. This can easily appear as rude, so time it wisely.
If you are dealing with “campers” who are still at their tables after paying, you can politely explain to them you have reservations waiting and ask them to continue their conversation at the bar.
4 – Keep it Short And Sweet
Many people still
believe that a larger menu leads to more customer satisfaction because it gives
your guests more options and allows them to make decisions easier; however, the
converse is true. Guests actually experience a subtle form of anxiety when
overloaded with choices, slowing down their decision making. It’s better to opt
for a smaller menu, focusing on your best and most popular options so that guests
can make faster decisions allowing you to turn their table faster. You will
also avoid possible waste and save money by trimming your menu to only include
your most popular meals.
Maximising table turnover is a balancing act. There are several strategies you can employ to get diners service quicker and eating faster, however, there is a chance that these tricks can backfire and leave your guests feeling unappreciated and unwelcome. The key lies in practice and experimentation. Use our top tips as a guiding principle and modify them to meet the needs of your restaurant. This way, you’ll not only maximise turnover but you’ll also be maximising profit.
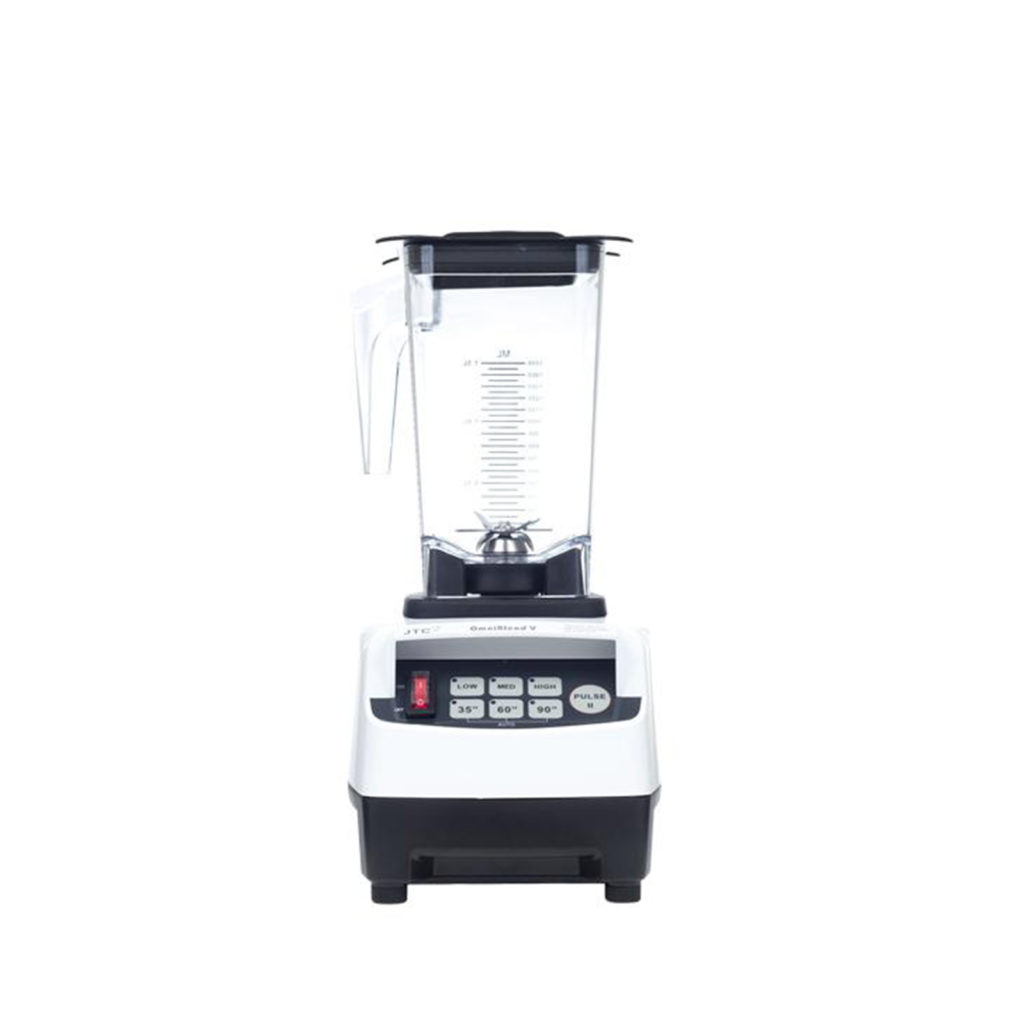
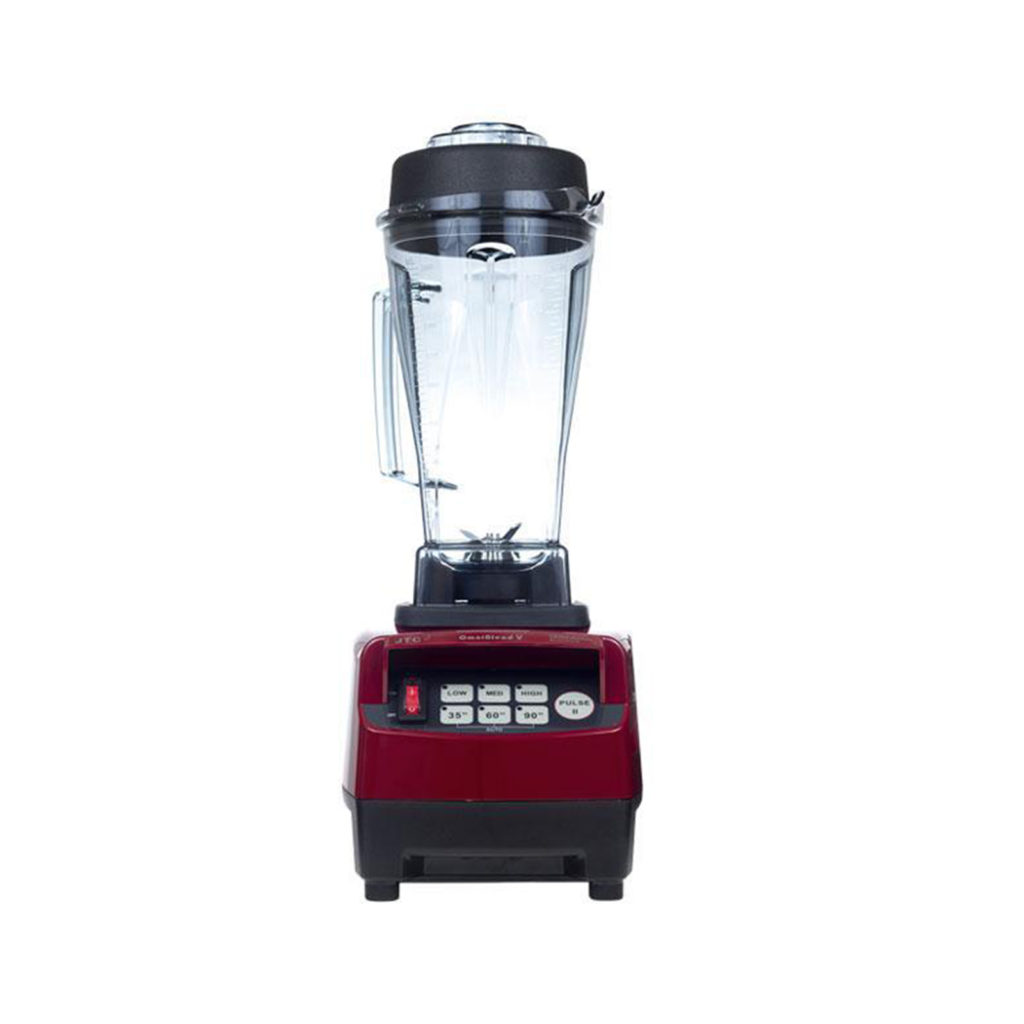
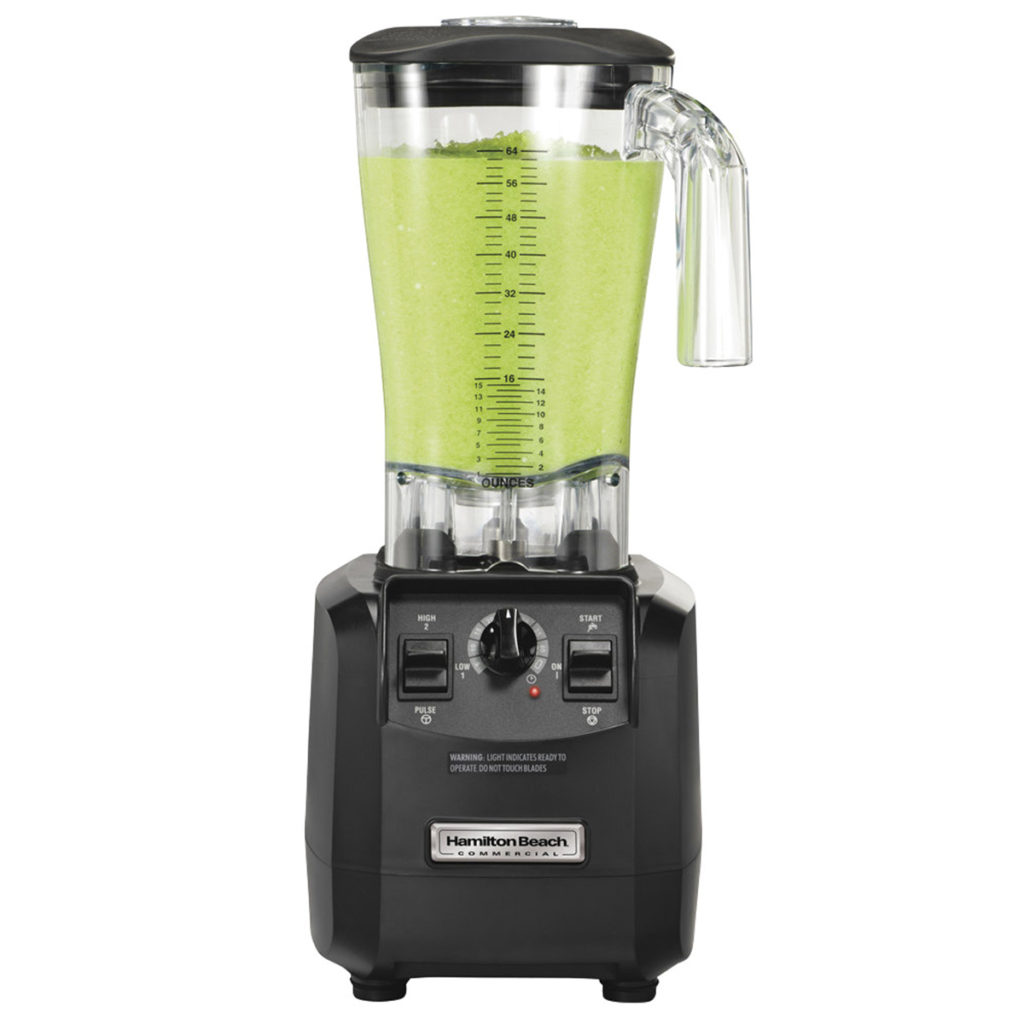
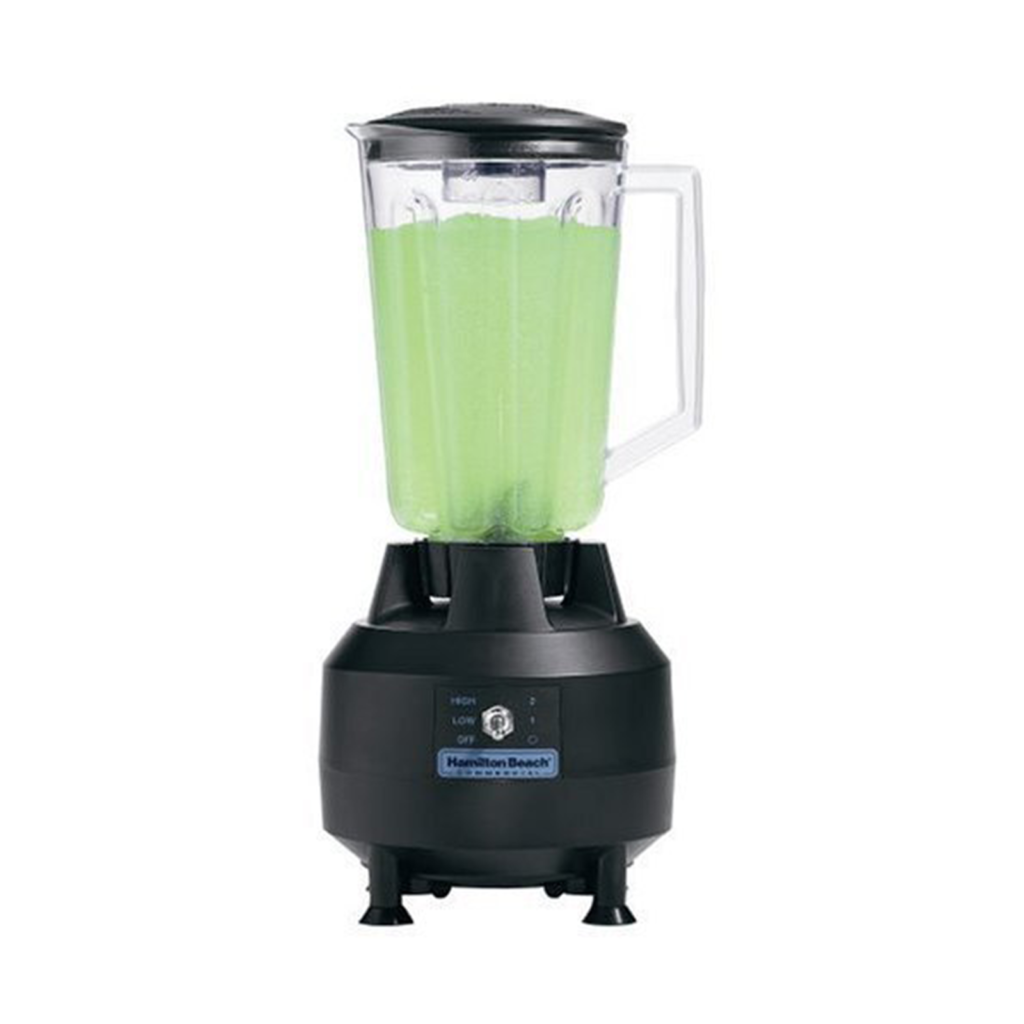
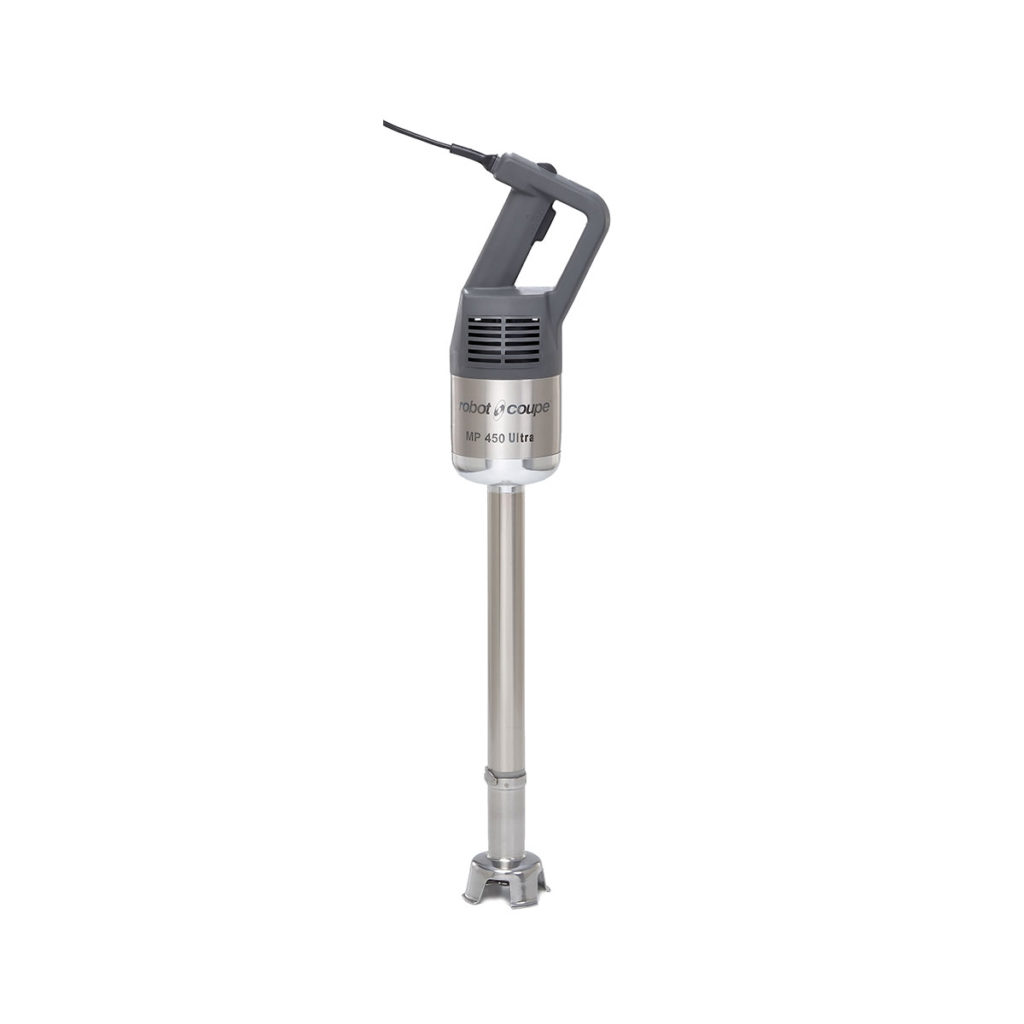
Buying commercial blenders can be a huge chore if you don’t know what to look out for. With so many different options on the market like stick blenders, food blenders and bar blenders, you can easily choose the wrong appliance for your occupation. Trust us, using the right blender for your task can make or break your recipe and avoid a sticky mess and worse – irreparable machine damage. For this reason, we have put together a comprehensive commercial blender buyers guide so you can find all the relevant information you need to make the right choice.
Types of Blenders
To kick off our guide, we’ll first discuss the most commonly found commercial blenders on the market. If you’re wondering what the difference is between a food blender and a bar blender, you’ve come to the right place. All of your questions are answered below.
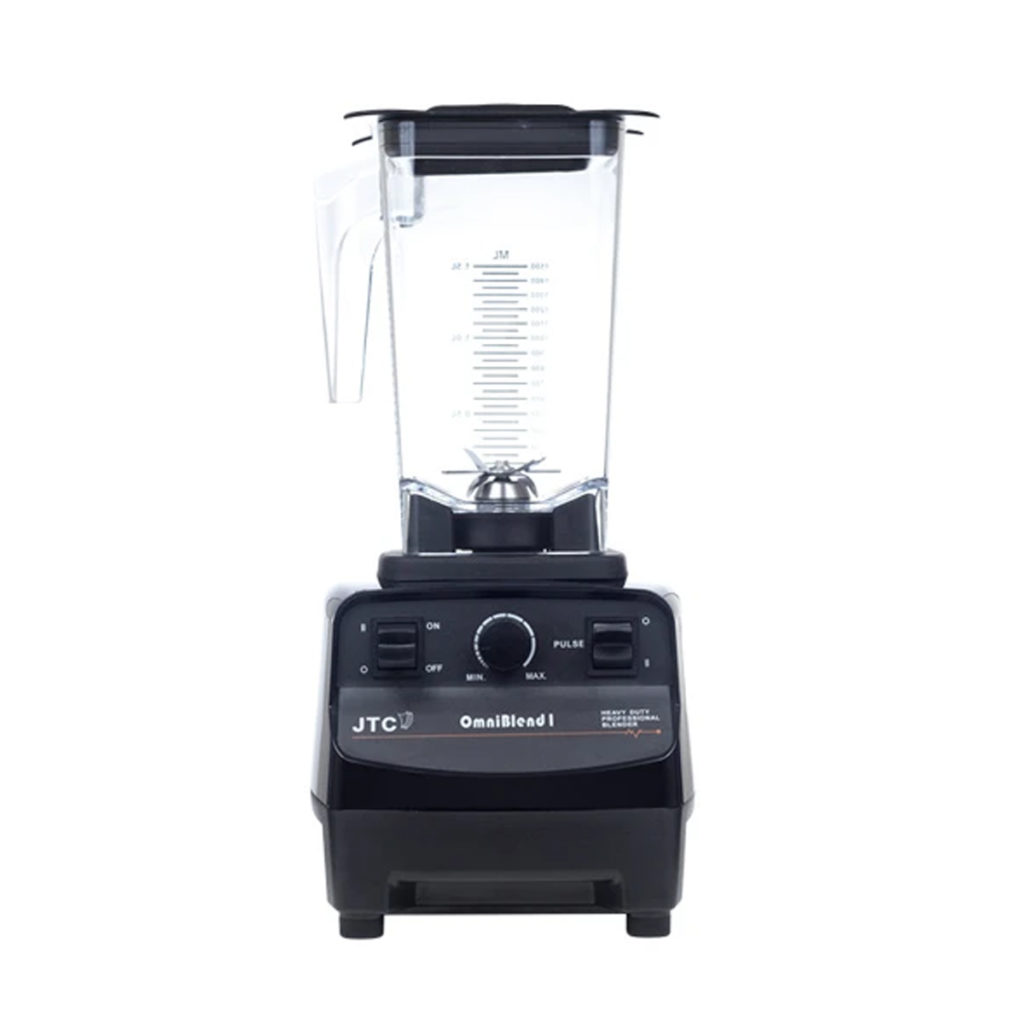
Food Blenders
Generally the toughest
in the business, food blenders are made for high-volume use and can withstand
the pressures of continuous use without overheating its machinery. This is a
very important factor to consider if you’re in need of a blender for your restaurant,
café or hotel. Thanks to their higher horse power, they can swiftly blend
smoothies and milkshakes in seconds as well as hard foods like ice, nuts, vegetables
and fruits.
Bar blenders aren’t
typically as tough as food blenders; however, you will find that even our
lighter-duty models can handle the occasional smoothie or two with ease. That
being said, these blenders are not made to withstand the rigours of blending
hard foods and are instead designed for making margaritas, daiquiris and other
signature cocktails.
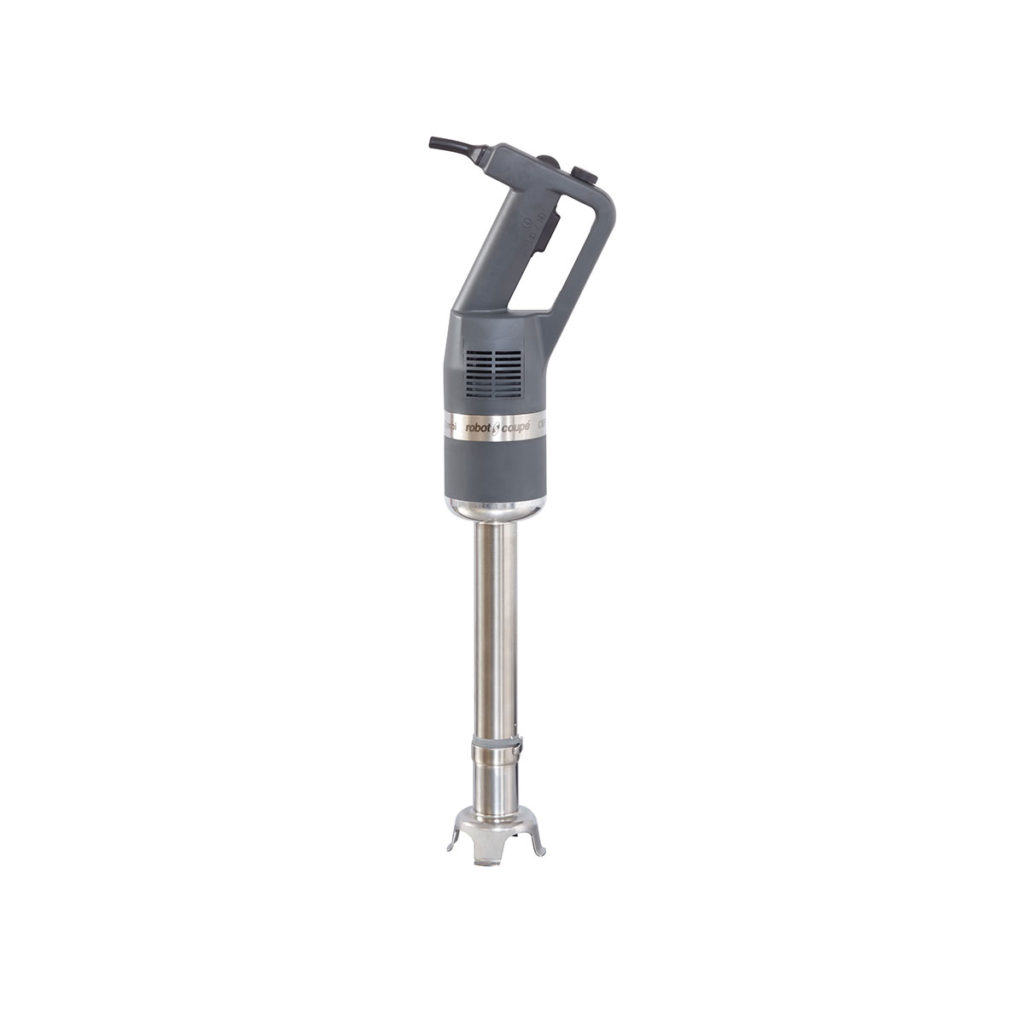
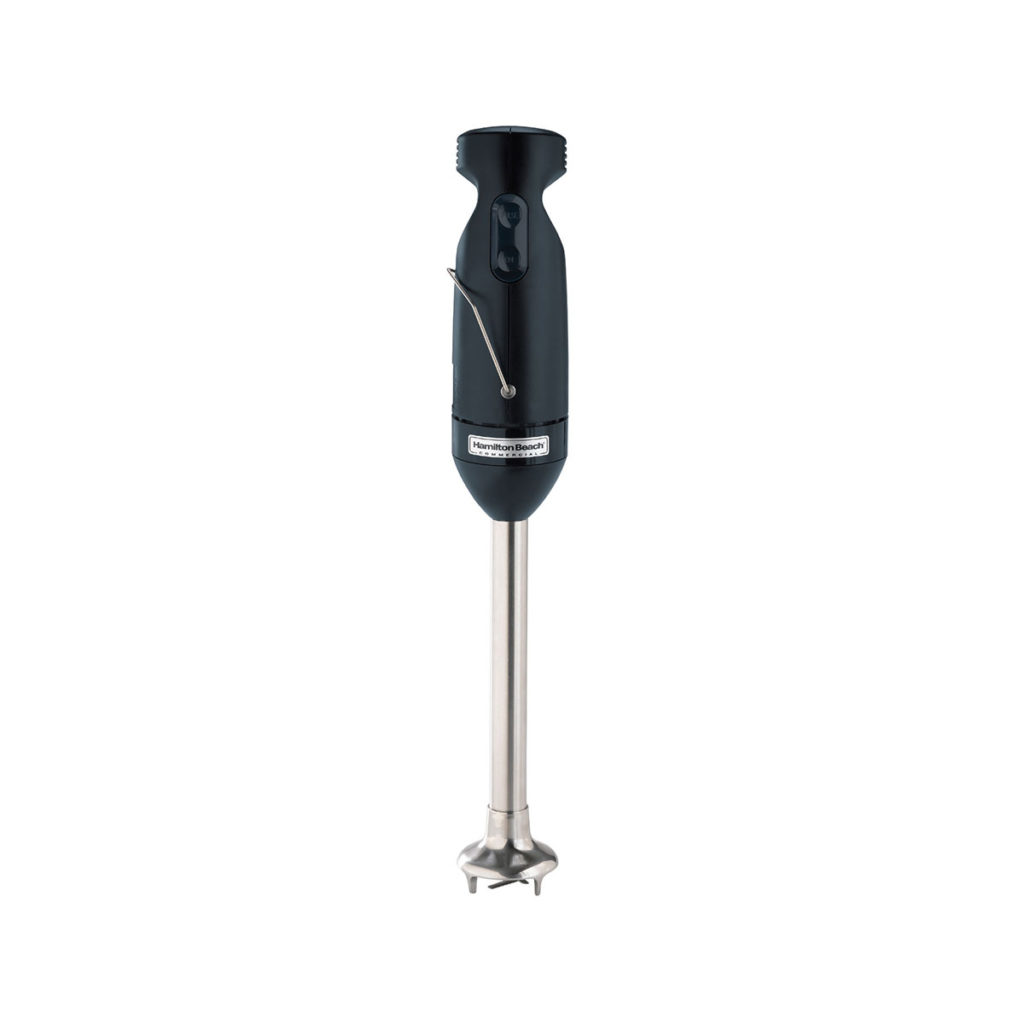
An immersion blender is
a must-have for all kitchens. These hand-operated, easy-to-use blenders are versatile
marvels and can be used for an array of kitchen tasks. Immersion blenders are
the perfect tools for mashing potatoes, whipping cream, pureeing soups and
sauces and even chopping soft foods. Some of these stick blenders even come
with extra attachments, like emulsions disks, for greater versatility.
Food and bar blenders
take up some space and it can be a burden finding a place for them in your
kitchen; however, with an immersion blender, you don’t have any of these
struggles because it conveniently fits into a drawer.
Now that you know more
about the different types of commercial blenders on the market, you’ll need to
assess your needs to find the best one for you. The first thing you need to do
is think about the environment it will be used in. Consider what types of food
you will be using the blender for as well as the frequency of use. For
instance, if you will only be using the blender to make cocktails, make sure to
choose a bar blender and if you expect that you will be using it throughout the
day, opt for a heavier-duty model.
Commercial blenders
come with several different features, designed to meet specific needs. For
example, some blenders come with programmable controls, timers or paddle
switches that free up hands for high-volume kitchens or bars. In these cases,
it makes sense to choose a more advanced blender because you stand to save
hours of time and labour. Below we discuss some of the larger factors you need
to consider when choosing the best commercial blender for you.
Power Up
Check the specs of the product you’re looking at to find the correct level of horsepower for your operation. Though it may seem like a more powerful machine is your best option that truly isn’t always the case. The guiding principle here is application. If you are planning on using the appliance to make smoothies all day, you will have to choose one with more power; however, if you think you’ll only need to make a few cocktails per day, you can choose a smaller less powerful one. We suggest these ideal applications for common HP ratings.
½ HP – designed for light food preparation of less than 50 uses per day
1 – 1 ½ HP – designed for medium food preparation of less than 75 uses per day
2 HP – designed for medium to heavy
food preparation of less than 100 uses per day
3 ½ HP – designed for heavy food and beverage preparation of more than 100 uses
per day
Curious About Controls
There are several
different control options to choose from including paddle switches and programmable
buttons that can help to make your life easier. Each of these versions has
their own benefits and applications where they work best so it’s worth your
time considering these different types of controls.
Toggle/Paddle Switch – simple and perfect for where you don’t need
to be precise over blending speed and time. Usually less expensive but has
limited abilities.
Electronic – if you need more control over your blending cycle this is a better
option. Though they are more expensive, they do have more options.
Programmable – this option is useful if the same beverages or food products need to
be blended repeatedly throughout the day.
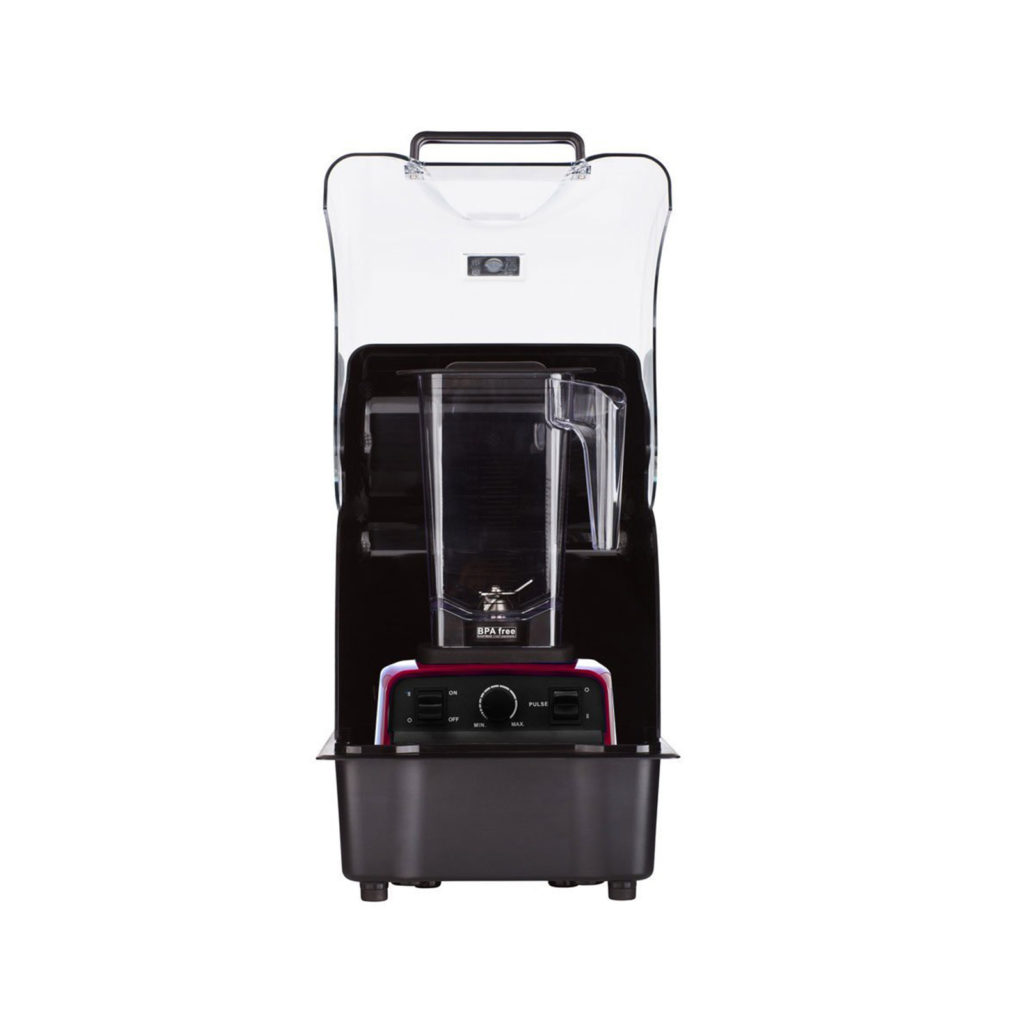
Sounds Of Silence
Another often
overlooked factor you need to consider is noise. Blenders are not the softest
of instruments and can be a real disruption if placed in the wrong space. This
is why we have noise covers for blenders that reduce sound. Your customers aren’t
the only ones who will appreciate a more peaceful environment, your kitchen
staff will also be more productive and comfortable with less ambient noise. So,
if noise is a concern, make sure to invest in a blender with a sound enclosure.
Core Catering Supplies
has a great collection of blenders from programmable food blenders to immersion
stick blenders available for your consideration. Make sure to take your time going
over all the specifications to find a blender for your planned application and
if you need any help to find the best commercial blender for you, don’t
hesitate to contact our experienced team.
Choosing the right commercial mixer can be a difficult task. A versatile investment for any kitchen, mixers come with several useful attachments that can be customised to suit your particular needs. From belt drive systems to bowl guards, there are just so many different specs and features to consider when buying a commercial mixer.
We are here to make it easy for you. In this comprehensive guide, we dive deep into the differences between commercial mixers, their functions and sizes so that you can find the perfect mixer for you whether you’re a pizzeria mixing kilos of dough a day or a casual restaurant in need of just a few pastries a week. We also share several care and service tips you can follow to ensure the longevity of your mixer in the kitchen.
What Are The Different
Types of Commercial Mixers?
There are many
different types of commercial mixers on the market from light-duty to
heavy-duty machines, all with specific uses, advantages and disadvantages. In
general, you will find three types of mixers.
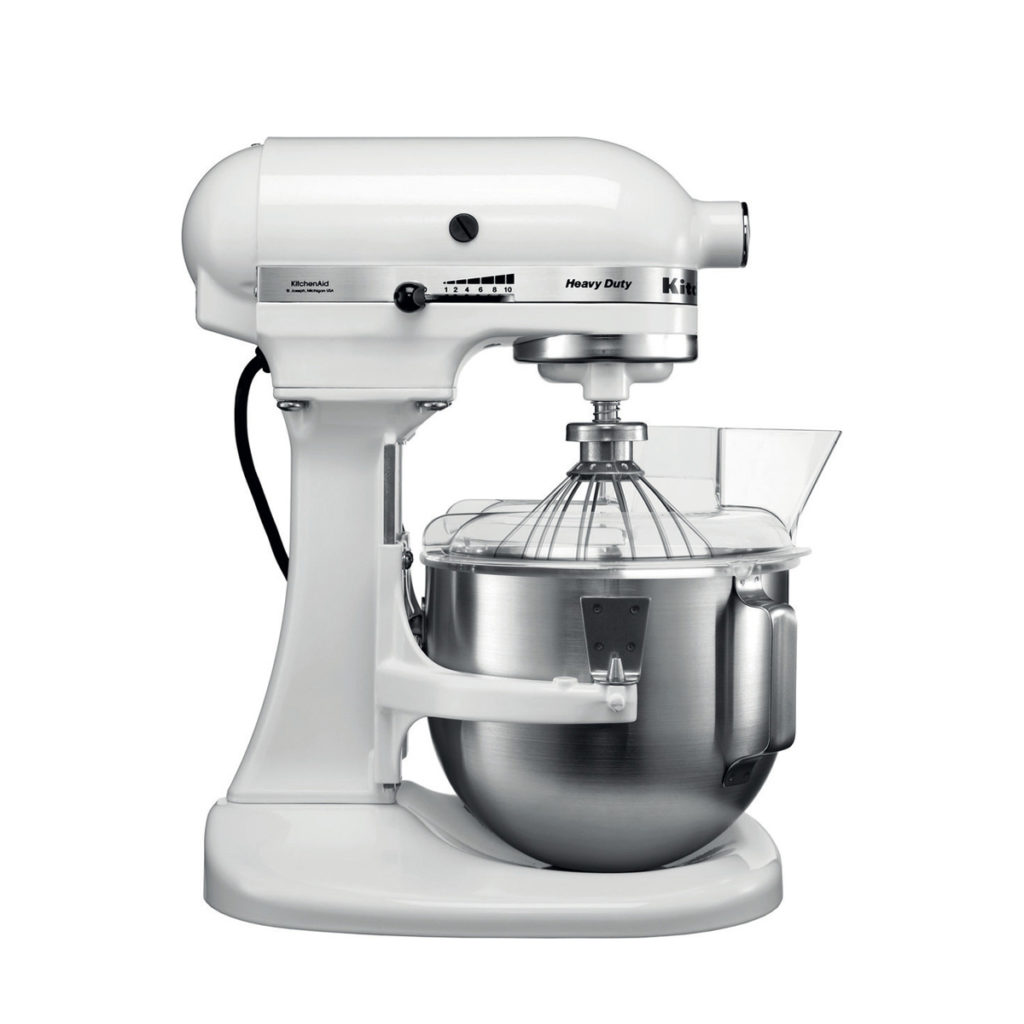
Planetary Mixers
Planetary mixers, also
known as vertical mixers, feature an agitator that turns on an offset shaft,
while keeping the mixing bowl stationary. The agitator is typically
interchangeable with various attachments you can customise to mix anything from
dough to meringues. Planetary mixers are typically more compact and
energy-efficient and they lower physical effort and labour in your kitchen.
Dough mixers, also
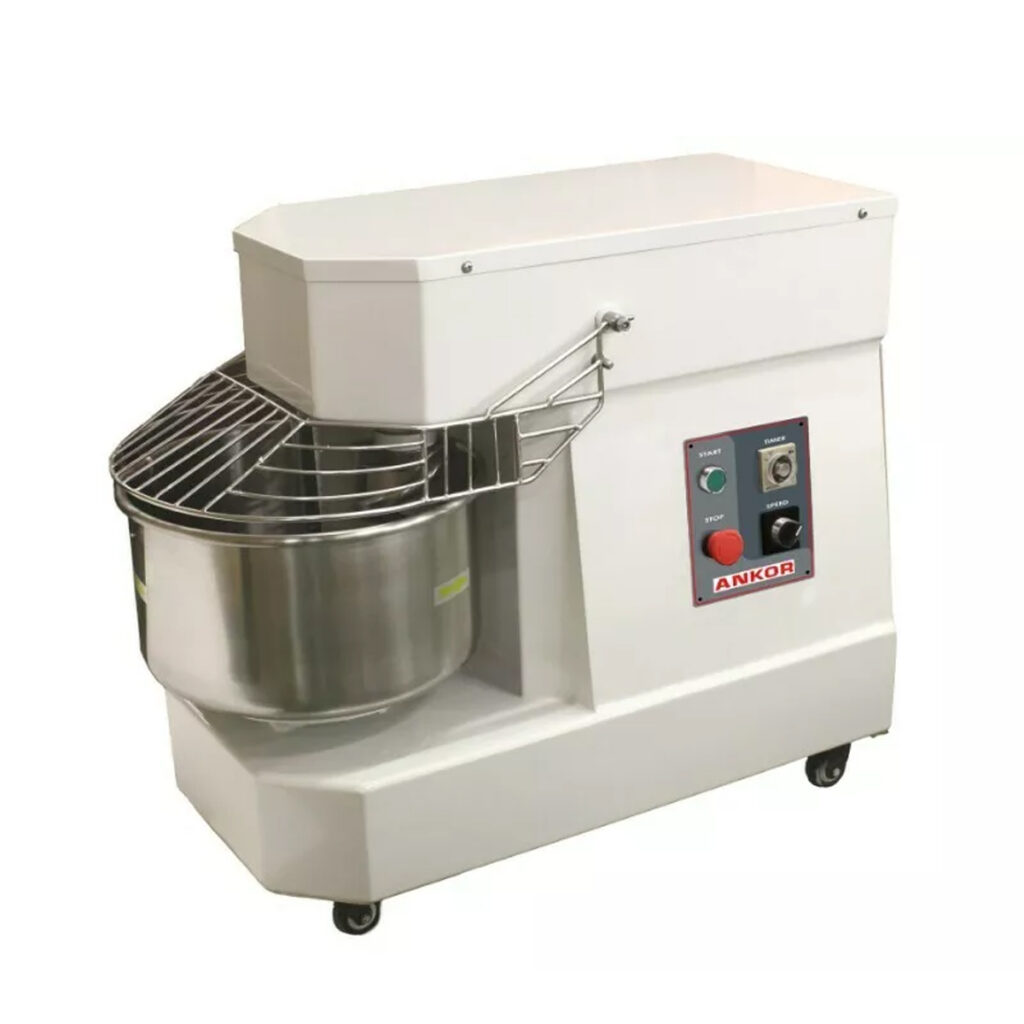
known as vertical mixers, feature a spiral-shaped agitator that remains
stationary while the bowl revolves around it. This particular design makes
these appliances great at mixing large quantities of dough at a time.
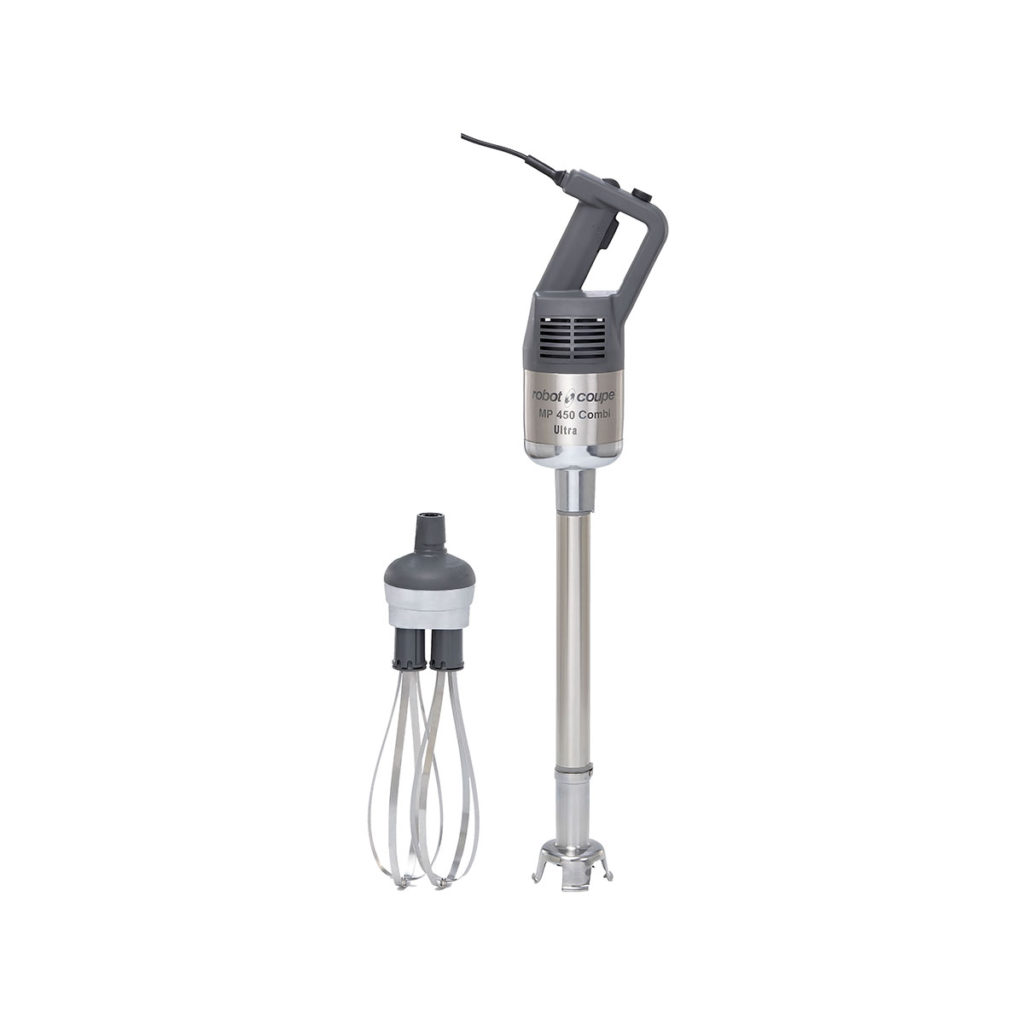
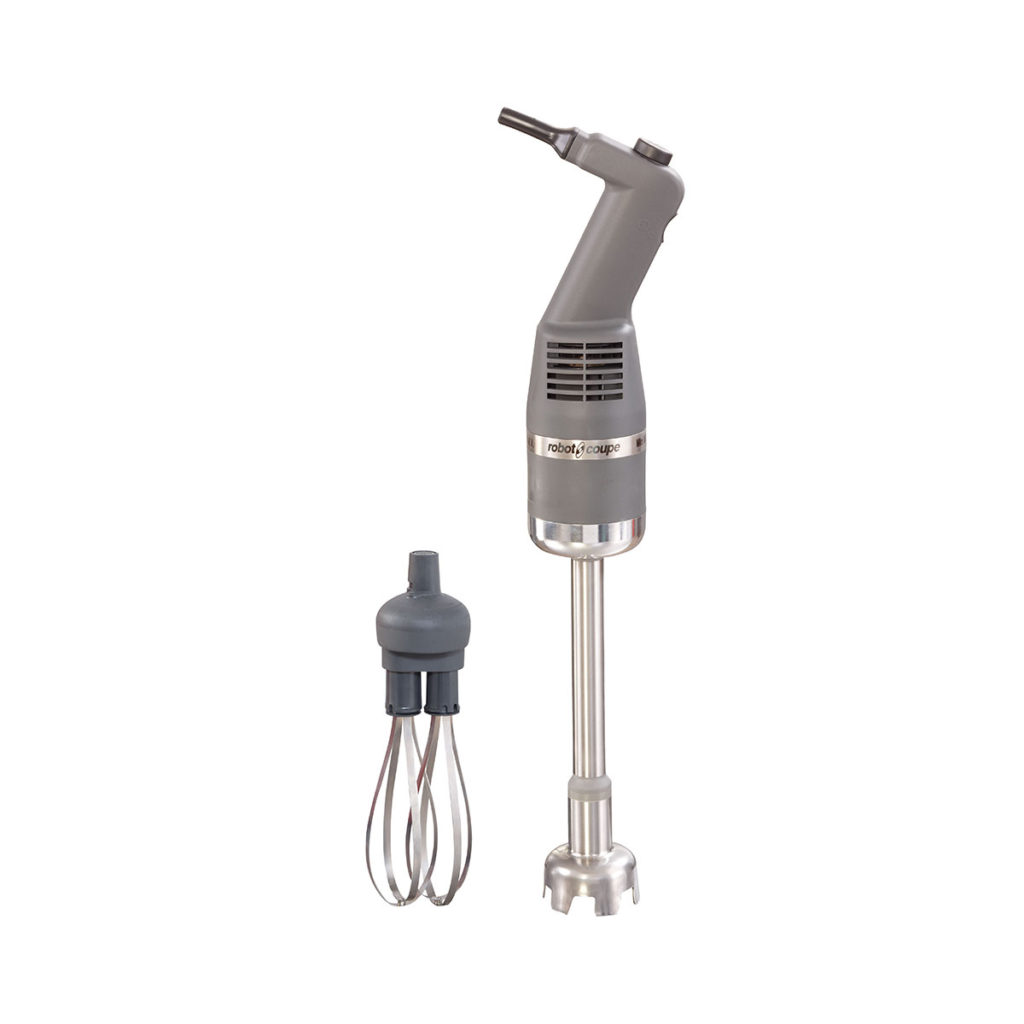
The hand mixer is your best option for lighter mixing tasks. The great advantage of these is their utility and ease of use. You can also use these versatile mixers as blenders to create pures and sauces that you can use for new and creative plating ideas. However, they are hand-operated, so you do not get the benefits of an automatic machine.
LARGE POWER COMBINATION MIXER MP 450 By Robot Coupe
Before you choose your commercial mixer, you need to make sure it has the power and utility to meet your needs. The following features and specs should be taken into consideration when looking for a mixer.
Size
Size is one of the most determining factors that must be taken into consideration when buying a commercial mixer. You need to determine how much product you want from the mixer as well as where it will be placed in the kitchen. Smaller countertop mixers (less than 10L), are made to fit on a countertop, whereas larger mixers (10-20L) mixers are best suited for a sturdy, equipment surface. Generally, anything larger is considered to be a floor mixer, designed to sit directly on the floor.
System
There are typically
two types of gear systems, belt-driven or gear-driven. Both options are suitable
for the rigors of commercial use, but there are benefits and disadvantages to
both. Belt-driven systems can experience a belt slip which slows down the
mixer, whereas gear-driven systems maintain a constant velocity. However,
gear-driven systems can be very expensive to repair as opposed to the
belt-driven option.
Speed
Mixers will typically
feature multiple operating speeds that affect how quickly the agitator or bowl
revolves. Consult the manual of your mixer to determine which speeds function
best with your machine and how different agitators affect the velocity of your
mix.
If you want a mixer
that can change speeds during operation, make sure that it’s possible with the
one you are looking at. Not all mixers are engineered to handle the mechanical
stresses associated with changing speeds on the fly. You might need to first
switch off your machine before making these adjustments otherwise you could
cause severe internal damage to your machine.
Power
Larger mixers tend to have a stronger motor than smaller models because they are designed to mix more material at a time. This also allows larger mixers to handle thicker, stiffer dough which requires more power.
Bowl Guard
Often overlooked, but an essential commercial mixer feature is the bowl guard. This is the plastic or wire cover found around the top of the bowl. It prevents hands, clothing and other foreign objects from getting into contact with the agitator while it’s in use in order o protect whoever is operating the machine from injury.
The 2 Most Important Questions
What Do You Need To Mix?
Different kinds of dough and batter have different consistencies and thus require a mixer that can handle them. A thick dough will require the use of a stronger machine, whereas lighter-duty mixers are more suitable for light consistencies like meringues. The absorption ratio of your most commonly used dough is a great guiding principle for the mixer you will need. The lower the absorption rate, the tougher the dough will be and the stronger mixer you will need. To calculate the absorption ratio simply divide the water weight of your mixture with its flour weight.
How Much Will You Be Mixing?
Next, you will need to ask yourself how often you’ll be using your mixer. It’s safe to say that most small restaurants can get away with a 5-20L planetary mixer; however, bakeries and pizzerias will probably need a 40L mixer or even a spiral mixer for seriously large scale operations.
To answer this question you will also have to remember that you can’t fill your mixer’s bowl to the brim and different ingredients have an effect on how big your batch can be, for instance, mixes with high flour protein content or more oil will have smaller batch sizes.
Caring For Your
Commercial Mixer
Commercial mixers are
generally robust in nature; however, they still require proper maintenance and
care. Extend the lifetime of your mixer by following our top tips below:
Follow the guidelines for much product your mixture can handle
Remove and wash attachments and accessories after each use
Do not submerge your mixer in water
Turn off and unplug your mixer before cleaning
Clean the main part of your mixer with a damp cloth and sanitiser after each use or at the end of the day
Do not leave your mixer completely unattended when in use
Minimise breaking by using a food-grade machine oil on the attachment shaft
Do not change gears while the mixer is in use unless it has this feature
Depending on use, have service agents perform regular oil changes and tech checks every 6-12 months
Still not sure which commercial mixer is best for you? Core Catering Supplies has the product you are looking for. Browse our selection of premium-quality mixers online or speak to one of our sales agents for more information about the right mixer for you. Our team has extensive product knowledge and is always ready to assist you with any questions and information you may need even after making your purchase.
We use cookies to ensure that we give you the best experience on our website. If you continue to use this site we will assume that you are happy with it.OkPrivacy policy