Posted on

A MIXOLOGIST’S GUIDE TO SUPERIOR SHOTS

A MIXOLOGIST’S GUIDE TO SUPERIOR SHOTS

Try some unique and interesting shots that will bring the wow-factor to your bar. In this guide, we’ll show you how to create seriously sumptuous shots that are both daring and delicious. We also reveal some of our favourite sizzling shooters you can try for your menu.

Stunning layered jello shots with cherry centres.

SAY HELLO TO JELLO

Once the stars of juvenile jubilations, jello shots are now making a huge comeback. Gone are the days of the simple flavoured gelatin and vodka in a cup formula as today’s jello shots are marvels of presentation and flavor. The great part is they are just as simple to make as usual, all you’ll need is a stove, saucepan, shot cups or a baking pan and a refrigerator.

Step 1

Dissolve gelatin in a hot liquid like water, juice, tea or coffee. Remember to choose a liquid that complements the flavor of your chosen alcohol.

Step 2

Stir in cold liquor and pour the contents into a mold or other container. This is where you can start to get really creative. Experiment with different containers to give your shots unique shapes. We like to make glassless jello shots because it highlights the colour of your creations. For instance, if you set your jello shots in a baking tray, you can use cookie cutters to give them interesting shapes or you can set the shots in a loaf pan and using a serrated knife, cut them into cubes as you would a brownie.  You can also use our layering technique to create new and interesting combinations.

Step 3

Leave to chill and set in the fridge up until the moment of service.

LEVELED UP LAYERS

Another technique you can use to make stunning shooters is layering or, as we like to call it in the industry, floating. The trick behind the trade is to layer liquids of differing weight and density through the power of gravity. The bottom ingredient of your shot needs to be the heaviest so that the rest can float on top of it. The greater the difference in density between ingredients the better separation in layers you’ll get. This technique seems difficult at first, but with our help and a little practice you’ll nail it every time.

Beautiful and creative layered shots.

Step 1

Start with the heaviest and most dense ingredient at the bottom of your glass.

Step 2

Hold a bar spoon upside down over the drink and pour the next ingredient over the back of the spoon on top of the drink, moving the spoon up as the glass fills. This slows down the pour and disperses the top liquid, preventing the two layers from mixing. You can use any spoon to achieve this but we recommend a bar spoon as it is thinner and will most likely fit right into the glass.

Step 3

If your shot has multiple layers, simply repeat step 2 making sure you fill the glass in order of heaviness and density. The key with layering shots is practice. Start with something simple in a cocktail glass like a white Russian or Irish coffee. Once, you feel like you got the hang of it, you can start trying it out on shots. In the meantime here are a few extra tips that will expedite the process.

  • Do not stir the glass as it will mix up the layers
  • A chilled glass works best for layering. You can also chill the ingredients before pouring
  • A speed pourer can help you slow down the pouring speed
  • Try to put the tip of the spoon just under the first layer, which helps the liquid stay on top
  • You can easily do layering with a food-safe syringe. It doesn’t look as glamorous but it certainly gets the job done.

A FRUITY AFFAIR

Nothing is more refreshing than the taste of fresh fruit. So, for the perfect shooter, you’ll need to reinvigorate your menu with new additions that incorporate the flavours of the season. Using fresh fruit in your drinks menu also gives you immediate access to garnish that will push your beverage presentation to a new level. Just make sure to use fruit that accentuates and complements the other ingredients in your shot.

Watermelon shots with sugar rims and slices of lime.

SCRUMPTIOUS AND SALUBRIOUS SMOOTHIES

One of the handiest bar accessories you can have is a pro blender. It opens up your drinks menu to so many possibilities and it makes the mixing process a breeze. Get creative with your repertoire by experimenting with new flavour combinations. With a blender, you can easily juice ingredients that won’t typically be found in shots to create exciting and healthy blends that go beyond expectation.

A healthy cucumber and melon smoothie shot with dill as garnish.

OUR NEW CRUSH

Cool off your guests with delicious crushed ice shooters. An ice crusher is a bar must have because it can be used for a variety of purposes. Masking hard liquor with crushed ice chills the drink and makes it go down much smoother, in other words, it’s the perfect ingredient for shooters! A crushed ice shooter is a must so start mixing today.

Layered finely crushed ice shots.

OUR TOP SHOOTER RECIPES

Now that you have the bartending skills to create some seriously sizzling shooters, you can try them out on our pick for the top shots. Each of these recipes uses some of the techniques we discussed above so they make for great practice. Don’t worry if they don’t come out perfect immediately, the flops will be just as delicious to drink!

Pineapple shooters with pineapple garnish and sugar rims.

Double Trouble Tropical Tequila Shots

Ingredients

  • 60ml reposado tequila
  • 30ml pineapple vodka
  • 90ml pineapple juice
  • 60ml pina colada mix
  • Turbinado sugar for rimming the glasses
  • Pineapple wedges for garnish

Directions

Dip the rim of the shot glasses in water and roll the rim in sugar.

Combine all the ingredients together in a blender and pour into rimmed shot glasses.

Serve with a pineapple wedge on a toothpick for garnish.


Watermelon shots with sugar rims.

Watermelon Margarita Shooters

Ingredients

  • 1 medium-sized watermelon
  • 125ml white tequila
  • 2 limes, juiced
  • carbonated water for topping
  • sugar for rimming the glasses.

Directions

Cut half of the watermelon into sticks and the other half into cubes.

For each batch of 6 shooters, you’ll need to add 2 cups of cubed watermelon to a blender along with the tequila, triple sec and lime juice. Blend until smooth.

Rim each glass with sugar and fill them halfway with the margarita mixture. Top with carbonated water and a watermelon stick.


A healthy cucumber and melon smoothie shot with dill as garnish.

Cucumber Melon Shooter

Ingredients

  • 1 medium cucumber peeled, seeded and sliced plus more chopped cucumber for garnish
  • 1/2 of a medium-sized melon seeded and sliced
  • 1/2 of a medium-sized green bell pepper sliced
  • 5-6 sprigs of fresh dill and more for garnish
  • 5-6 sprigs coriander
  • 250ml plain kefir milk
  • 60ml grapeseed oil and more for garnish
  • juice of 1/2 medium-sized lime
  • salt to taste

Directions

Combine the cucumber, melon, bell pepper and kefir milk together in a blender.

While processing, add the grapeseed oil, dill, coriander, lime juice and salt through the top of the blender.

Pour into a shot glass, garnish with dill, cucumber and grapeseed oil.

Layered finely crushed ice shots.

The Rocket

Ingredients

  • 250ml finely crushed ice
  • 5ml blue curacao liqueur
  • 60ml lemon-flavoured vodka
  • 5ml raspberry-flavoured liqueur

Directions

Place half the ice in one bowl and divided the other half between 2 bowls (1/4 cup of ice each).

Place the blue curacao liqueur and 15ml vodka into a bowl containing a 1/4 cup of ice. Add the raspberry liqueur and another 15ml of the vodka in the other 1/4 cup of ice bowl. Mix the remaining vodka in the bowl with the 1/2 cup of ice.

Layer the blue curacao-flavored ice into the bottom of a shot glass. Place the lemon vodka-flavored ice over the blue layer and top with the raspberry-flavored ice.


Sweet and delicious strawberry shortcake flavoured shots.

Strawberry Shortcake Shooters

Ingredients

  • Frozen strawberries, thawed
  • 1 part Cake Vodka
  • 1 part Tequila Rose
  • Strawberries for garnish

Directions

Using a food processer, puree the thawed strawberries until smooth. For an even more smooth consistency, you can press the puree through a sieve to remove the seeds.

Add a small amount of strawberry puree into the bottom of the shot glass. Then, add equal parts Cake Vodka and Tequila Rose

Garnish with sliced strawberry.


Green ombre jello shots with cream and glitter garnish.

Green Ombre Shots

Ingredients

  • 750ml lemonade
  • 50ml unflavoured gelatin
  • 30ml sweetened condensed milk
  • 250ml whipped cream-flavoured vodka
  • Green food colouring

Directions

Pour lemonade into a saucepan and sprinkle gelatin on top, then whisk to combine. Bring the mixture to a simmer and remove from heat. Add sweetened condensed milk, whisk to combine and add the vodka.

Separate the mixture into 3 bowls evenly. Add just a small drop of green food colouring into one bowl, two or more in the next bowl and even more in the last bowl so that you have three shades of green. Prepare a square pan with baking spray and wipe clean with a paper towel. Add 125ml of the lightest green bowl to the pan and let it refrigerate for 15 minutes or until slightly sticky but not completely firm. Add the next layer with the darker green, refrigerate for 15 minutes, add the darkest green and again refrigerate for 15 minutes. Repeat these steps until there is no mixture left. Place the filled square pan back in the fridge for another 2 hours until it has completely set.

When completely firm, remove from the pan using a butter knife along the edges of the pan and hot water along its bottom. Once you feel it release, flip it over and slice into squares. Refrigerate until serving.


Posted on

FRANCHISE OPPORTUNITIES

Franchise Opportunities

Calling all business-savvy entrepreneurs! Since 1998, Core Catering Supplies has become South Africa’s leading supplier to the catering and hospitality industry with an ever-expanding list of clients.  Our prestige nation-wide customer base has allowed us to become the exclusive suppliers of some of the world’s most celebrated hospitality goods brands like Leerdam Crisal Glassware, HEPP Cutlery, Steelite Crockery and APS Germany buffetware. 

Thanks to years of experience in the industry and a commitment to our Core values of integrity, trust, service, accountability, value, energy and solutions, we have distilled what makes our business successful. As of 2008, we have made this winning formula public through the opportunity of becoming a Core Franchisee.


Here’s How We Help You

Setting Up Shop

Our stores range in size from a minimum of 200sqm to larger operations of around 400sqm and come fully branded, stocked with the key products and complete with all the necessary operational facilities.

Induction Training

We’ll help you get things rolling by giving your staff comprehensive training covering product knowledge and sales skills at our Head Office in Cape Town or Johannesburg. We also provide you with an extensive operational manual that outlines all aspects of the procedure.

Powerful Purchasing

With years of experience under our belt, no one is more equipped to guide you on product selection and stock upkeep than us. Thanks to our buying expertise and economy gained through bulk buying, you will gain untold competitive advantage. Our product range and pricing is a major factor of our success.

Corporate Identity

Each franchisee receives a comprehensive folder outlining our Corporate Identity, which is key in building a stronger brand across the board. Our brand identity is the complete alignment of what customers see, hear, read and experience.

Administration Setup

We know a sale is only complete once the cash is in the bank and for this reason, we have developed a well-defined administration process. We provide extensive training on this imperative business aspect.


Marketing

We offer you several marketing tools and opportunities to ensure sales growth and brand activation.

1. Website

Core Catering Supplies’ market-leading website ensures your franchise’s success in the digital age.  Our website functions as the middleman between the client and your franchise feeding your business with sales and leads. All online purchases and enquiries for delivery within your area are fed through to you. With a massive up-to-date product list, regular highly competitive sales, extensive product information and industry news, Core Catering Online is the most powerful tool we give you.  It essentially becomes your website with our Head Office Online Team ensuring that it is constantly fresh, current and always ahead of your competitors. We understand the importance of E-Commerce both now and in the future and we invest heavily in it.

2. Print Catalogue

Our print catalogues give clients access to a wealth of knowledge of our product range, making it easy for clients to order in your store or remotely.

3. Social Media

This is another powerful and interactive marketing tool to assist our franchisees. Our Head Office Online Team leads the market on social channels with engaging content and paid advertising, constantly keeping the market updated with everything Core!

4. Design

We assist franchisees with all marketing and merchandising requirements. At Core, we understand the importance of branding and visual identity across all mediums.

5. Team Building

We take our relationships within our group and with our clients very seriously. This is why we host several golf days around the country and take part in the annual Coronation Double Century Cycling race. These events give our team the opportunity to mingle and build stronger relationships within the group and with your clients.


Ready For A Piece of Core?

Do you have the passion, dynamism, persistency and vision to become a Franchisee? We coredially invite you to apply. 

What Makes For A Successful Application

For your application to be deemed successful, we first need to make sure that your profile fits our vision. Ideally, you should have some background in the hospitality industry and be very service orientated.

What Are The Costs Involved?

Cost is dependent on the size of the operation and will include full setup, training as well as stock. These fees start from R 1 295 000 excluding vat with working capital in the region of R250 000. Franchise fees are based on turnover and are calculated at 5% of nett sales. Marketing fees are calculated at 1% of nett sales.

Financing can be arranged under certain circumstances. In this case, the Franchisee will need to have no less than 50% available in cash and acceptable security for the balance. The Franchisor may also decide to partner with the prospective Franchisee but this is subject to an individual assessment of each proposal.

For more information or if you would like to start your application, email us now.

Posted on

Become a Supplier

Get to the Core of the South African Market

Sell through Core Catering Supplies for limitless, nationwide access to the booming South African catering and hospitality market. With over 21 years of experience in the industry, we’ve build up a trustworthy reputation as the go-to choice for the biggest brands in the country thanks to our seamless online shopping experience and knowledgeable, friendly and experienced sales team.

Optimise Profit

Boost your sales by leveraging our extensive and ever-growing pool of clients for increased profit.

Nationwide Exposure

Feature your line of products throughout the country.

Stress-Free Logistics

We take the hassle out of logistics handling deliveries and the difficulties of online retail for you


Share in the Success of our Suppliers:

Posted on

BUYING BULK

BUYING IN BULK

For bulk orders and trade clients we may offer preferential pricing.
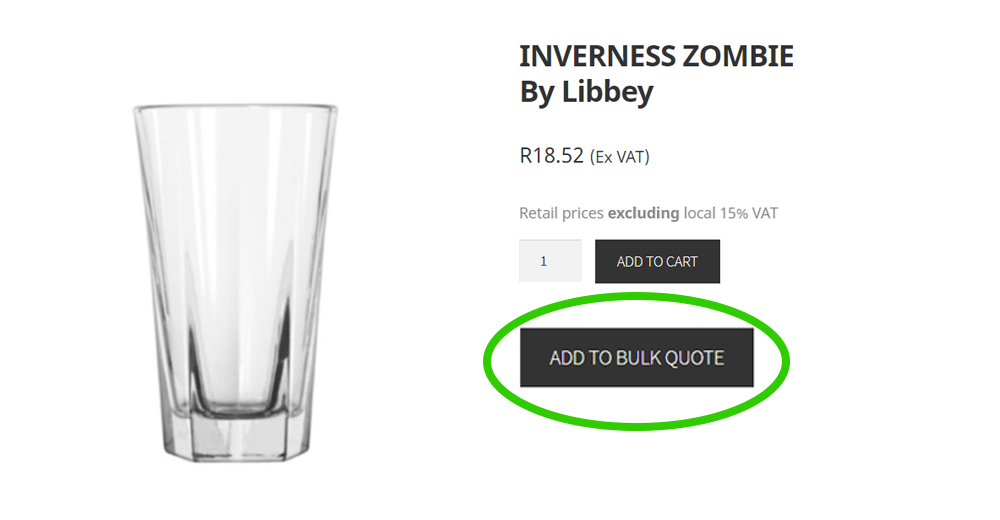
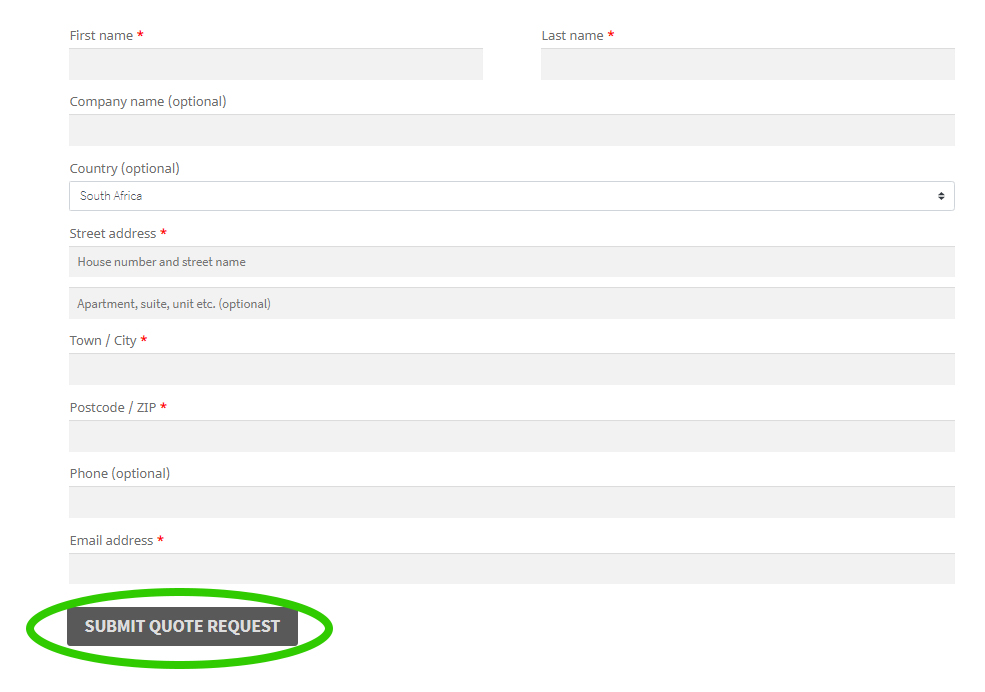
To apply for a bulk quote follow these simple steps:

Browse our online store and add your selection to your Bulk Quote request


Submit your details and send request


We will receive your quote and process


Posted on

The Complete Dinnerware Buyer’s Guide

Finding the perfect dinnerware set for your home or business can be difficult as there are just too many options to choose from. There are plenty of things to consider like usefulness, versatility, style, strength, shape, trend, type of material, price and more. In the quest of finding your favourites you may start asking yourself questions like what is the difference between earthenware and stoneware and does it even matter? Well, we can assure you it certainly does. In this guide, we’ll discuss the use and value of everything from coupe plates to sauce bowls so that you can invest in the collection that meets your needs.

Type of Material

Before you can start thinking about shape and style, you should first begin by understanding the different types of material used to create dinnerware. This way you can ensure that the crockery you purchase meets your needs for strength, wear-and-tear, price and resistance to external elements. There are classic materials like metal, stone and ceramic, which have been used for hundreds of years and remain popular to this day, as well as many new materials that pop-up every now and then thanks to innovative manufacturers who continue to pursue improvement and perfection.

Earthenware

One of the oldest materials used to make crockery, earthenware is a ceramic that has been glazed and fired. It typically has a rustic look and can be quite thick and heavy. The appeal of earthenware is that it is normally cheaper than other forms of dinnerware; however, it is not the strongest material and can chip. In general, you should avoid unexpected temperature changes as this can damage your earthenware.

Stoneware

Stoneware is stronger than earthenware making it a great pick for everyday use; however, you should still not expose it to very high and low temperatures. You will find that stoneware often features a glass finish for added strength and durability. It is also finer and more opaque than porcelain and bone china. Stoneware is typically dishwasher and microwave safe.

Porcelain/China

Both porcelain and china refer to crockery made from fine particle clay fired at a high temperature. The result is a versatile material that is particularly non-porous and strong. Porcelain and china are great picks for formal settings as their firing process makes them look more delicate, thin and able to have added shaped details. Thanks to their exceptional durability, porcelain and china are typically microwave and oven safe; however, check that your set doesn’t have any metal accents before you use it in the microwave.

Bone China

Bone china is made from a mixture of animal bones and porcelain clay fired at a slightly lower temperature than traditional porcelain. The result is a translucent, lightweight and delicate looking material that, despite its fine appearance, is the strongest and most durable form of dinnerware. It is generally oven, microwave and dishwasher safe unless it contains metal accents.

Renowned ceramic makers, Luzerne, have taken bone china to the next level with their range of innovative crockery heralded as “stronger than bone china”. Their products have extraordinary resistance to extreme temperature and will not even crack when removed from an oven at 180°C and placed directly under running water. Their bowls and plates are safe for use in commercial dishwashers, freezers, ovens and microwave ovens. Luzerne dinnerware is also scratch and chip resistant.

Types of Crockery

After you have gotten a grasp on the type of materials used to make dinnerware, it’s time to decide what items of crockery you will need for your menu. There are so many items to choose from including coupe plates, V-shape bowls, charger plates, dinner plates, pasta bowls and the list goes on. Below we discuss the most recognisable types of crockery and what they are used for.

Bread Plates

The bread plate is normally the smallest plate on the table measuring about 130mm to 180mm in diameter. As the name implies, this plate is used for bread and butter. It is often found on breakfast and informal dinner settings.

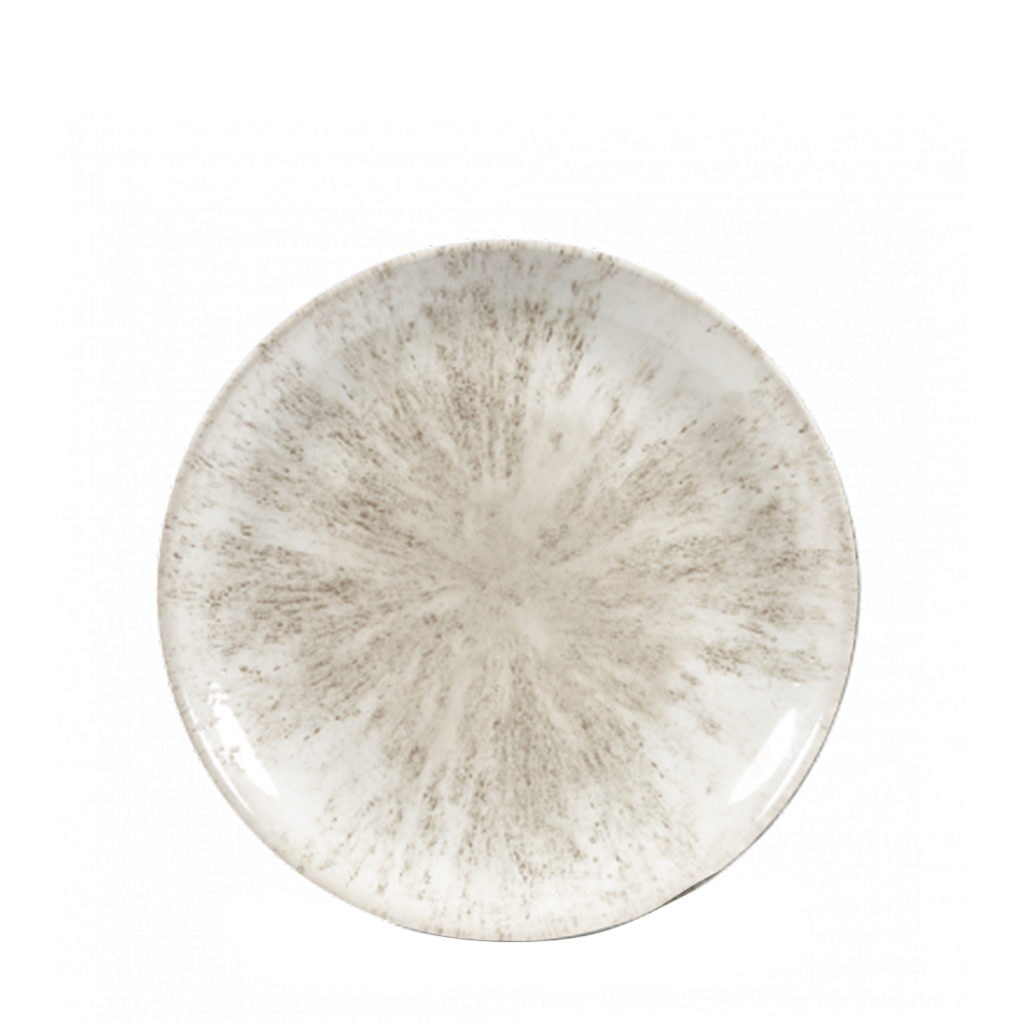
This Stone agate grey coupe plate 165mm by Churchill.

STONE GREY COUPE PLATE 165MM
By Churchill

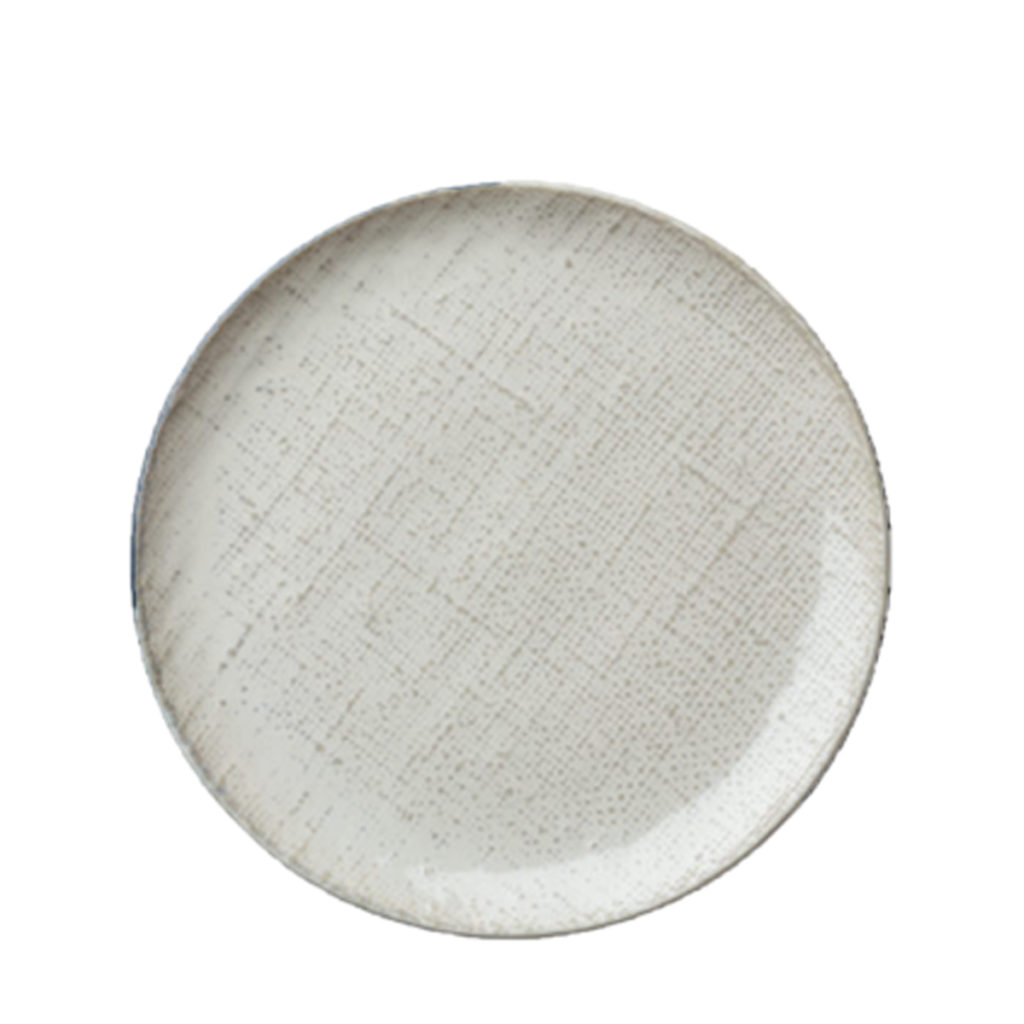
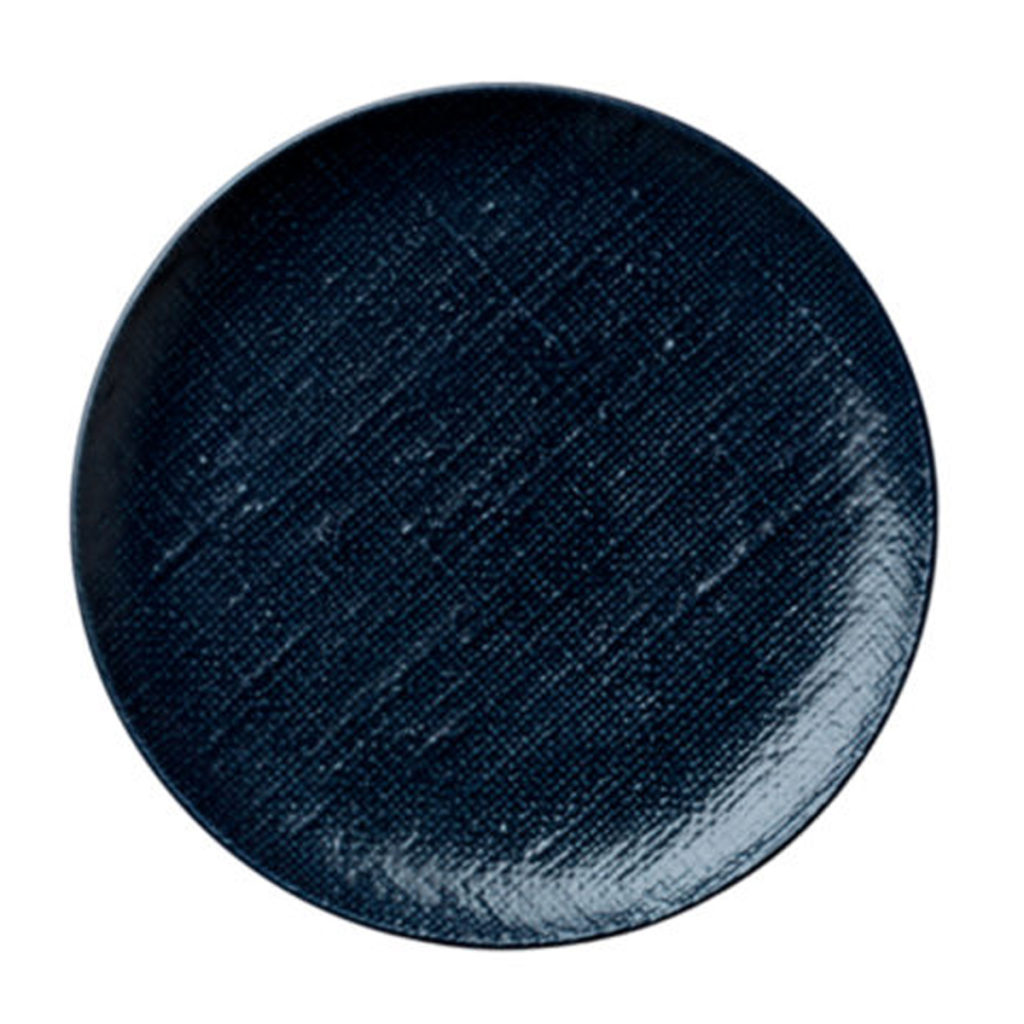
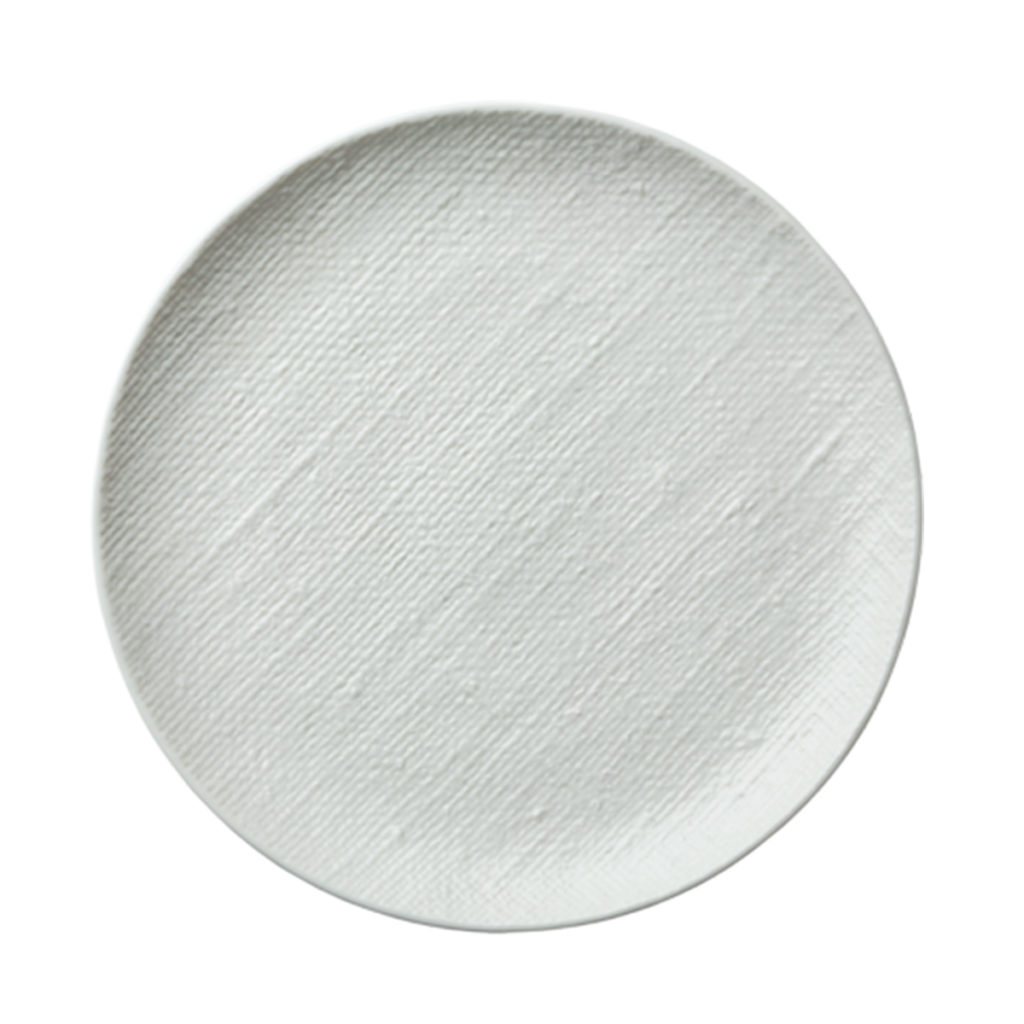
KNIT ROUND COUPE PLATE 162MM
By Luzerne

DRIZZLE WHITE SIDE PLATE 160mm
By Luzerne

Appetizer Plates

Typically a little bigger than bread plates, appetizer plates are designed for the plating of bite-sized treats, starters and appetizers like fruit, cheese and charcuterie. The defining feature of these plates is that they normally have slightly curved edges.

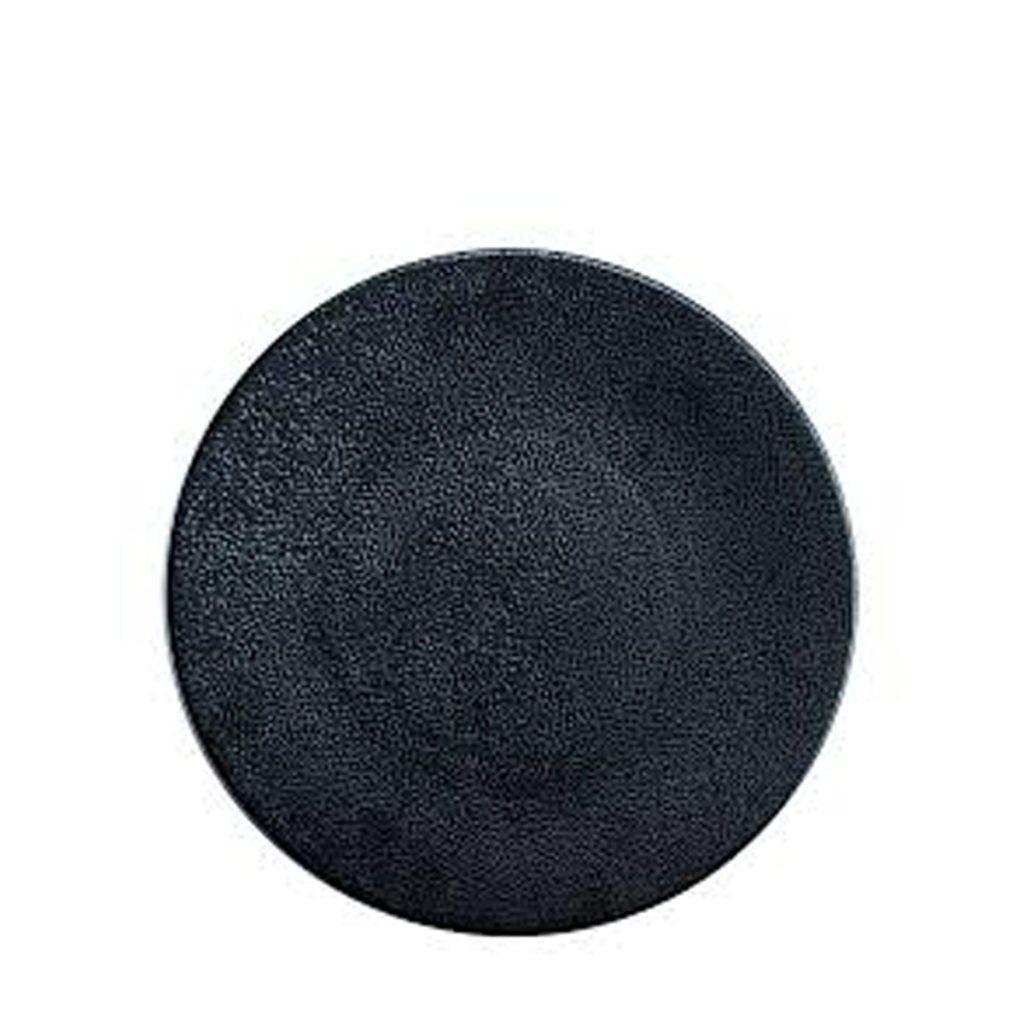
LEATHER STARTER PLATE 190MM
By Luzerne

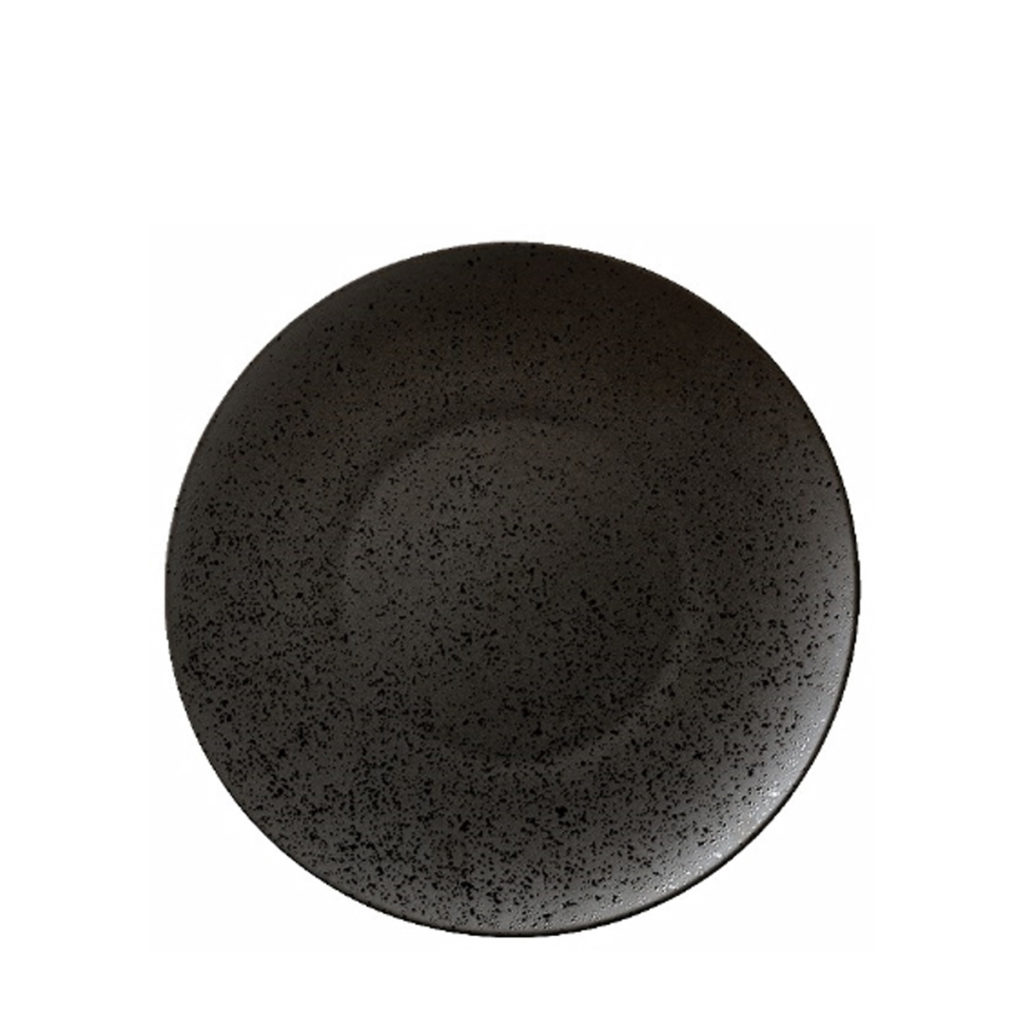
LAVA STARTER PLATE 160MM
By Luzerne

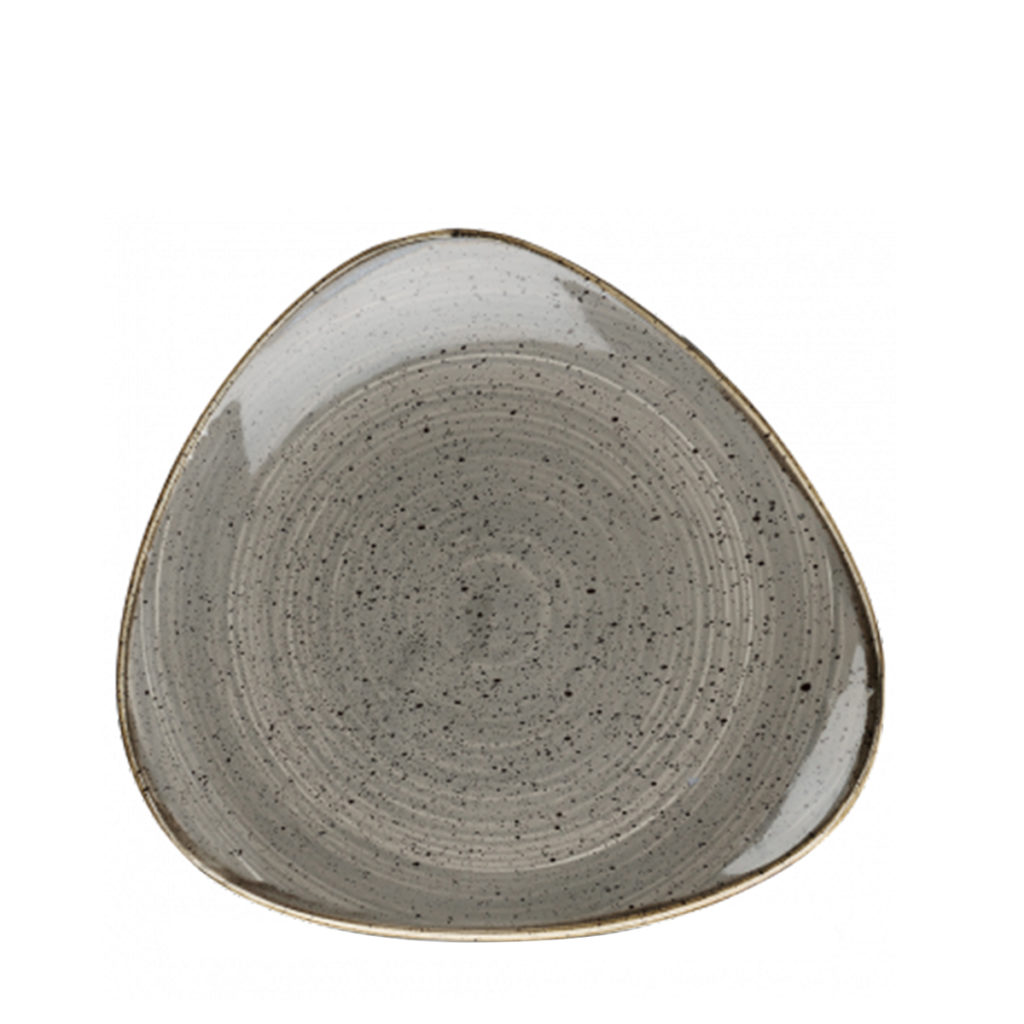
STONECAST TRIANGLE SIDE PLATE 192MM
By Churchill

Salad Plates

Normally round in shape, salad plates can easily be mistaken for bread plates but they are larger, typically measuring around the 205mm mark. They are used for the service of individual portions of salad.

WIDE RIMMED PLATE 200MM

Top view of Fortis' studio plate 195mm in white.

STUDIO SIDE PLATE 195mm
By Fortis

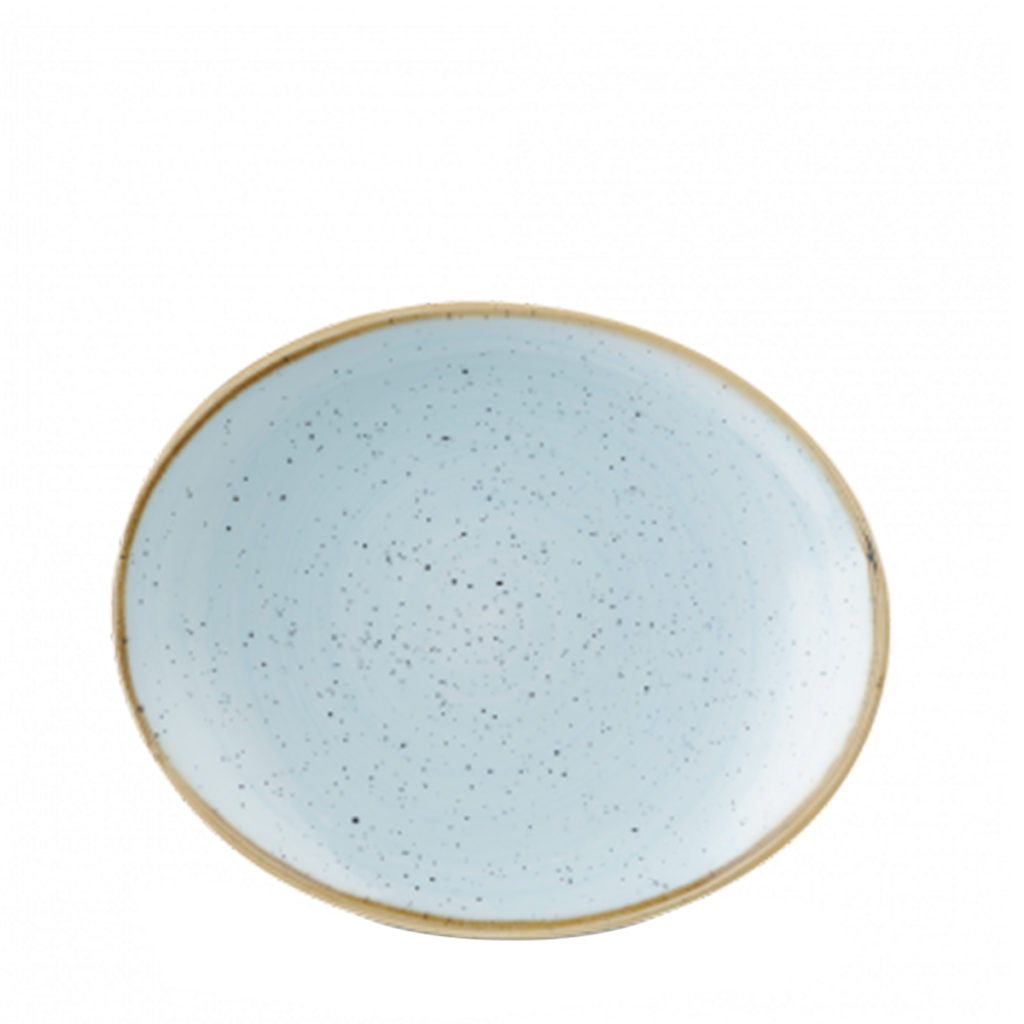
STONECAST OVAL SIDE PLATE 192MM
By Churchill

Dinner Plates

Dinner plates are normally 255mm to 305mm in diameter and are used to serve the main course. These plates are appropriate for lunch and dinner but lunch plates are normally slightly smaller.

There are various styles of dinner plates including the European rim-shaped plate and Eastern coupe-shaped plate. Western meals are generally cut into smaller pieces at the table, which is why rim-shaped plates have a well to collect the juices flowing from the food. Coupe-plates, on the other hand, have no rim because it is made to accommodate the way food is prepared and served in the East. Eastern meals are normally cut into bite-size pieces in the kitchen as opposed to the table. Coupe plates are slightly larger to accommodate the various courses on one plate.

Luzerne's Knit round coupe plate 259mm in blue.

KNIT LARGE ROUND COUPE PLATE 259MM
By Luzerne

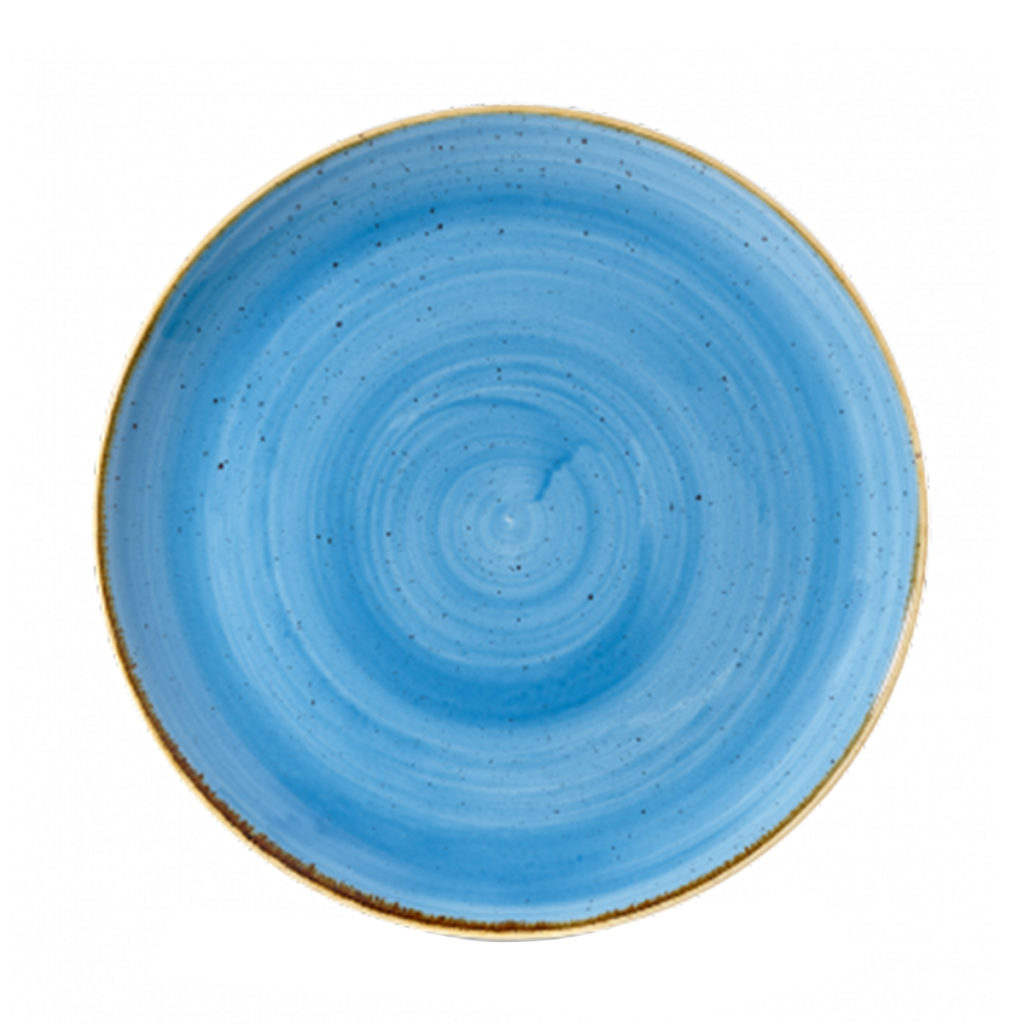
Churchill's Stonecast coupe plate 288mm in blue.

STONECAST COUPE PLATE 288MM
By Churchill

Luzerne’s Web coupe plate 275mm.

WEB COUPE PLATE 310MM
By Luzerne

There are three different types of bowls typically used in food service. The size and shape of the bowl are determined by the temperature and texture of its contents. For instance, thick, chunky soups stay warm and are thus served in shallow, wide bowls so that they can cool down whereas smoother soups are served in deeper bowls to keep them warm for longer. We recommend to always use a charger plate with bowls as it helps protect your table.

Soup Plate

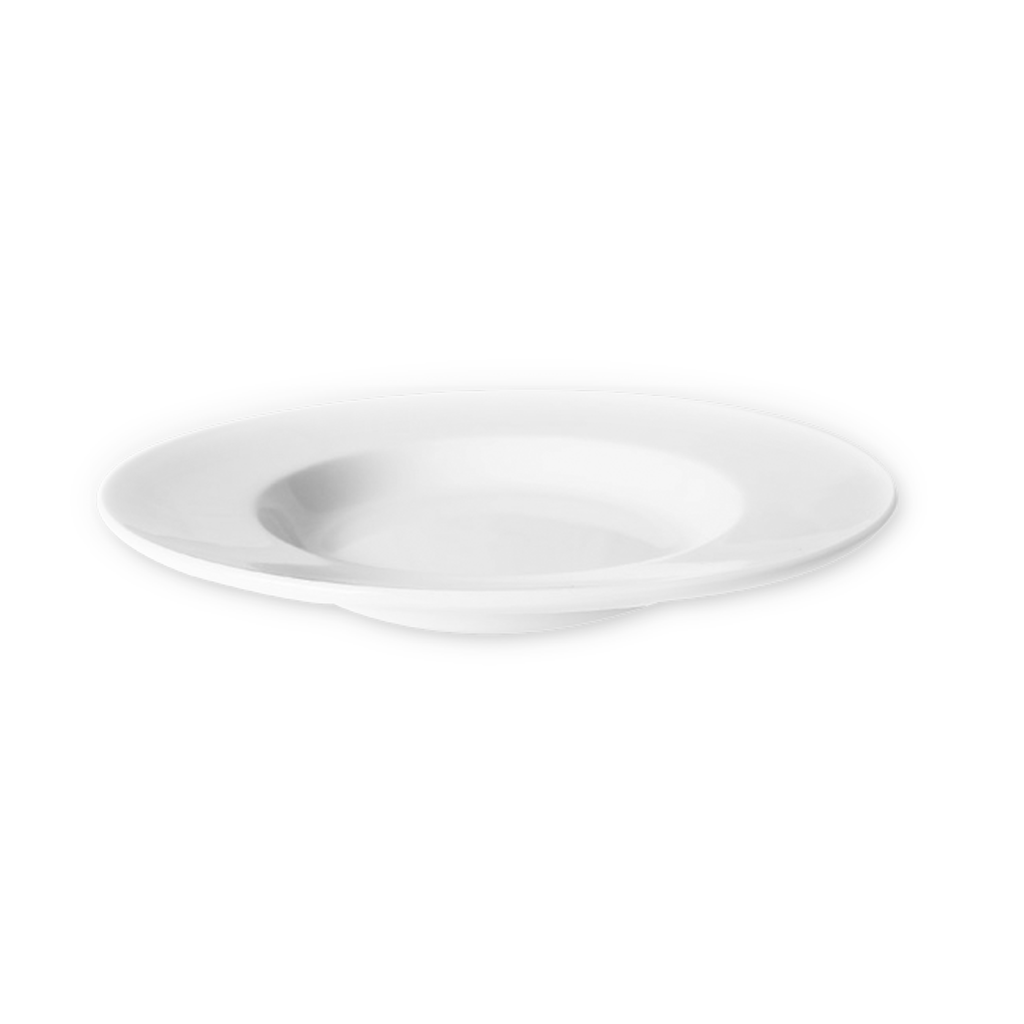
Normally only seen in formal dining settings, soup plates have a wide, shallow bowl with a flanged rim and a unique plate design with a diameter of 240mm, a wide rim of about 38mm, 38mm depth and well with a diameter of 165mm.

ROUND SOUP PLATE 280MM
By Fortis

Coupe Bowl

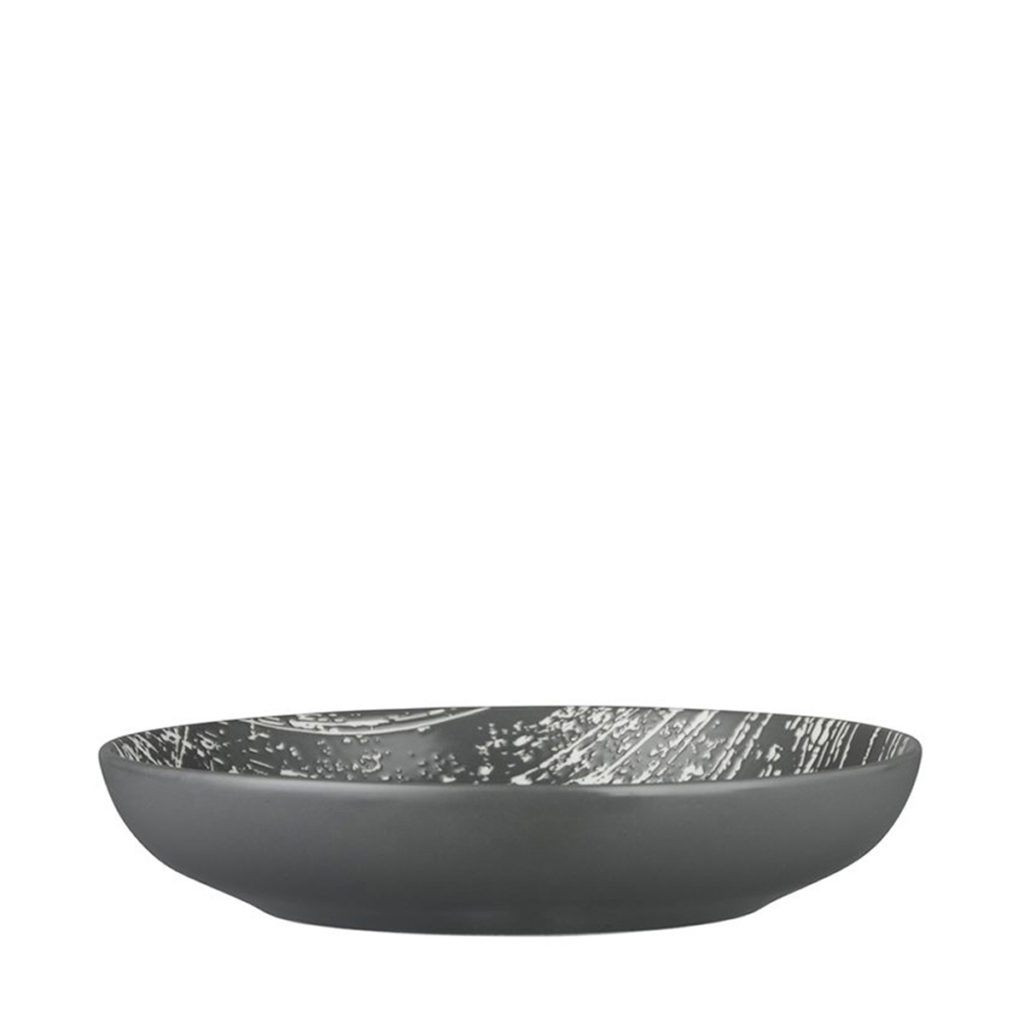
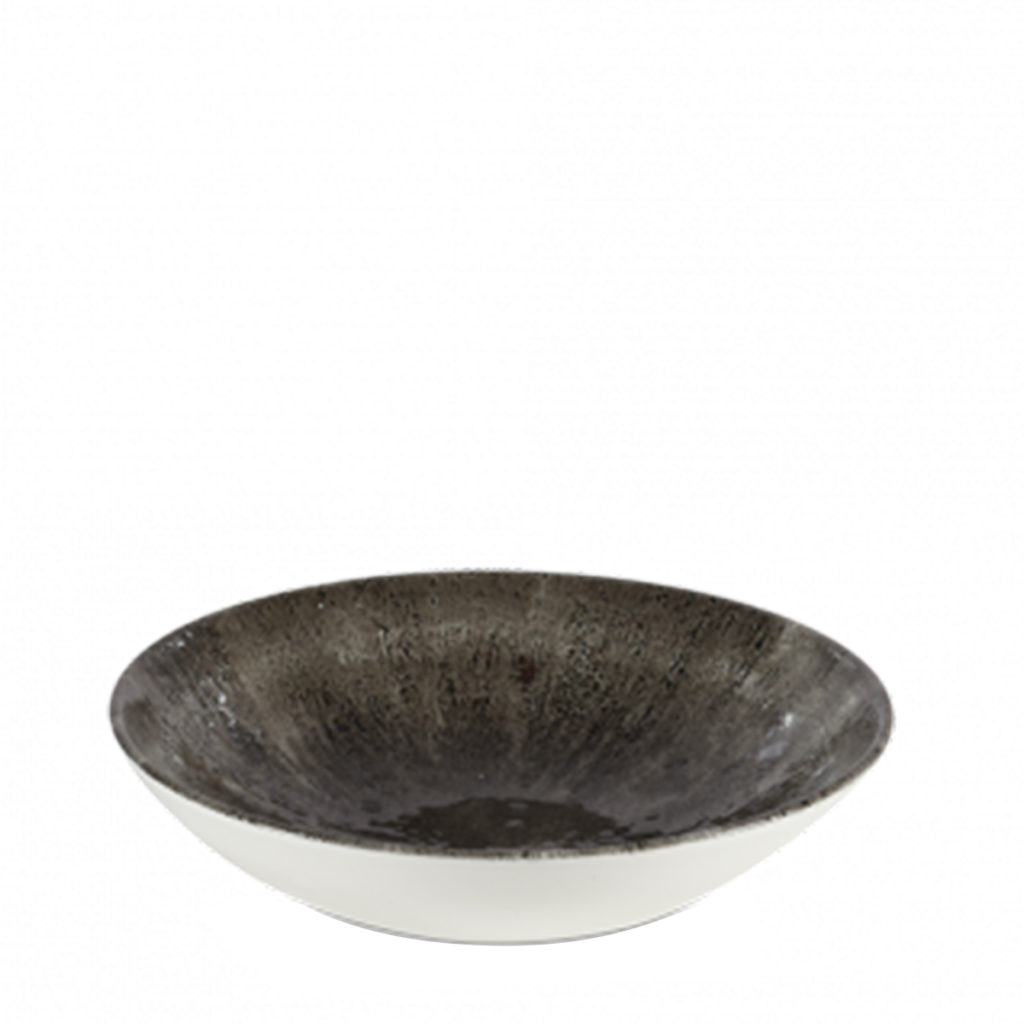
A coupe bowl has a saucer-like shape and can be used for a variety of meals. There are also different styles of coupe bowls on the market like V-shaped bowls that are narrower and wider.

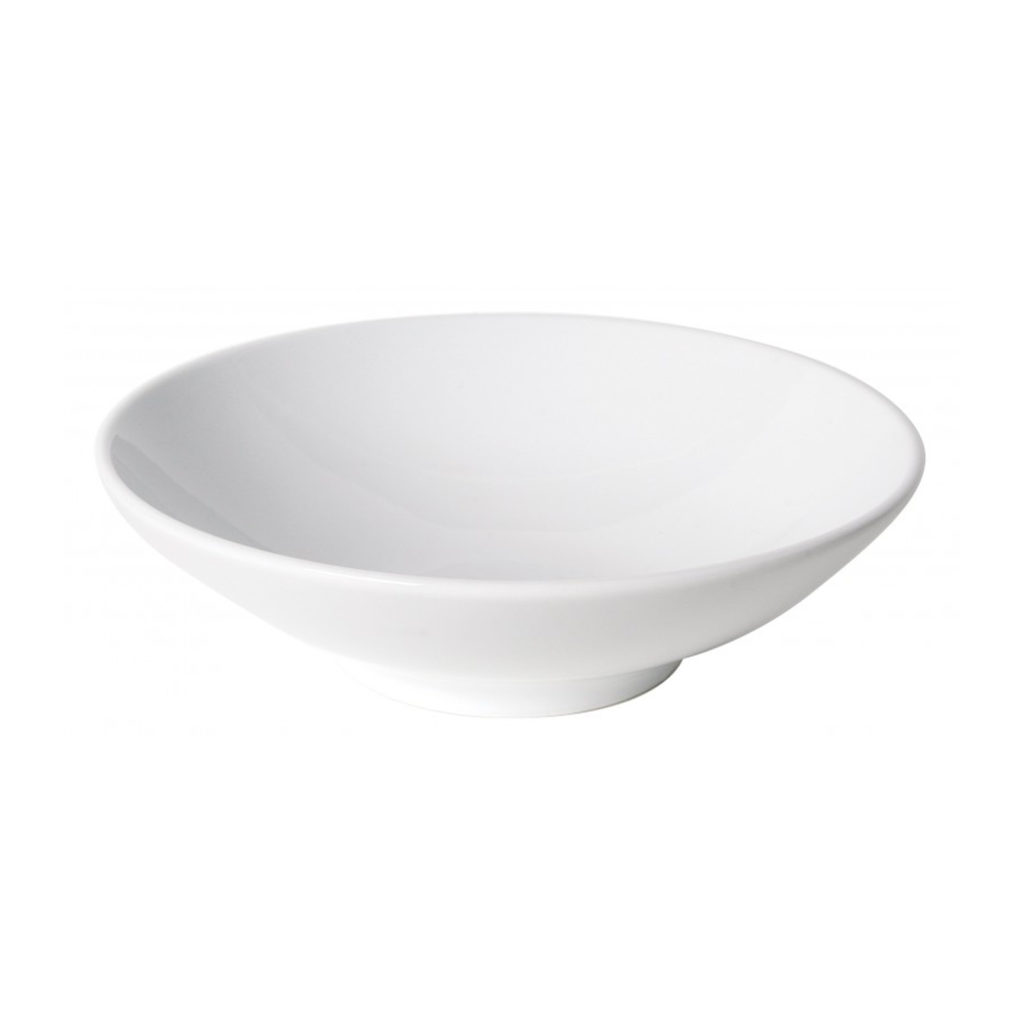
DRIZZLE GREY DEEP COUPE BOWL 180MM
By Luzerne

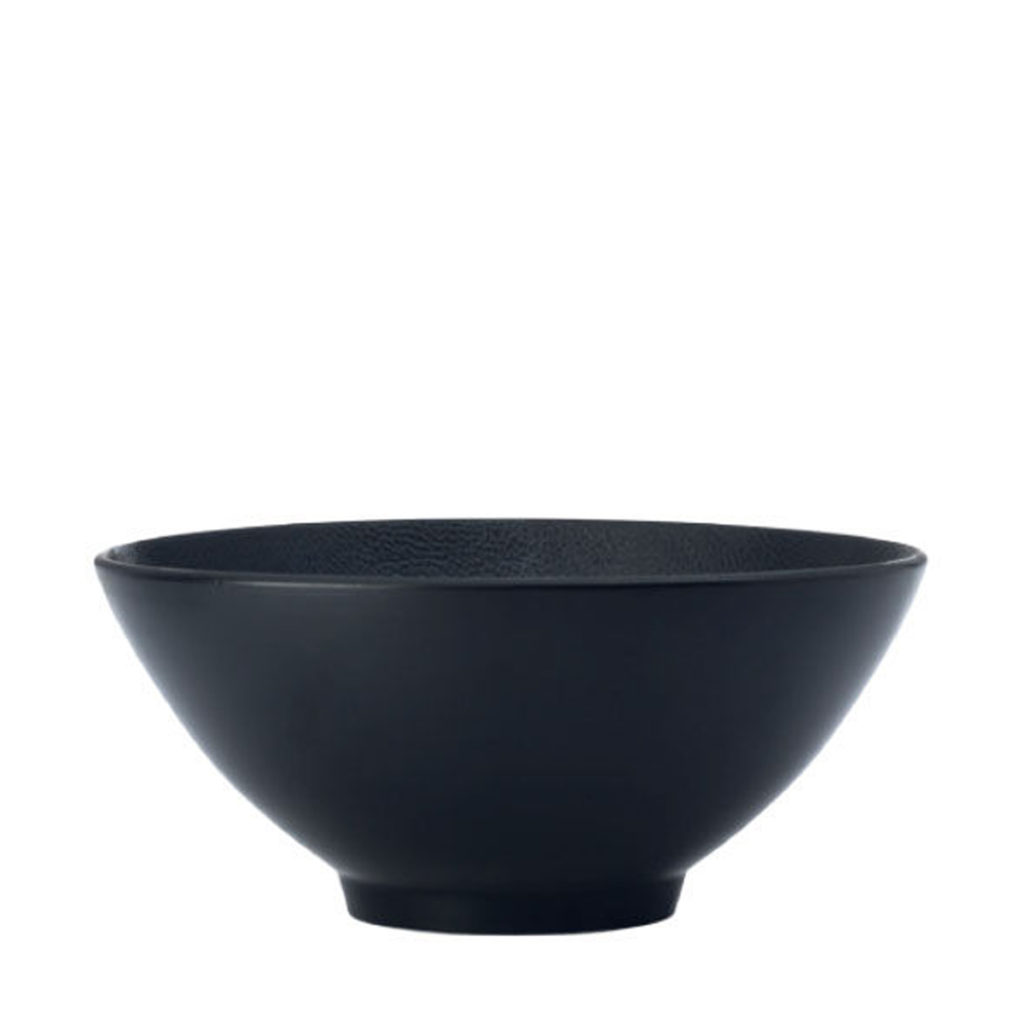
STONE QUARTZ BLACK COUPE BOWL 248MM
By Churchill

URBAN STORM ROUND V-BOWL 180MM
By Luzerne

Soup/Cereal Bowl

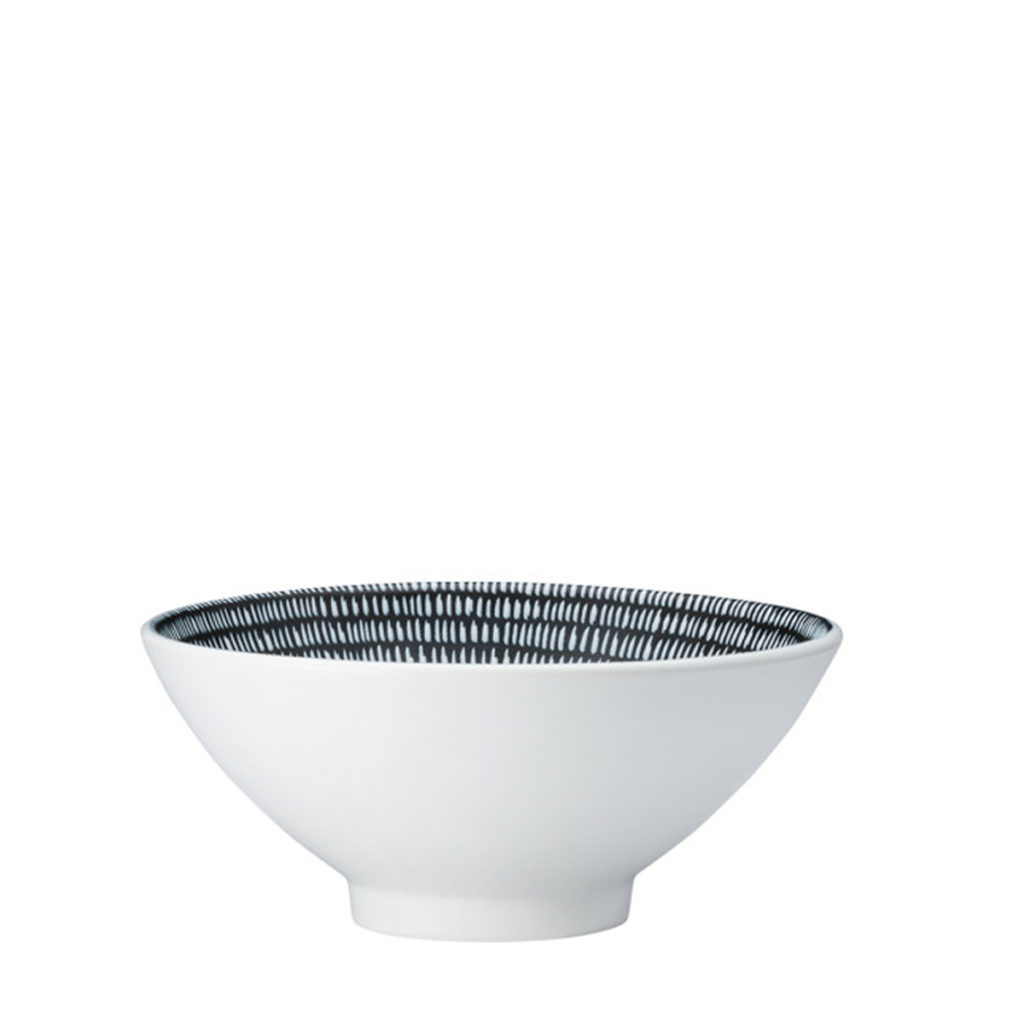
These bowls are not usually used in formal settings. They are appropriate for meals typically eaten with a fork or soup spoon, like salad or pasta. Depending on their style and design, you could use these bowls for the service of a variety of meals.  

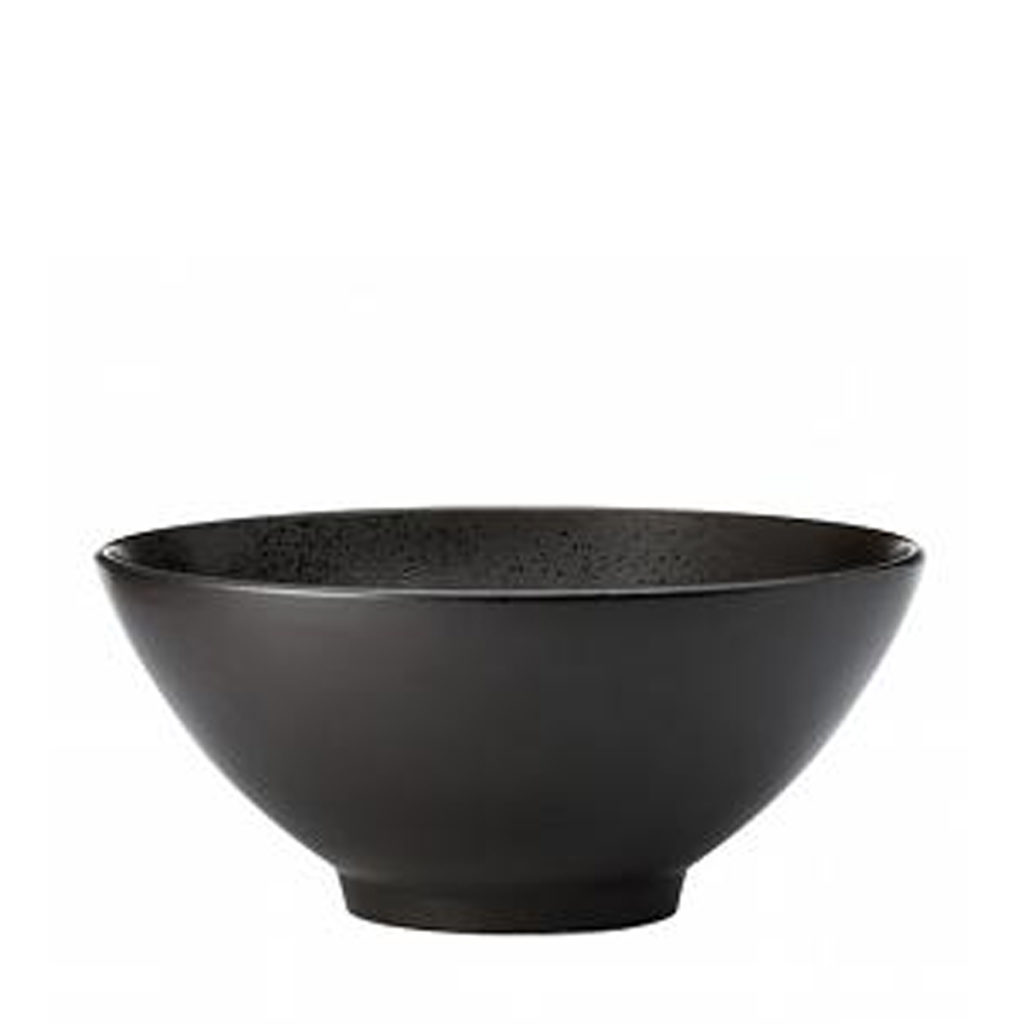
LEATHER V-BOWL 155MM
By Luzerne

LAVA SOUP BOWL 155MM
By Luzerne

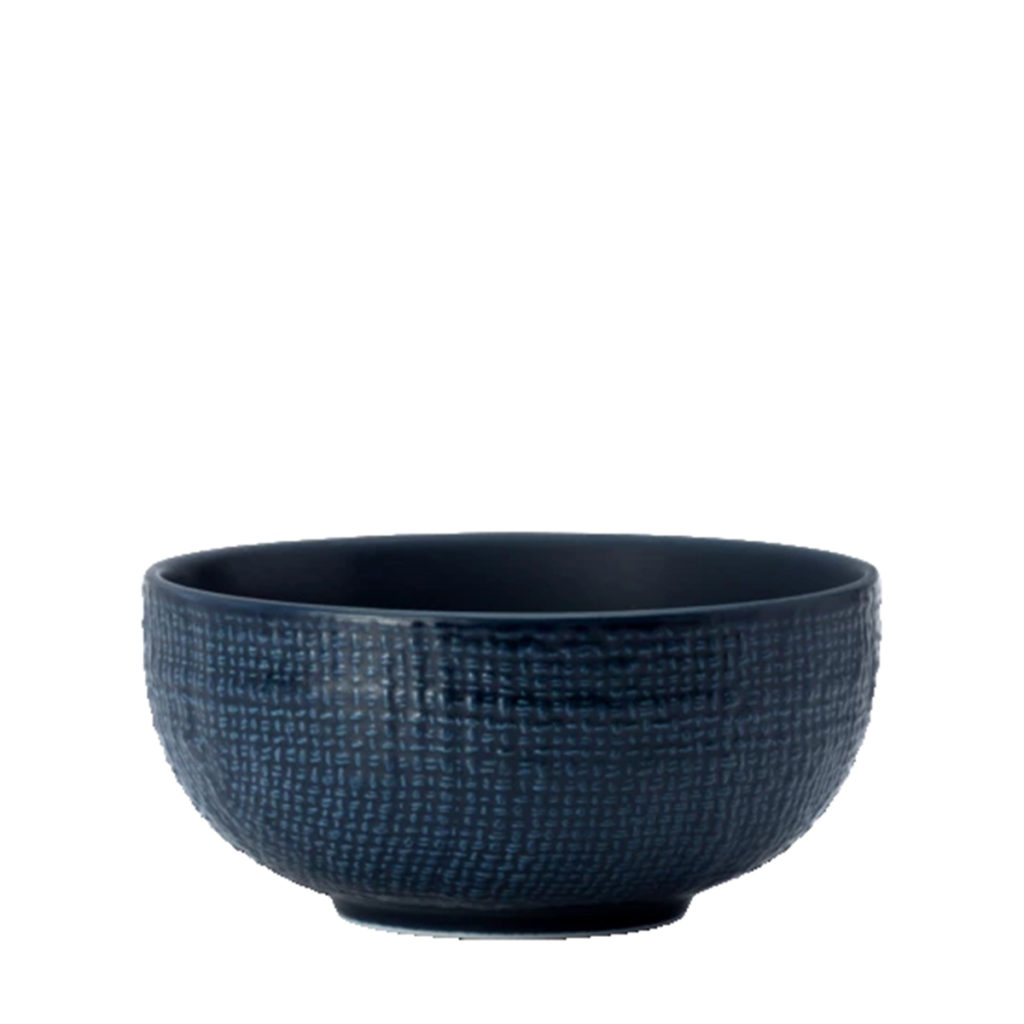
KNIT NAVY BLUE BOWL 125MM
By Luzerne

How to Choose a Dinnerware Set

Your own taste should be the guiding principle for choosing your dinnerware set; however, there are some considerations like trend, colour, versatility and style that should always be kept in mind. Remember, crockery is there for both functionality and to augment the presentation of meals. You may find a certain set of cerulean plates particularly pleasing but later you realise that they don’t complement the full scope of your menu.

When in Doubt Go Classic

A set of white dinnerware will never go out of style and thanks to their neutral colour they complement just about any dish. You may recognise Fortis’ brand of crockery from your local eatery as this brand is the go-to choice for hundreds of restaurants across the country. Their crisp white dinnerware features several durable properties and enhancements that make them tough enough for busy environments. Their Prima range has everything you may need from soup plates to square plates and more.

Fortis' rimmed plate 310mm.

RIMMED PLATE 310MM
By Fortis

COUPE SIDE PLATE 190MM
By Fortis

TREND FLAT BOWL 240MM
By Fortis

Mix and Match

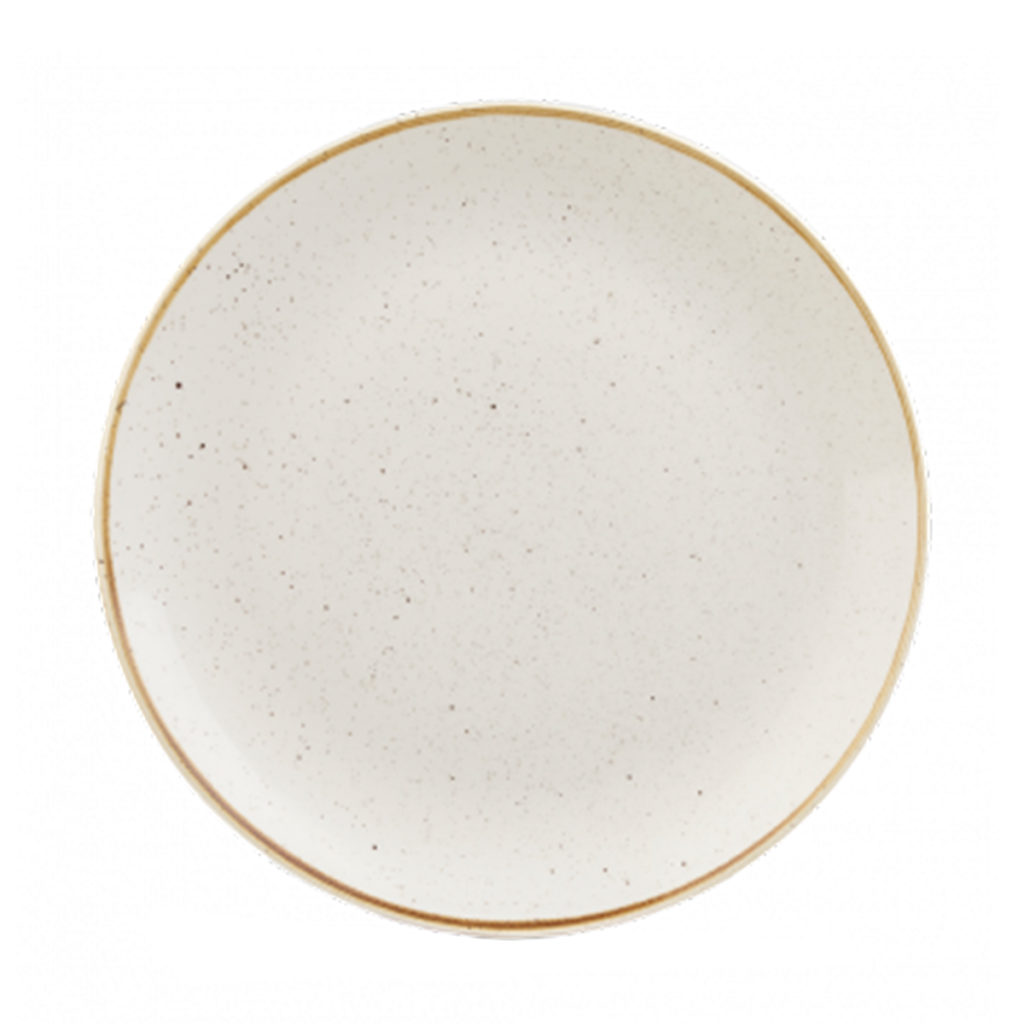
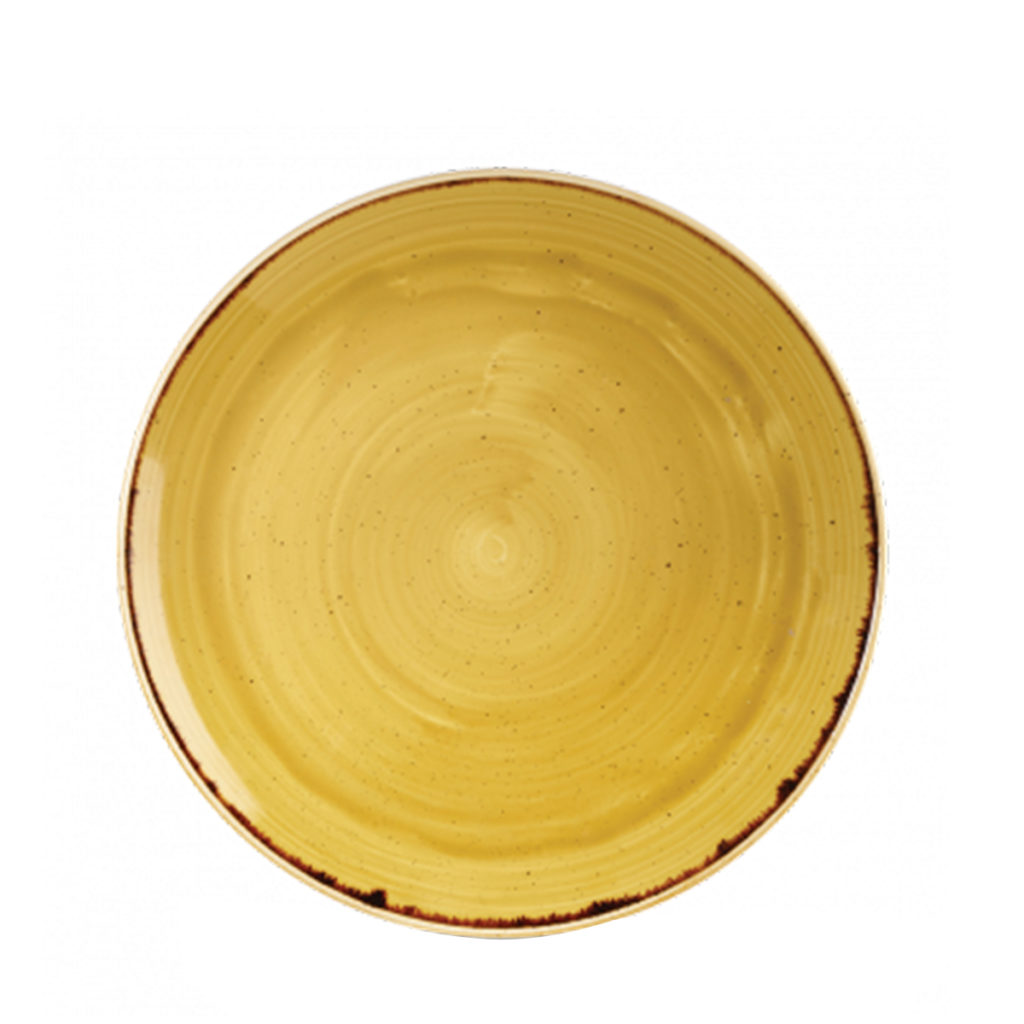
Though a complete set of matching dinnerware provides you with a great foundation of crockery, it confines you to a singular look. For this reason, many people choose to mix their plates and rather match them according to meals. The second option also allows you to complement individual dishes easier. Colour is your guiding principle when it comes to mixing dinnerware. Make sure to choose items whose colours blend within a given harmony, for instance, patterns of the same colour go together well and bring excitement to your table setting.

Churchill's Stonecast coupe plate 288mm in barley.

STONECAST COUPE PLATE 288MM
By Churchill

Churchill's Stonecast coupe plate 260mm in yellow

STONECAST COUPE PLATE 260MM
By Churchill

STONECAST COUPE PLATE 217MM
By Churchill

Textured Settings

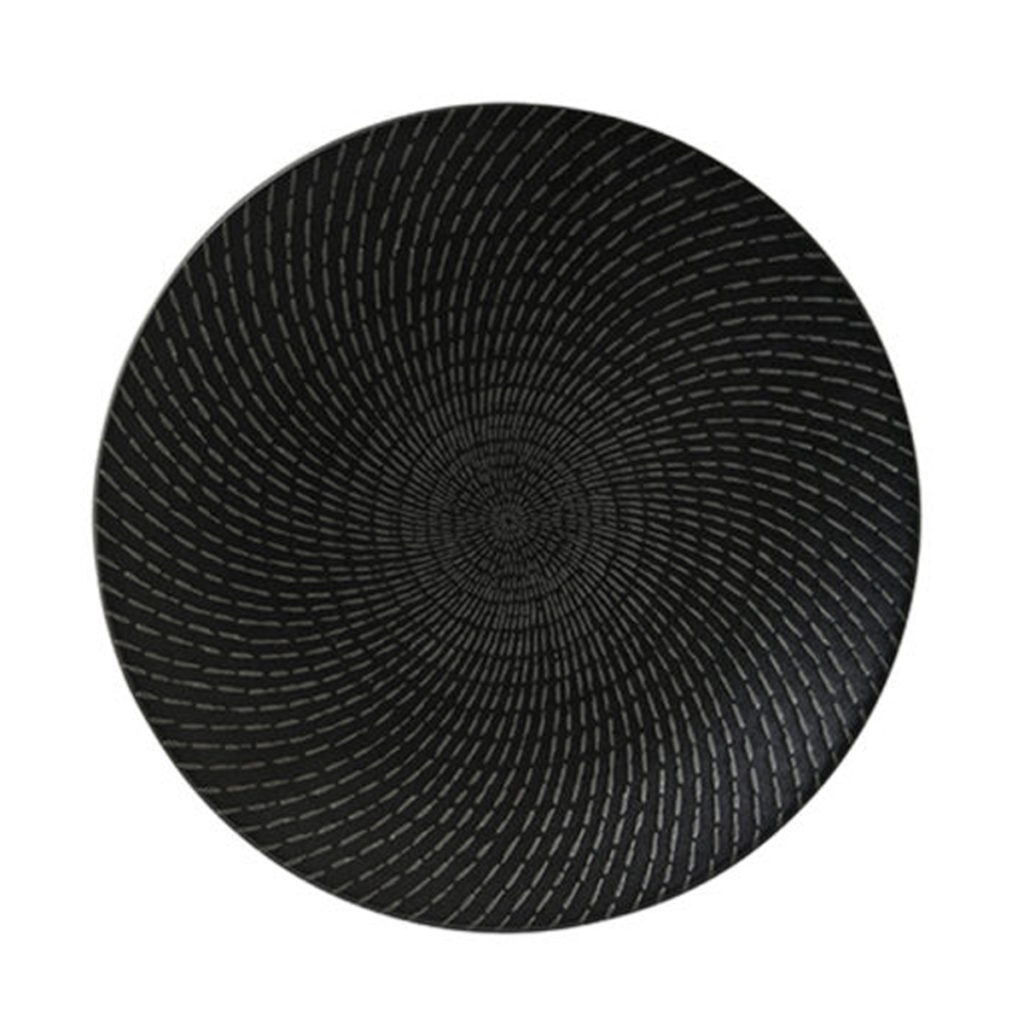
It’s not just crockery that makes up your table setting. Cutlery, glassware, table linen and condiment holders together complete your table presentation. An important element that is often overlooked is texture. Match smooth dinnerware with fine textures in cutlery and linen like silver, crystal and tightly woven lines to lend your table setting a truly upmarket look and feel.  Dinnerware with coarse finishes like pottery works terrifically with rustic materials like wood, stone, and loosely woven textiles.

Luzerne’s Urban deep plate 310mm in black swirl by Luzerne.

URBAN LARGE DEEP PLATE 310MM
By Luzerne

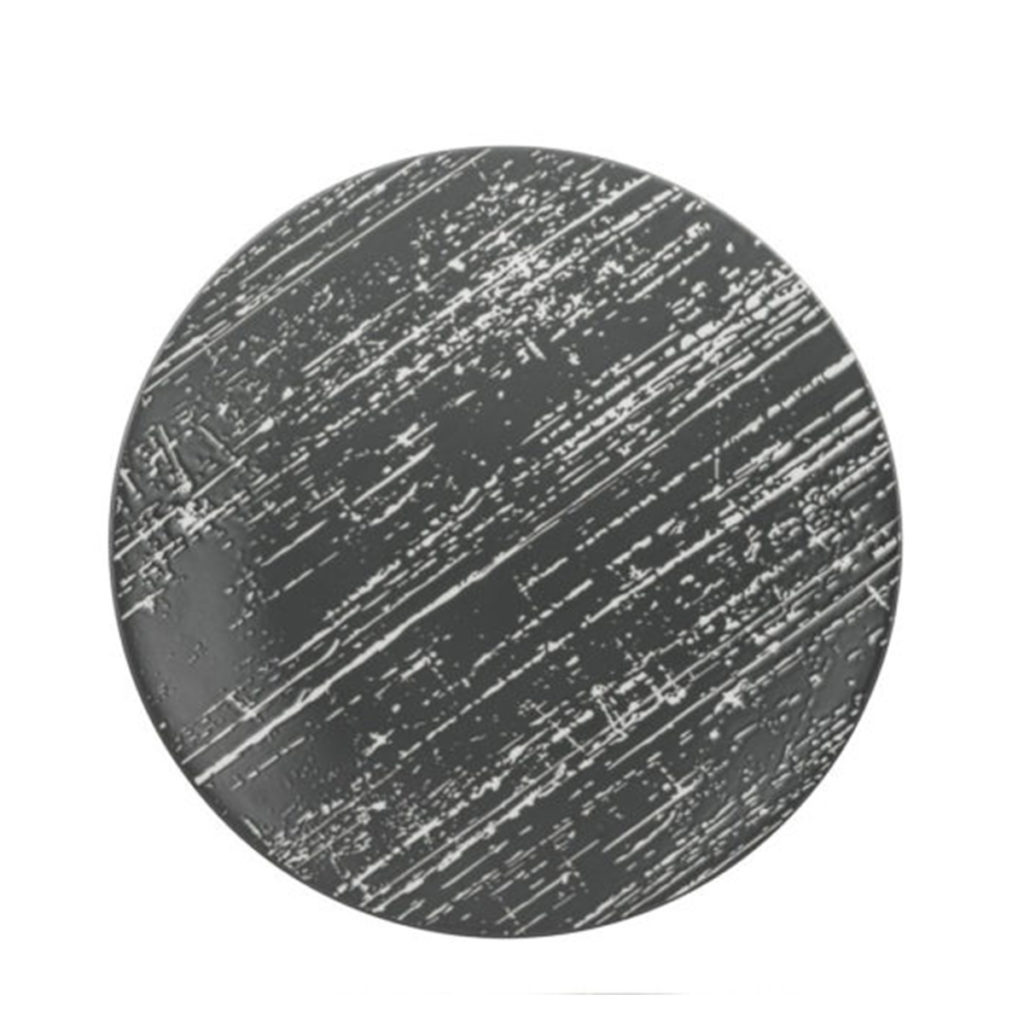
The Drizzle grey round plate by Luzerne.

DRIZZLE GREY ROUND PLATE 210MM
By Luzerne

Luzerne's Knit round coupe plate 230mm in white.

KNIT DEEP ROUND COUPE PLATE 230MM
By Luzerne

At the end of the day, it’s up to you. As much as dinnerware is there to complement your menu and setting, it’s also there to communicate your own style and taste. There is an inexhaustible list of dinnerware brands available at your fingerprints including world-renowned brands like Luzerne, Fortis and Churchill with various ranges and styles to choose from so have fun with it. Shop durable and long-lasting crockery at Core Catering Supplies.

Posted on

CHOOSING THE BEST COMMERCIAL ICE MACHINE

There are so many commercial ice machines out there making it difficult to decide which ones to invest in. The first question you should be asking yourself is how much you will need and how often. It makes little sense to purchase a large ice maker when your business doesn’t serve many patrons daily and vice versa. Once you have established how much you need – the rule of thumb is 300g per patron – you need to choose the type of machine that fits your business. Commercial typically one of the following: modular ice machines, self-contained machines, undercounter ice machines and countertop ice dispensers.

Modular Ice Machines

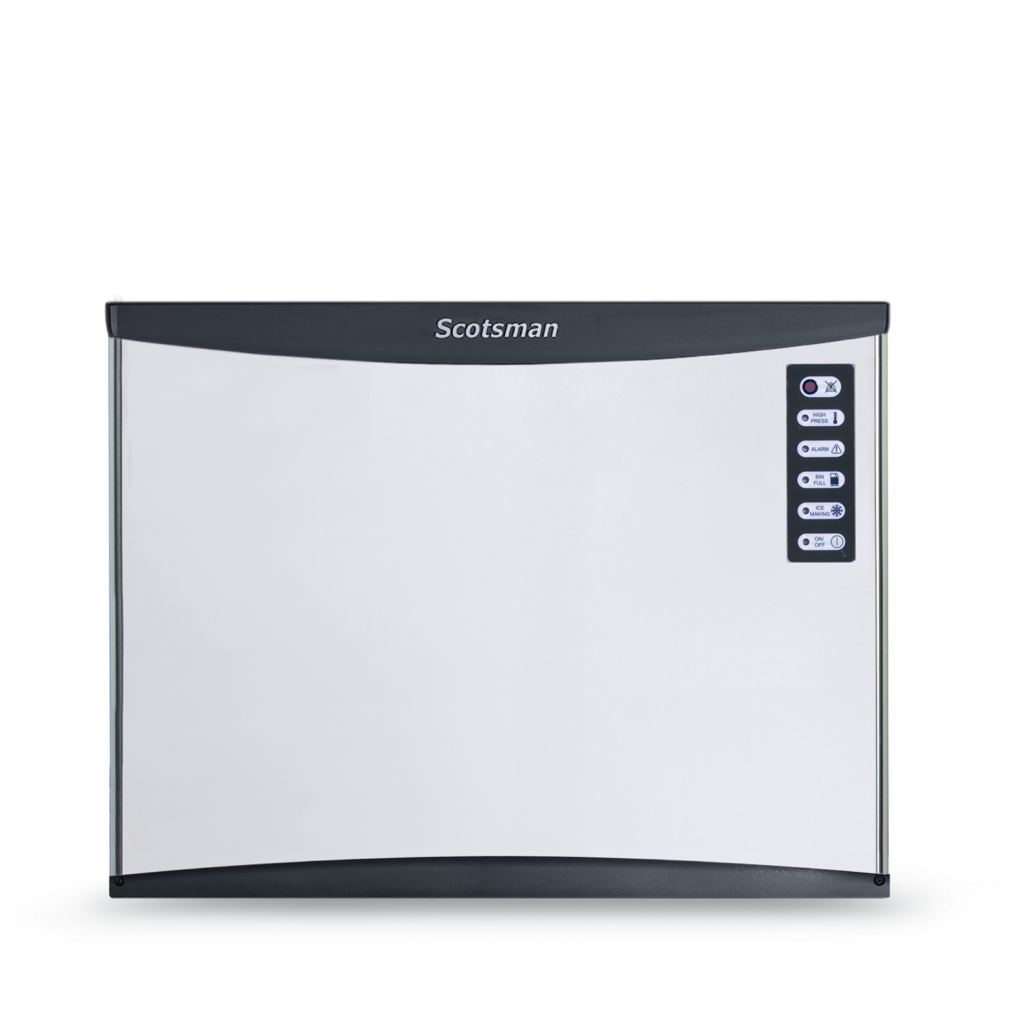
Designed to sit on top and supply ice to ice machine bins, modular ice makers can also be used with ice dispensers and soda dispensers, and allow you to swap out bins and bases. They typically produce between 140 to 330kg daily.

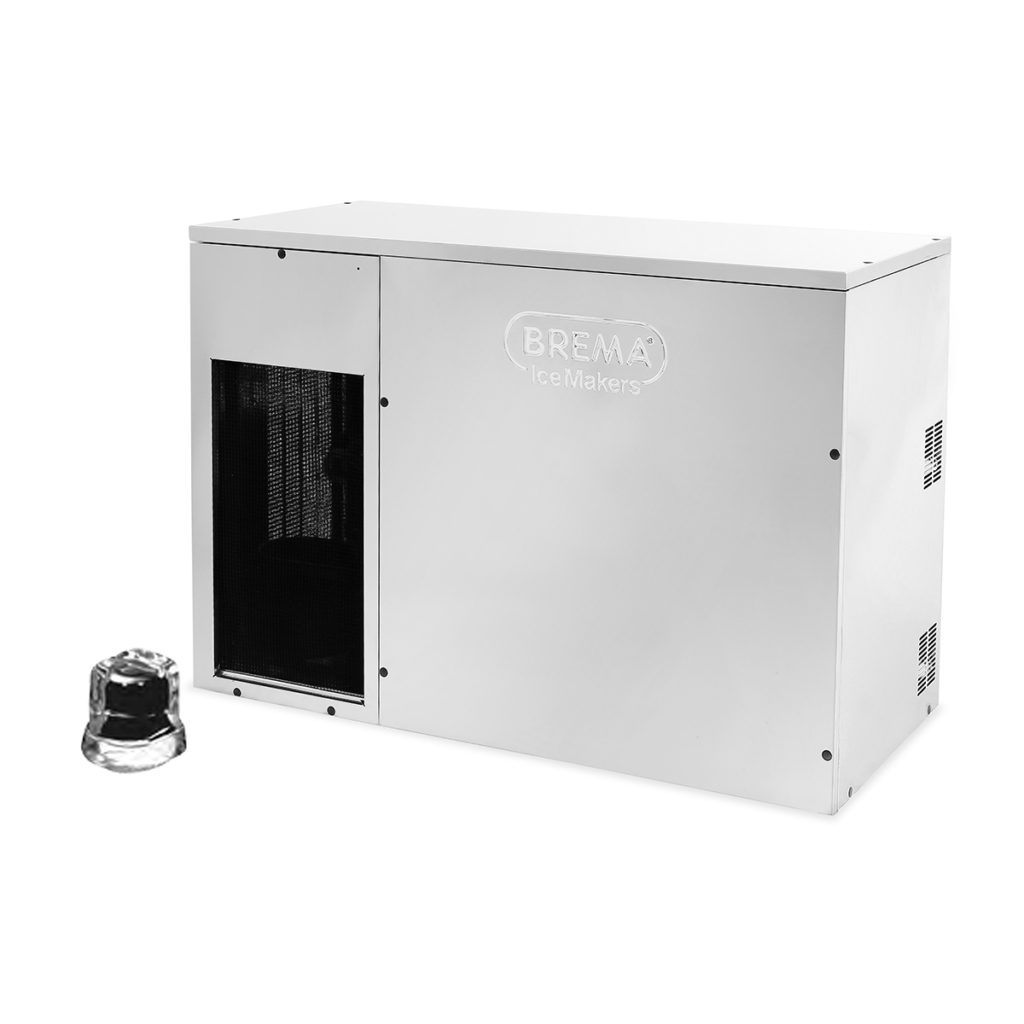
The modular gourmet ice cube maker by Brema.

MODULAR GOURMET ICE CUBE MAKER
By Brema

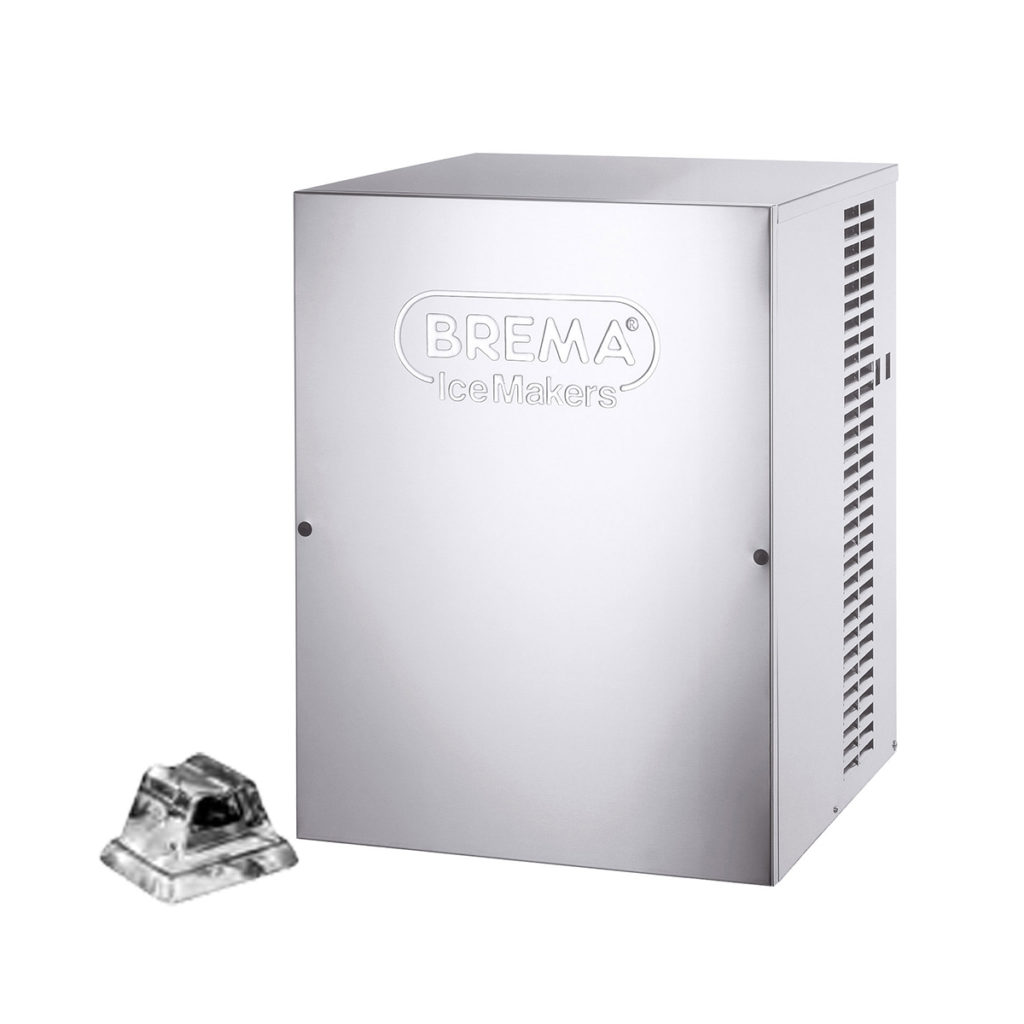
The modular fast ice machine by Brema

MODULAR FAST ICE MACHINE
By Brema

The modular gourmet ice machine by Scotsman

MODULAR GOURMET ICE MACHINE
By Scotsman

Self-contained Ice Machines

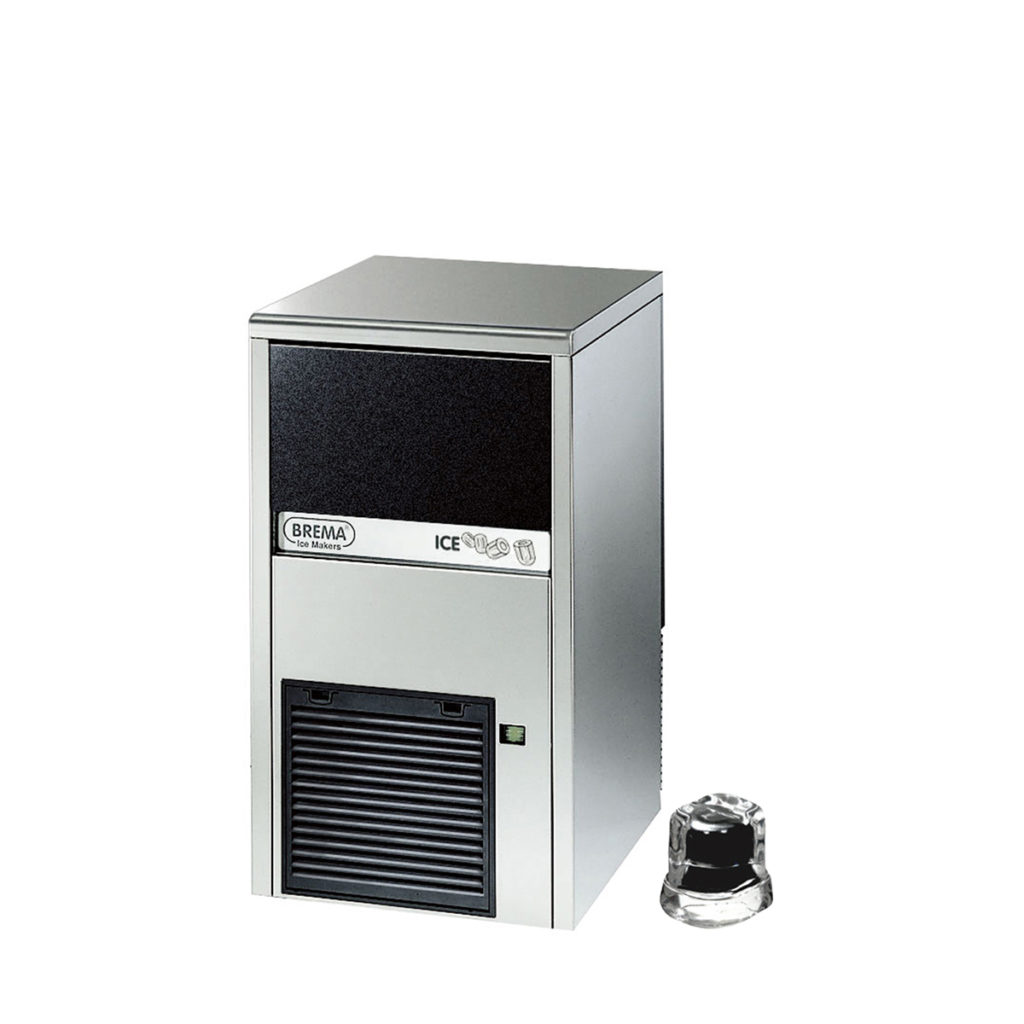
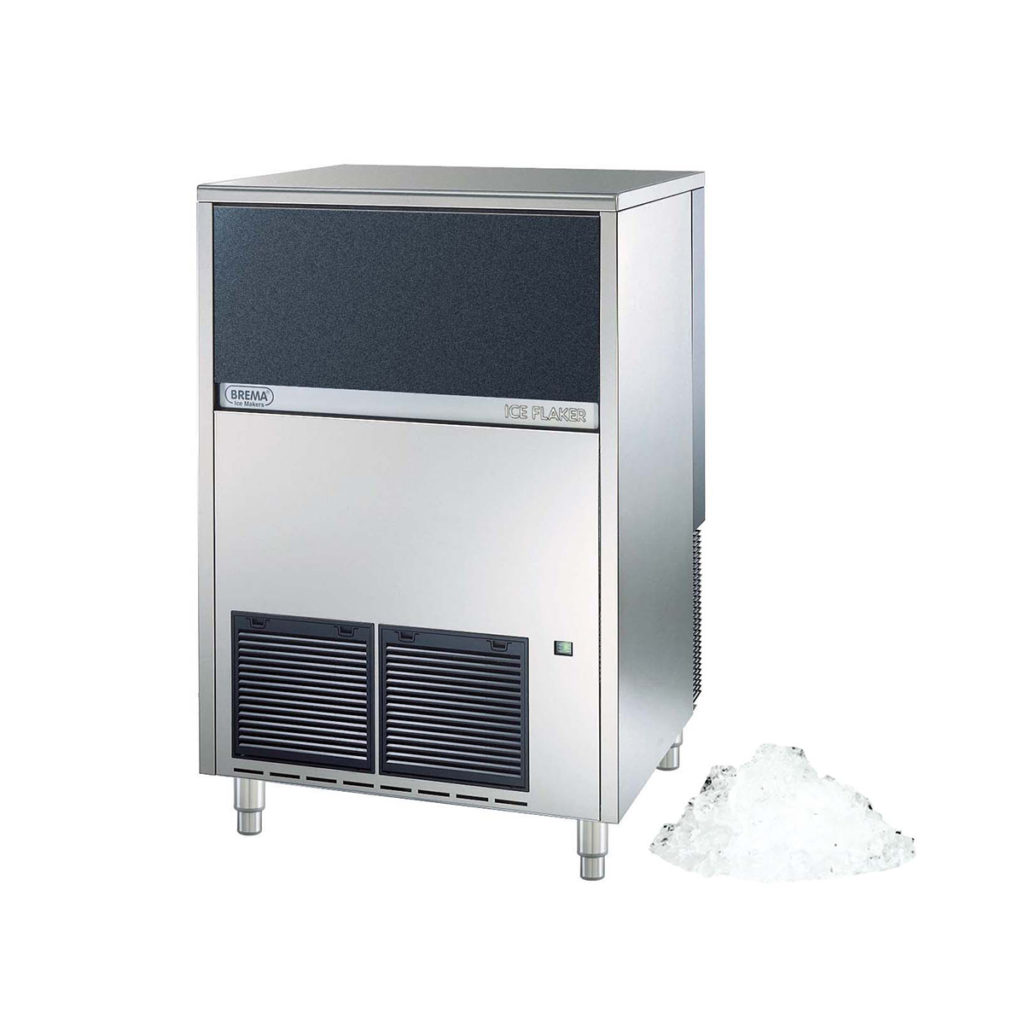
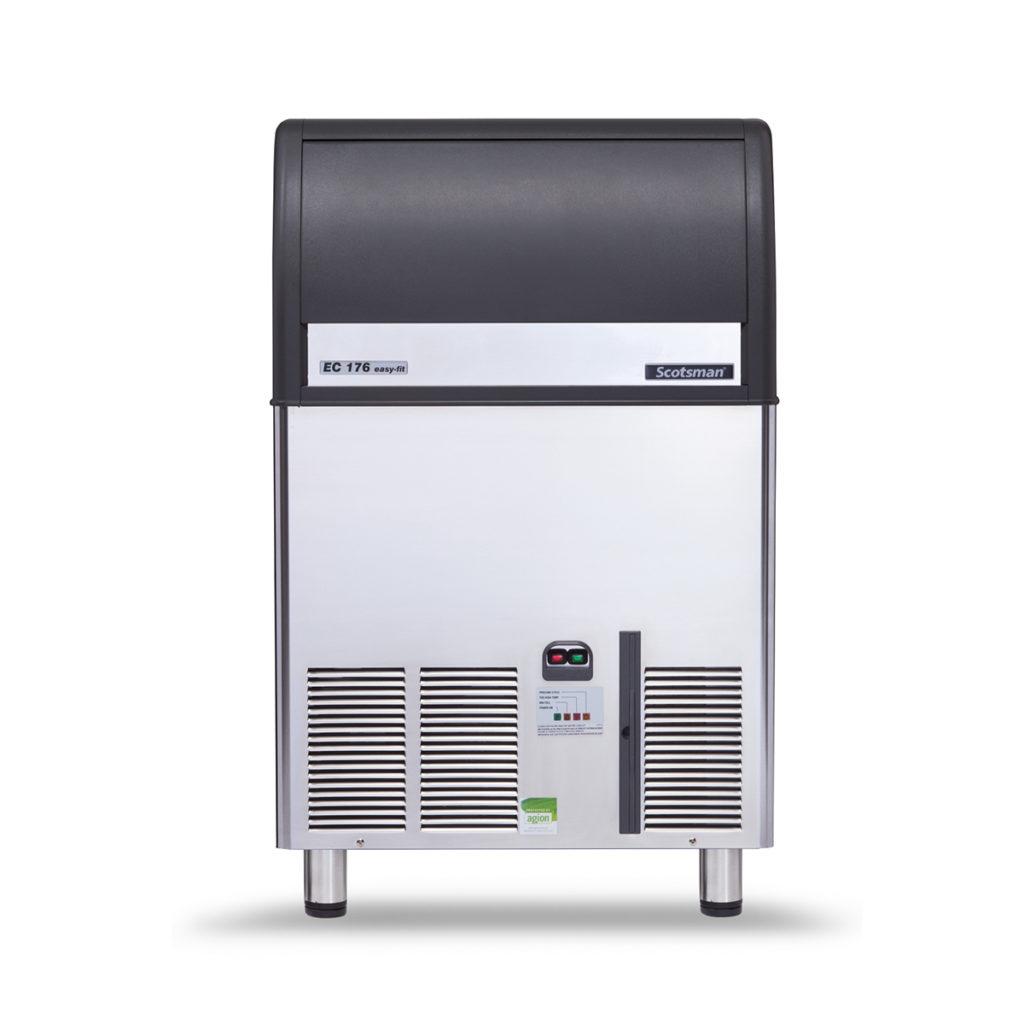
Unlike modular ice machines, these appliances come complete with their own bins or dispensers to assist with ice collection and production. They are generally larger than other ice makers but can be found in a range of sizes, allowing you to find one that best meets your needs.

The self contained gourmet ice cube maker by Brema.

SELF CONTAINED GOURMET ICE CUBE MAKER
By Brema

The self contained ice flaker by Brema.

SELF CONTAINED ICE FLAKER
By Brema

The self-contained ice machine with legs by Scotsman.

SELF-CONTAINED ICE MACHINE WITH LEGS
By Scotsman

Undercounter Ice Machines

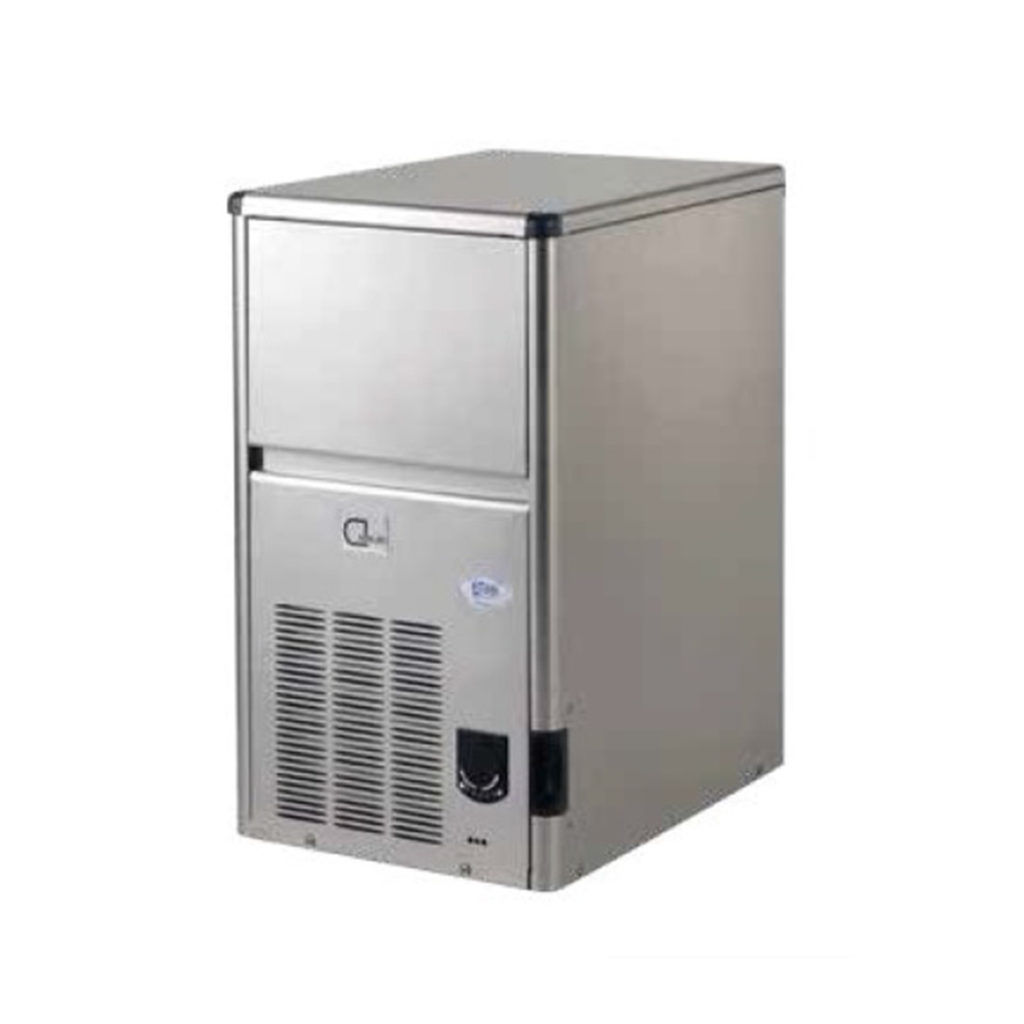
As the name suggests, these appliances fit snugly under the counter are typically built as a self-contained unit, meaning they have their own ice bins. These are generally suited for small bars, cafes and restaurants.

The small self-contained ice maker by Scotsman.

SMALL SELF-CONTAINED ICE MAKER
By Scotsman

The small self-contained ice machine by Scotsman.

SMALL SELF-CONTAINED ICE MACHINE
By Scotsman

Different Types of Ice

After you have chosen the type of ice machine for your business you must make sure they produce the kind of ice you need. Some types of ice melt slower while others may be easier to chew which allows you to use it for a variety of purposes.

Cube Ice

Cube ice is the preferred option for commercial businesses as they offer the best customer experience. This is because they melt slower than other types of ice, ensuring your drinks don’t dilute as quickly. Cube ice also comes in a variety of shapes and sizes, so find the ones you like best.

Nugget Ice

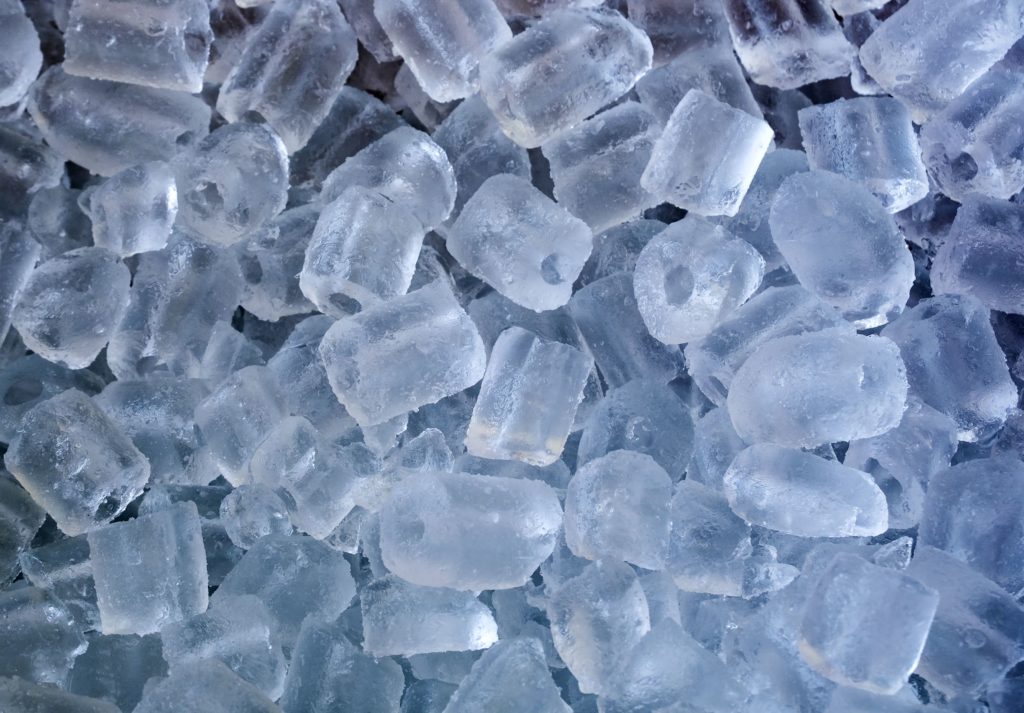
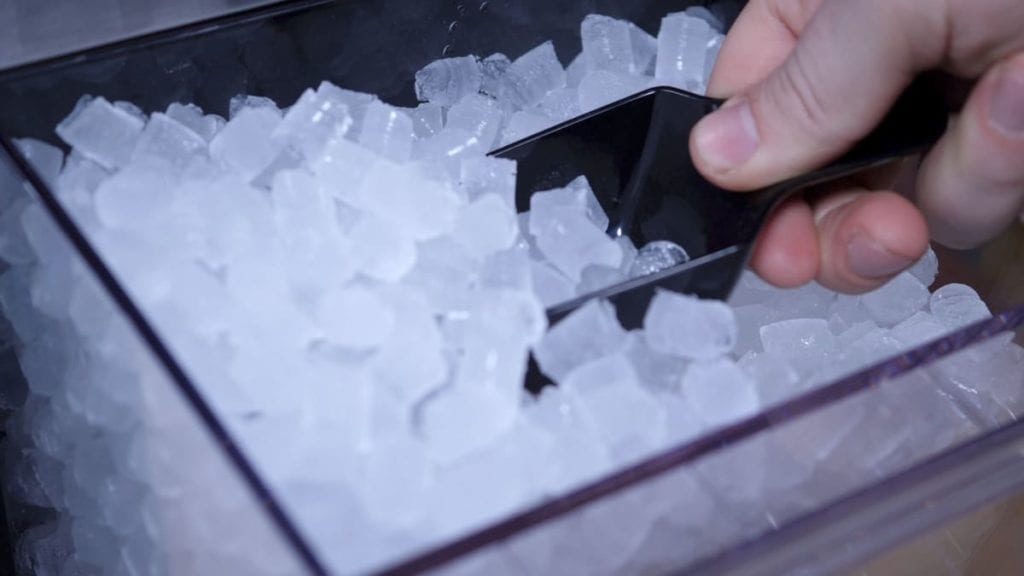
Nugget ice is made from compacted flake ice and is thus softer, for this reason, it is the ideal, blender-friendly ice but can also be used for a variety of purposes like chilling drinks and food displays. It has a small cylindrical shape and is easy to chew.

Flake Ice

Flake ice is almost exclusively used in food and drink displays as they cool food quickly, keep it fresh and can easily be moulded into any shape. This type of ice is made just below zero degrees Celsius.

Different Types of Ice Machine Condensing Units

The next step is determining what type of compressor you want your ice machine to have.

Air Cooled

Air-cooled ice machines are typically your most energy-efficient ice machines because they don’t incur additional water costs. However, certain conditions must be in place in order for them to work, for instance, air-cooled ice makers must have at least 152mm distance from air intake and discharge areas.

Water Cooled

Water-cooled ice machines use water for cooling and are thus more expensive to use. It is recommended to use a water-cooled ice machine only in one of the following circumstances.

  • If the ambient temperature is above 26°C
  • If the area has air filled with contaminants
  • If there isn’t enough clearance for an air-cooled option

Remote Cooled

Typically only used if an air-cooled or water-cooled can’t be installed as it is much more expensive. These machines are air-cooled but the cooling condenser is put in a different place as the ice machine itself, normally outside with refrigerant lines connecting the two parts. This results in a much quieter and cooler ice machine.

Figuring Out How Much Ice You Need

Before you make a purchase, check the ice yield of the machine you are looking at. This will be described as how many kilograms of ice the machine produces in 24 hours. Always keep in mind that future consumption of ice could increase for instance with changing seasons or business expansion, so try to choose a machine that will you allow to deal with unpredictability.

Below you will find a list of estimates we have compiled to help you plan your purchase:

  • Restaurant: 500g of ice for every meal sold
  • Cocktail bar: 1kg of ice per seat
  • Beverage service: 148ml ice per 207-296ml cup, 237ml ice per 355-473ml cup and 355ml ice per 532-710ml cup

Benefits of Using More Than One Ice Machine

You might think its best practice to get all of your ice from one machine but what about its downtime? What happens if it breaks and you’re waiting for it to get fixed? If you use multiple smaller machines you can ensure you always have ice on hand in a crisis scenario. It will also help your staff get ice faster, cutting down service time as they can fetch ice from multiple sources.

External Factors That Affect Ice Output

You will find that ice makers are sized according to their ice output, however, there are factors that could affect prevent them from running optimally. Here’s how you can create the optimal environment for your ice maker.

  • Air temperature: Make sure you follow the ventilation and air temperature guidelines in the manual of your machine. Especially when using air-cooled ice machines, poor ventilation and high ambient temperatures can have a dramatic effect on output.
  • Water temperature: Make sure the water feeding into your system is the proper temperature. If it is too hot, the machine will have to work harder and consume more energy, resulting in lower output.
  • Water quality: Make sure your potable water is properly filtered as mineral deposits can form on the internal components of your machine, slowing down the flow of water into the machine.
  • Maintenance: Make sure to follow the machine’s manual on maintenance and cleaning if you want it to function optimally. If you do not properly clean the machine buildup can form inside it, constricting water flow and creating bad quality ice.

Installation Advice

Once you have bought your ice machine, you have a few things to consider before installing it. Place your ice maker in a location that not only has optimal ventilation but is also easy to reach for your staff. Make sure your ice machine has a cold water supply with a shutoff valve and a floor drain. As most machines are not equipped with a cord and plug, you will need to get an electrician to hardwire the machine for you.

Choosing the Right Ice Bin

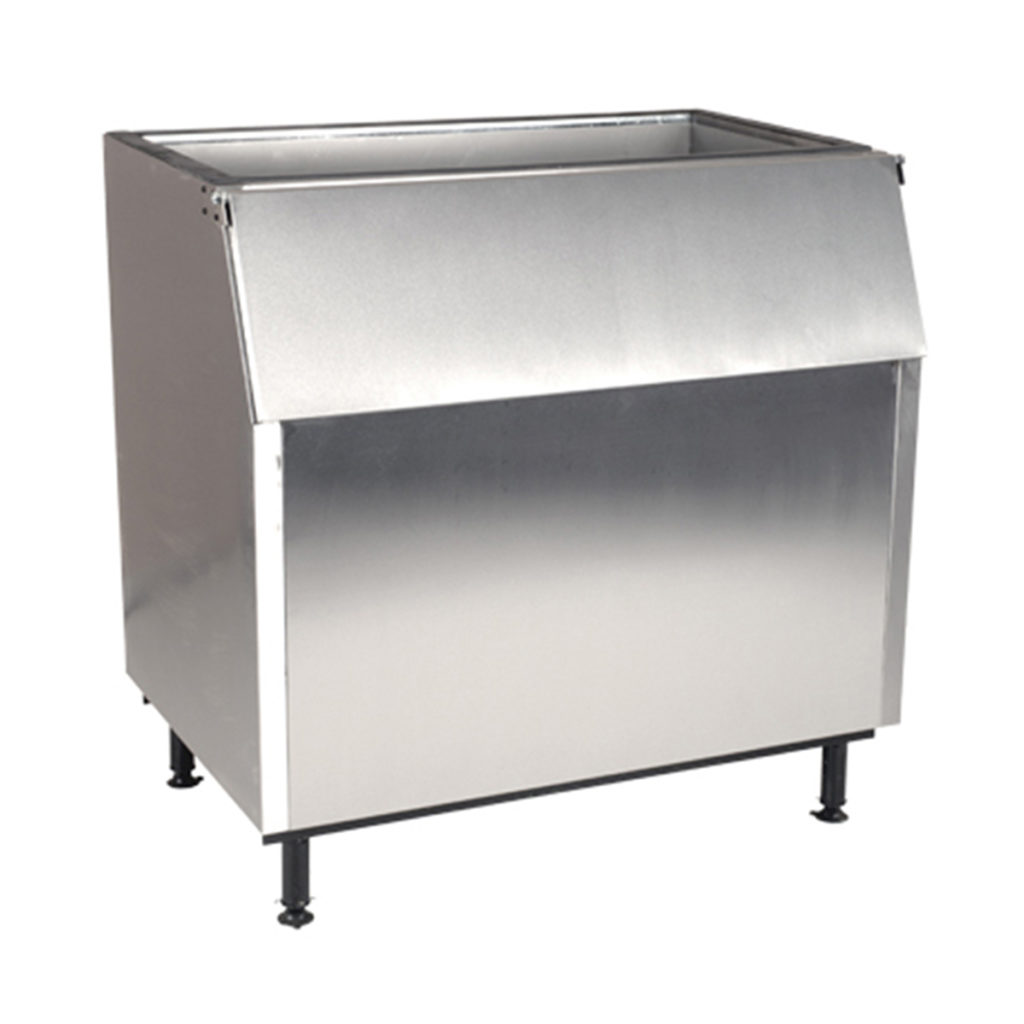
When using modular ice machines you need to have a corresponding ice bin that captures and stores the ice you are making. Choosing the right ice bin can be just as tricky as choosing the right ice machine so we have created a list of tips for you to assist with your choice.

  • Size: Obviously the bin must have enough space for your ice output, however, we recommend you choose one that has a slightly larger capacity than the ice you use daily. However, avoid choosing a bin that is too big as it can result in wasted ice and it can become an excellent breeding ground for mould and bacteria.
  • Schedule: Choose a bin that matches your peak times so that you can plan your ice production in advance. If your business is only busy during very specific times, you can, for instance, choose a small ice machine with a larger bin so that you always have enough ice for those hectic periods.
  • Daily use: Keep in mind that your staff will be collecting ice as your machine continually produces it so you could actually choose a smaller bin than the capacity of the ice maker.
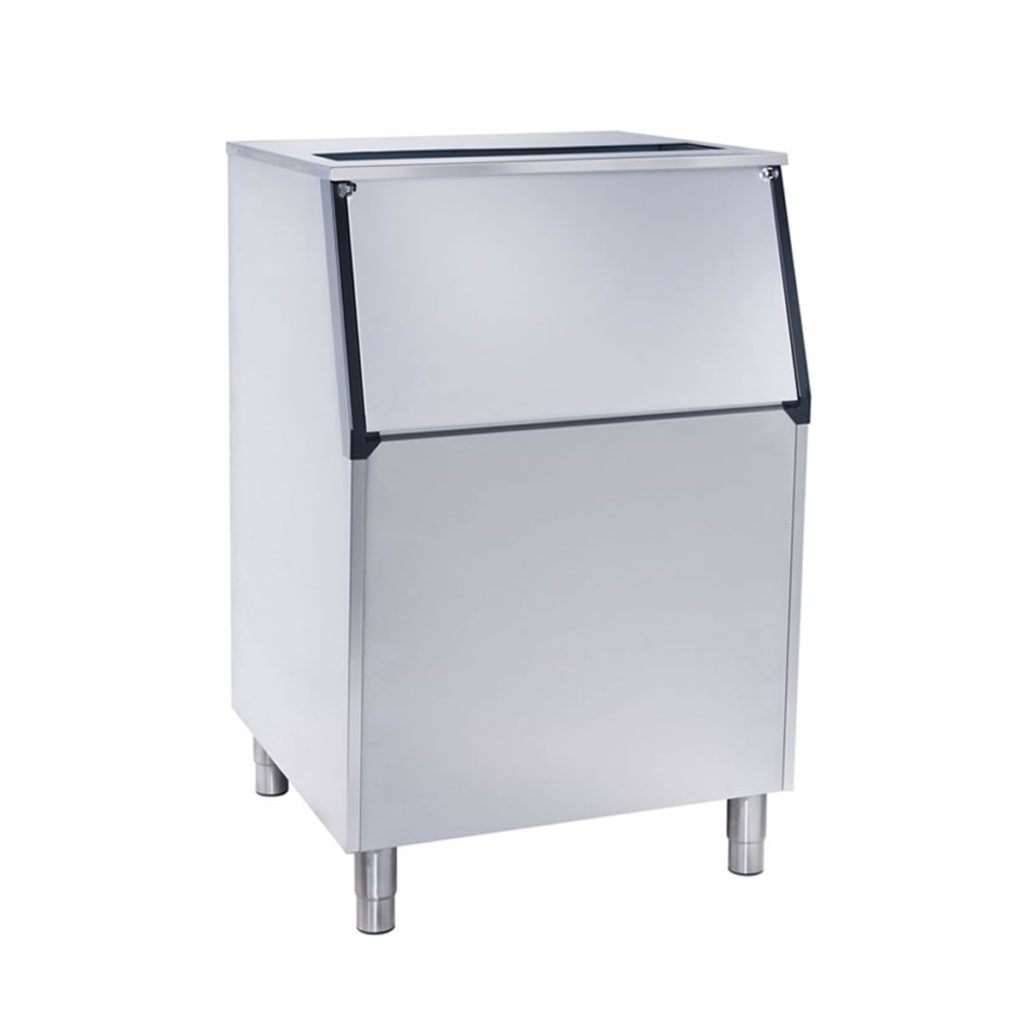
Modular gourmet ice cube maker bin.

MODULAR GOURMET ICE CUBE MAKER BIN
By Brema

The modular fast ice maker bin by Brema.

MODULAR FAST ICE MAKER BIN
By Brema

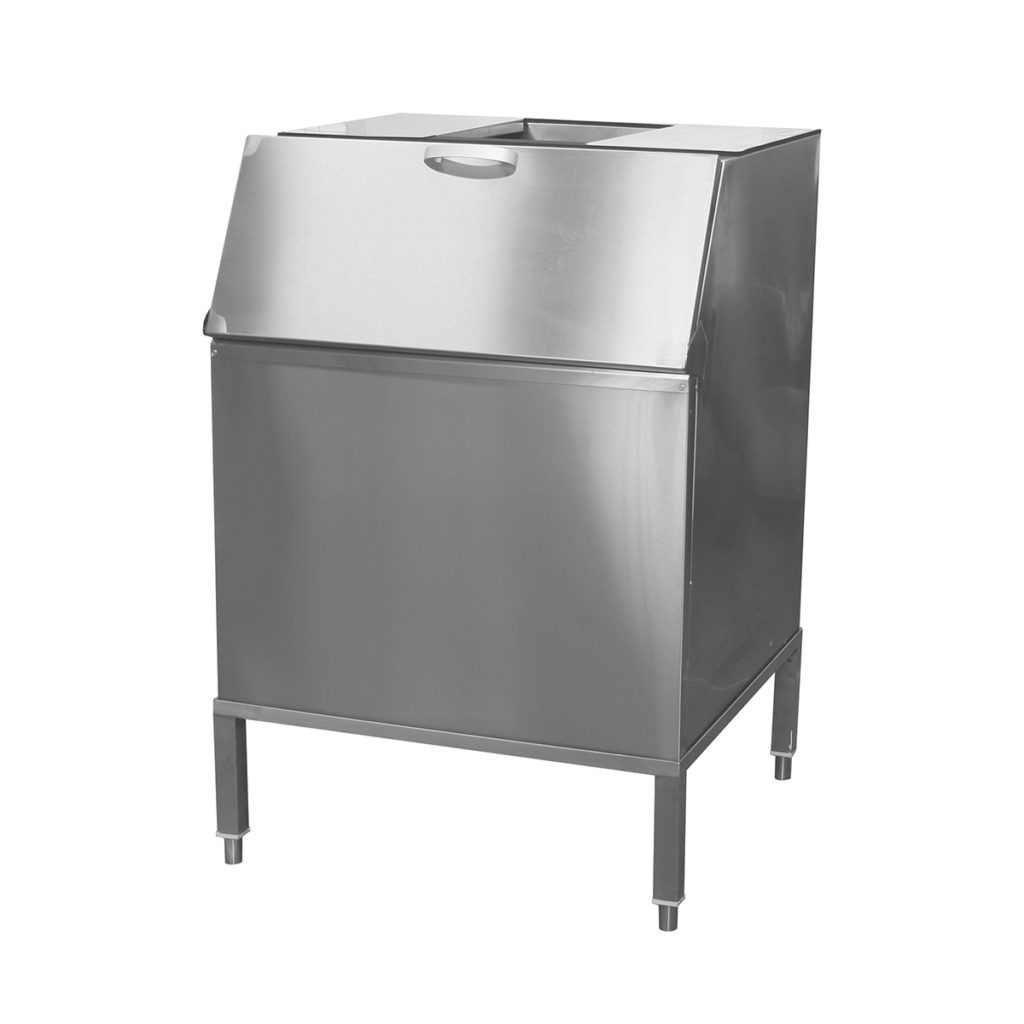
The ice bin by Scotsman.

ICE BIN
By Scotsman

Use Filtered Water

There are so many benefits to using filtered water for your ice production from making beverages taste better to prolonging the life of your machine. Unfiltered water can create mineral deposits in your machine, which, as we explained previously, can prevent your machine from functioning optimally. In some cases, you can even void the warranty on your machine if you were using poor quality water.

Ice Machine Accessories

We offer a range of accessories that complement the use of your ice machines and make your staff’s life easier.

Ice Buckets and Scoops

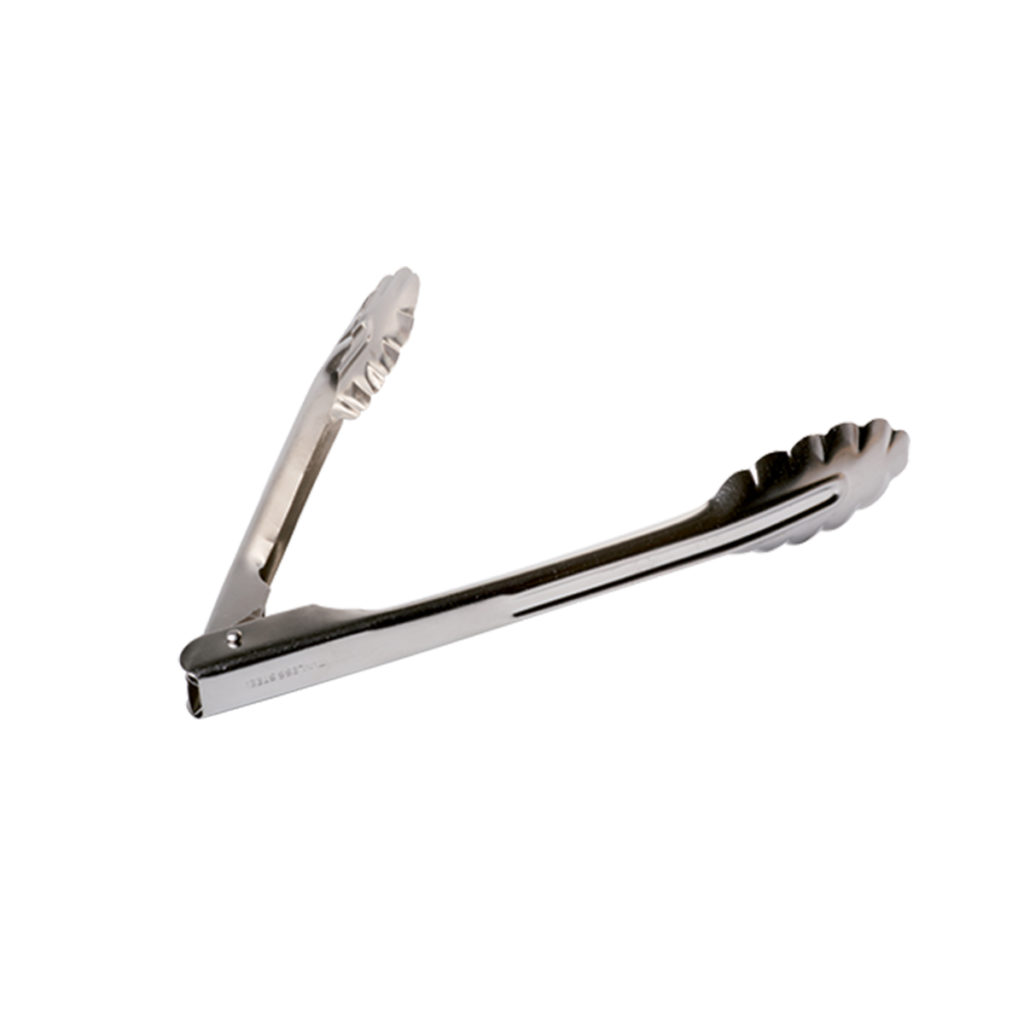
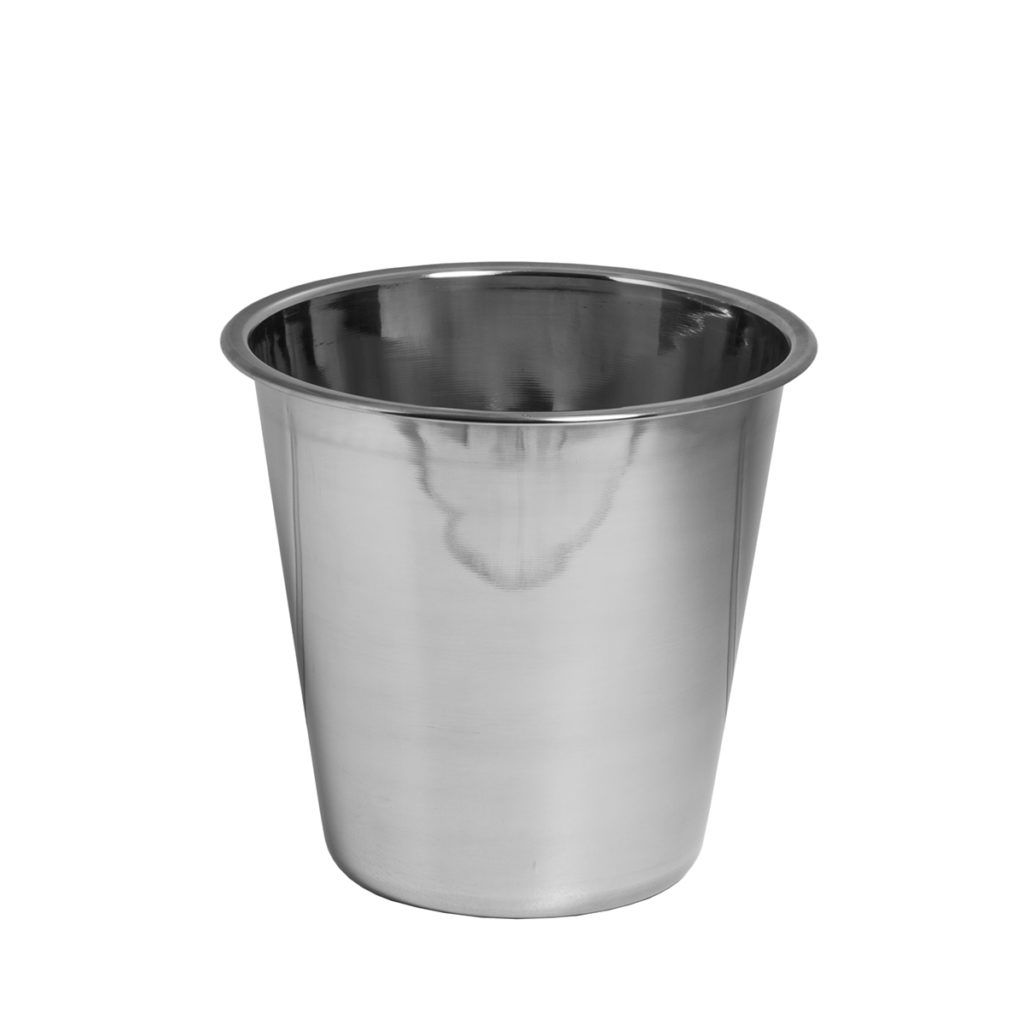
Hygiene and food safety should be one of your top concerns in the foodservice industry so make sure your staff handles ice in the most cleanly fashion. You can use ice buckets to transport ice around the establishment and ice scoops provide your staff with a clean utensil to collect ice.

ALUMINIUM ICE SCOOP FLAT BASE

ICE TONGS

ICE BUCKET

Posted on

Everything You Need To Know About Food Allergies

We cannot stress this enough. If you are operating a restaurant, catering business, café or any other food service establishment, you need to know about food allergies. Studies show that about 6% of South Africans suffer from some or other food allergy that if triggered, can lend them in the emergency room. For this reason, you need to make sure your business follows all the necessary guidelines to protect your patrons and you from allergic reactions, otherwise you could have a PR nightmare on your hands or even worse – a lawsuit.

Want to know how to do it? We at Core Catering Supplies are here to get you in the know ASAP. Keep reading for everything you need to know about food allergies, including what they are, how to prevent reactions and how to protect your customers.

What Are Food Allergies?

Unfortunately, studies show that the number of people suffering from food allergies is on the rise so it seems this problem isn’t going anywhere. It has even been reported that more than half of the number of fatal episodes occur outside the home  – even more reason to pay attention to this guide. Understandably, this results in cautious customers who may avoid eating out if they even just have a mild food allergy.

But don’t throw in the towel just yet, creating a food-safe environment in your business is actually much easier than you may think. There are several strategies you can employ to earn the trust of your food-sensitive patrons. Start by making sure you understand what your customers are and if you can work around it. To do this, you’ll need great communication between your front- and back-of-house staff. You’ll also need to make sure that everyone is knowledgeable about the ingredients they use so that they can detect known allergens.

Within the service industry, food allergy reactions are normally triggered by either cross-contact or cross-contamination. Thankfully, you can avoid both scenarios quite easily.

What Is Cross-Contact?

Cross contact occurs when different foods come into contact with each other. If one of the foods contains an allergen, this allergen gets transferred from one type of food to the other because their proteins mix. At this point of contact, both items of food will contain microscopic trace amounts of the allergen.

Preventing Cross-Contact

There are many ways you can avoid cross-contact in your foodservice establishment as we’ll show you before. Before we start, we need to clear up some common confusion. Cooking does not eliminate or reduce the likelihood of an allergic reaction caused by cross-contact, whereas with cross-contamination cooking can help.

Follow Proper Sanitation Practice

Make sure that everyone in your staff washes, rinses and properly sanitises all the cookware, utensils and equipment after they used it to handle a food allergen. This doesn’t mean a simple rinse or wipe, a proper clean using soap and water is necessary. Also, ensure that your cooks and chefs wash hands and change gloves before and after handling food with known allergens.

Use Different Equipment

In order to avoid cross-contact, your staff needs to use separate equipment to prepare meals for customers with food allergies. This includes all your appliances like grills, fryers and blenders because microscopic traces of the allergen could still be lurking on their surfaces if not cleaned properly.

Setup A Food Safe Serving Plan

Once the special, allergen-sensitive meal has been made, you need to make sure it arrives at the right customer without getting contaminated on the way. For instance, you can use a different coloured bowl or plate to label their meal so that your servers know it’s been made with special care. After pickup, your servers must also deliver allergen-sensitive meals separately otherwise cross-contact can occur due to close to the close proximity between multiple plates.

What Is Cross-Contamination?

Cross-contamination occurs when bacteria and other microorganisms contaminate food during storage and preparation. You can generally avoid carrying over foodborne illnesses caused by cross-contamination by properly cooking the food beforehand; however, that’s not always the case. For this reason, you should aim to avoid the scenario entirely. Here’s how:

Follow Proper Storage Guidelines

Make sure to store your ingredients in such a way that they can’t contaminate one another, for example, you must keep raw meat and seafood in a sealed container on the bottom shelf of your refrigerator so that their juices can’t drip onto other foods.

Keep Food Clean

Once you have washed produce, keep them in clean storage containers instead of placing them back in their original packaging. This is because the packaging itself could be host to the bacteria or microorganisms in question.

Use Colour-Coded Kitchen Equipment

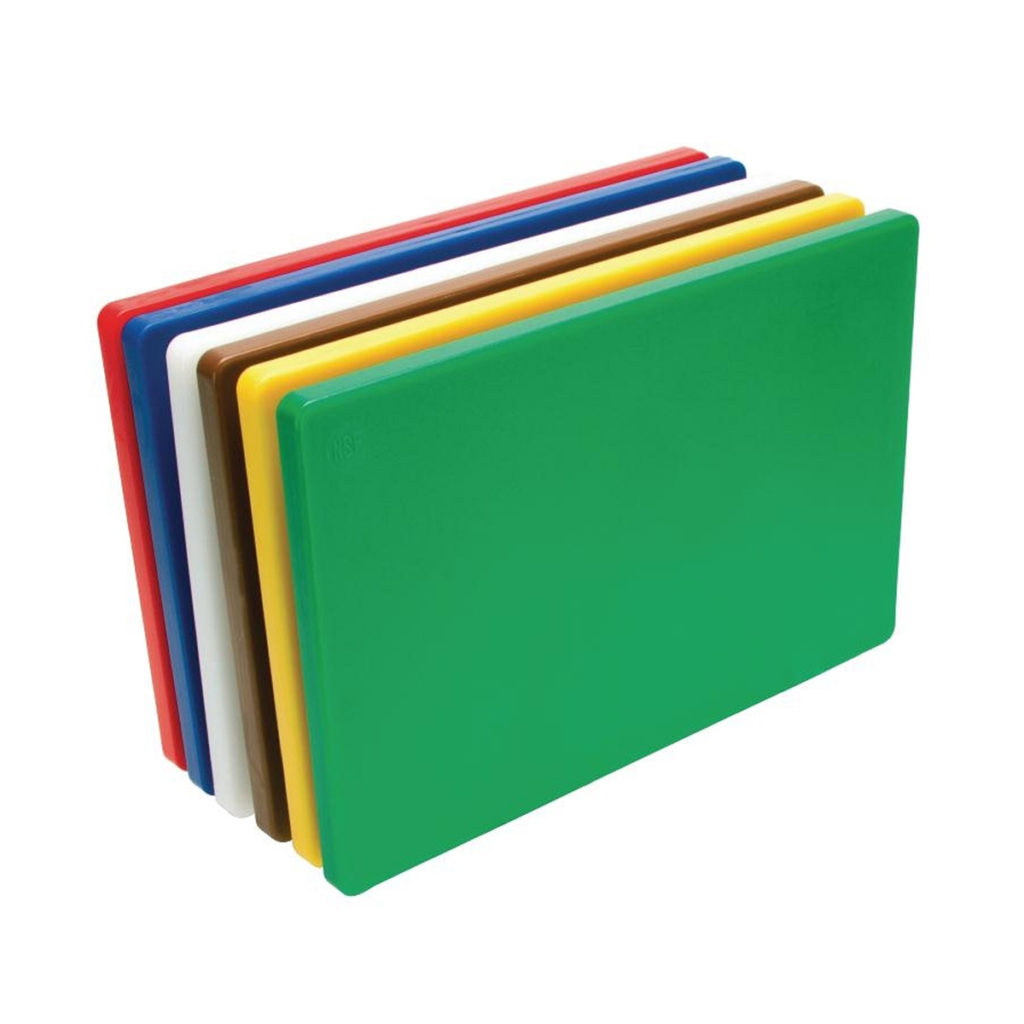
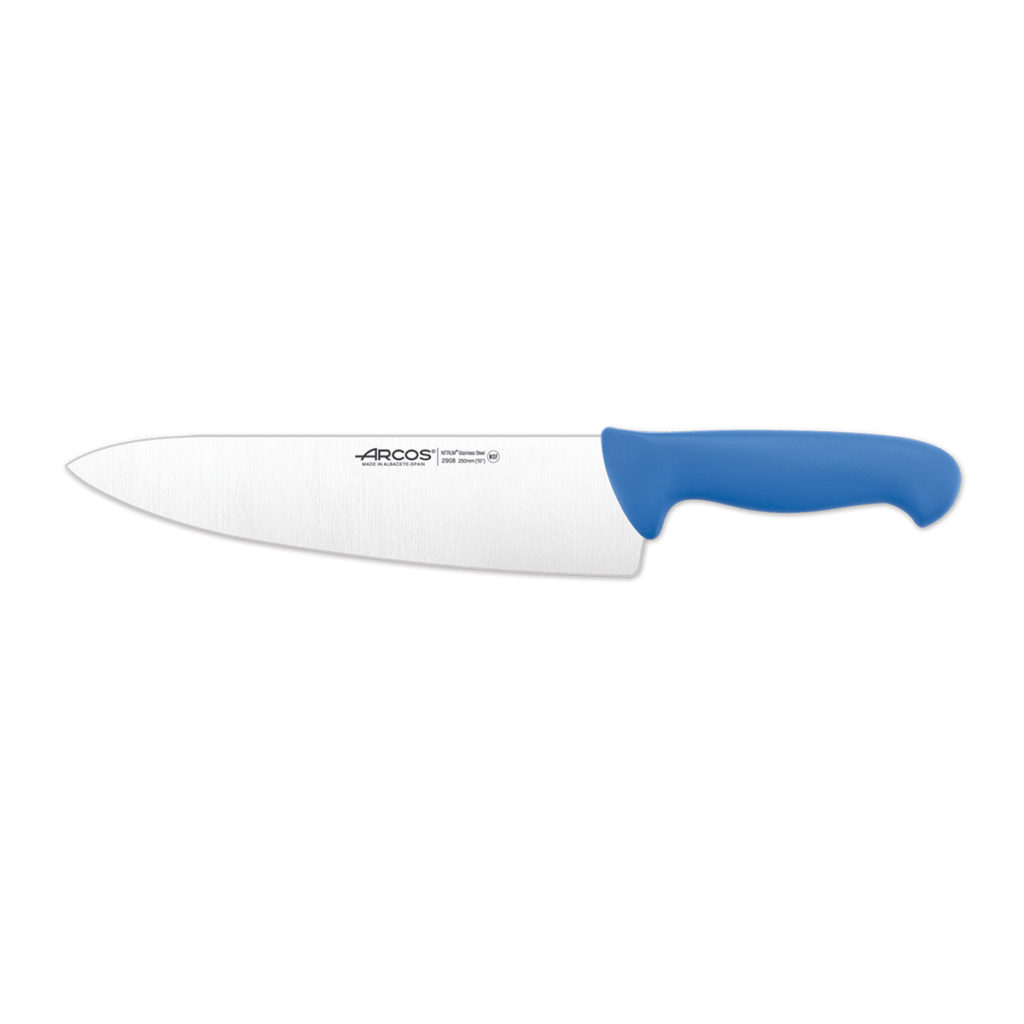
Make sure to kit out your kitchen with HACCP colour-coded knives and other utensils to avoid cross-contamination altogether. HACCP colour coded utensils designate green for fresh produce, white for dairy, yellow for raw poultry, red for raw meat, blue for raw fish and brown for cooked meat.

LARGE CUTTING BOARD (PE)

Arcos chef's knife 250mm in blue.

HACCP Chef’s Knives

The Top 8 Food Allergens

Now that you know how to avoid food allergens from getting to your customers, you must be thinking about what foods to look out for in the first place. There are over 160 known sources of food allergens in existence so it’s impossible to prepare your kitchen for all of them in advance. Instead, make sure to ask your patrons if they have any allergies before they place their order. Luckily, 90% of all food allergy reactions are caused by a small group of allergens known as the “Big Eight”.

1 – Dairy Milk

A dairy milk allergy is one of the most common of the lot and mostly affects babies and young children. Those who are allergic to cow’s milk should also avoid the milk from other animals like goats to be safe.

Some sources – butter, cheese, pudding, sour cream, caramel, chocolate, lunch meat and steak

2 – Eggs

The white of an egg contains the protein that causes allergic reactions, but it’s best to avoid the food altogether if you are sensitive to eggs.

Some sources – baked goods, macaroni, marshmallows, mayonnaise, foam topping on drinks and egg was for baked goods

3 – Peanuts

Peanuts grow underground and are in the same family as beans, peas and lentils, making them different from tree nuts. However, tree nuts and peanuts often come into contact with one another during the manufacturing process.

Some sources – baked goods, candy, peanut butter, mixed nuts, chili, egg rolls, pancakes and meat substitutes

4 – Tree Nuts

These include walnuts, almonds, cashews, hazelnuts, pistachios and Brazil nuts. Generally, if you are allergic to one of them, you’re allergic to all of them.

Some sources – nut butter, pesto, artificial nuts, coconut, cereals, energy bars, flavoured coffee and Italian sausage.

5 – Fish

Cross-contact is very common in seafood restaurants, so if you’re allergic to fish, you should avoid these establishments completely. If you are allergic to one kind of fish, there is a 50% chance that you are allergic to other types of fish as well.

Some sources – all types of fish, barbecue sauce, Caesar dressing, meatloaf and Worcestershire sauce

6 – Shellfish

There are two groups of shellfish: crustacea (shrimp, crayfish and crab) and mollusks (clams, mussels and oysters). The majority of shellfish allergy reactions are as a result of crustacea and they are usually severe.

Some sources – all types of shellfish and Asian dishes that use fish sauce as a flavour base

7 – Soy

Soybeans are typically found in processed food products, Asian food and meat substitutes.

Some sources – edamame, soy sauce, tempeh, tofu, canned tuna, processed meat, crackers and canned soup

8 – Wheat

Wheat is the root of gluten intolerance and occurs in a ton of ingredients. You can easily substitute wheat with alternative grains like barley, quinoa, rice and rye.

Some sources – bread, couscous, flour, seitan, ice cream, imitation crab, marinara sauce and processed meat

Create An Allergen Safe Menu

Another way you can avoid food allergy reactions in your restaurant is by creating an allergen safe menu that clearly identifies where possible allergens may occur and shows your guests what’s in the different meals. You can:

  • Mention the “Big Eight” in a meal’s description if it’s used in the preparation
  • Provide a general disclaimer for food items that can’t be altered to accommodate food allergies
  • Offer substitutes for common allergens
  • Market allergy-friendly meals on your menu using words like gluten-free or dairy-free
  • Include a notice on your menu that reminds guests to inform their servers of their food allergies

There is much to gain from creating a food allergy sensitive foodservice establishment. Not only will it prevent possible trips to the emergency room but it can also generate new revenue opportunities through marketing meals for certain people like the gluten or dairy intolerant. Make everyone feel comfortable in your business and you’ll see them coming back for years to come.

Posted on

How to Choose a Commercial Refrigerator

The most used appliances in your kitchen, whether it’s a small-scale restaurant or a massive foodservice establishment, are reach-in refrigerators and freezers. These pieces of equipment, if chosen correctly, can improve the quality and speed of service in your business. The proper unit can even save you money. For these reasons, you must take your time and plan which refrigerators will work best in your business. In this guide, we’ll take you through and explain a whole range of products so that you can make an informed decision about your fridge’s door type, compressor and size.

Ordering Your Fridges

If your business has a lot of space for multiple fridges, you must order larger fridges further away from the hottest parts of your kitchen as the heat will make them work harder and consume more energy. Smaller, one door reach-in fridges, on the other hand, are able to stay cool in the work area of your kitchen more easily. Below we discuss the optimal location for different fridges to maximise labour and energy efficiency.

1, 2 or 3 Door Reach-in Refrigerators and Freezers

A 2 or 3 door reach-in refrigerator and freezer should be kept inside the prep area of your kitchen as it is normally used to store food items that you have prepared in bulk for use throughout the week. In other words, it allows you to cut down on food prep times. Place it close to your walk-in fridge and freezer so that you can easily restock it as needed.

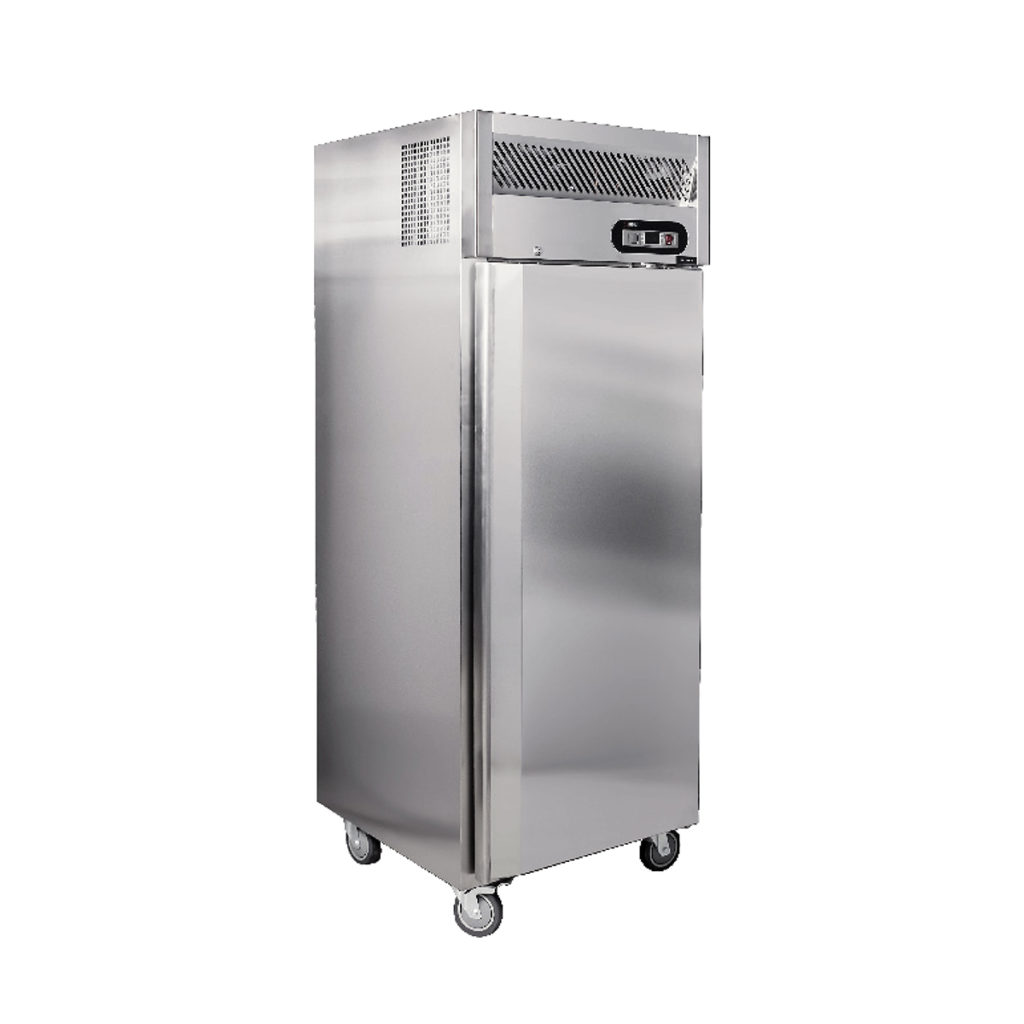
Commercial Kitchen Single Door Refrigerator
By Salvadore

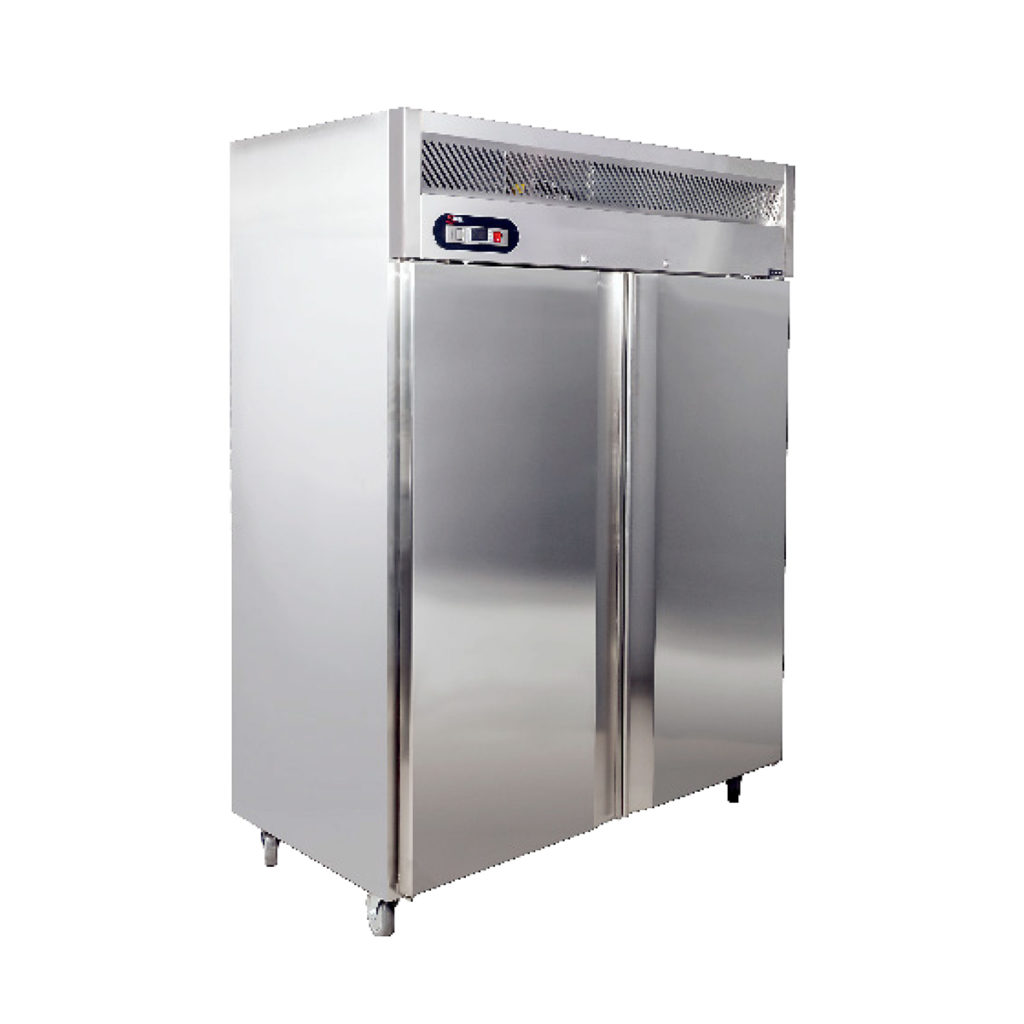
Commercial Kitchen Double Door Refrigerator
By Salvadore

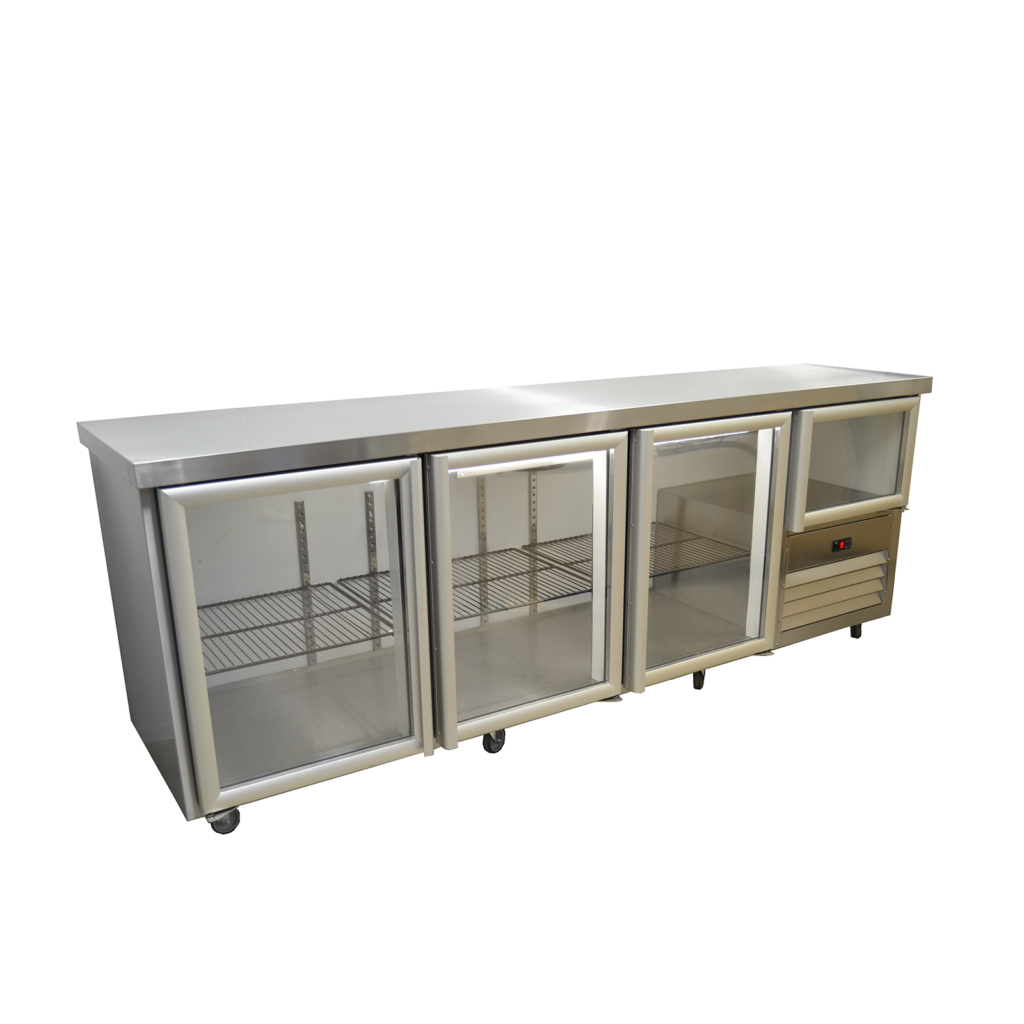
Underbar Fridges

Underbar fridges are placed close to service areas like bars or prep areas because they can keep ingredients chilled and fresh till they need to be used or plated. They are a great choice where space is a concern, offering you cooling options without cutting down on kitchen space.

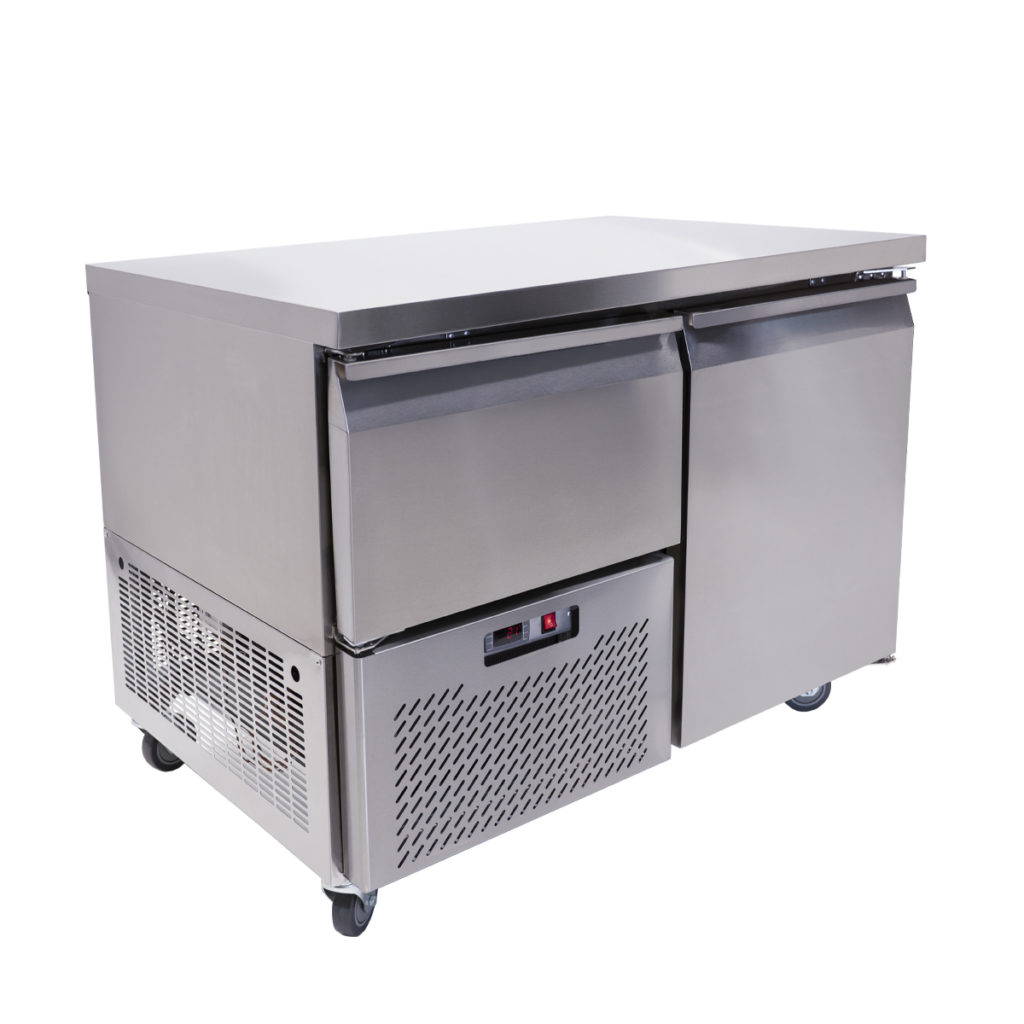
The deep 1.5 door stainless steel underbar by Salvadore.

DEEP 1.5 DOOR STAINLESS STEEL UNDERBAR
By Salvadore

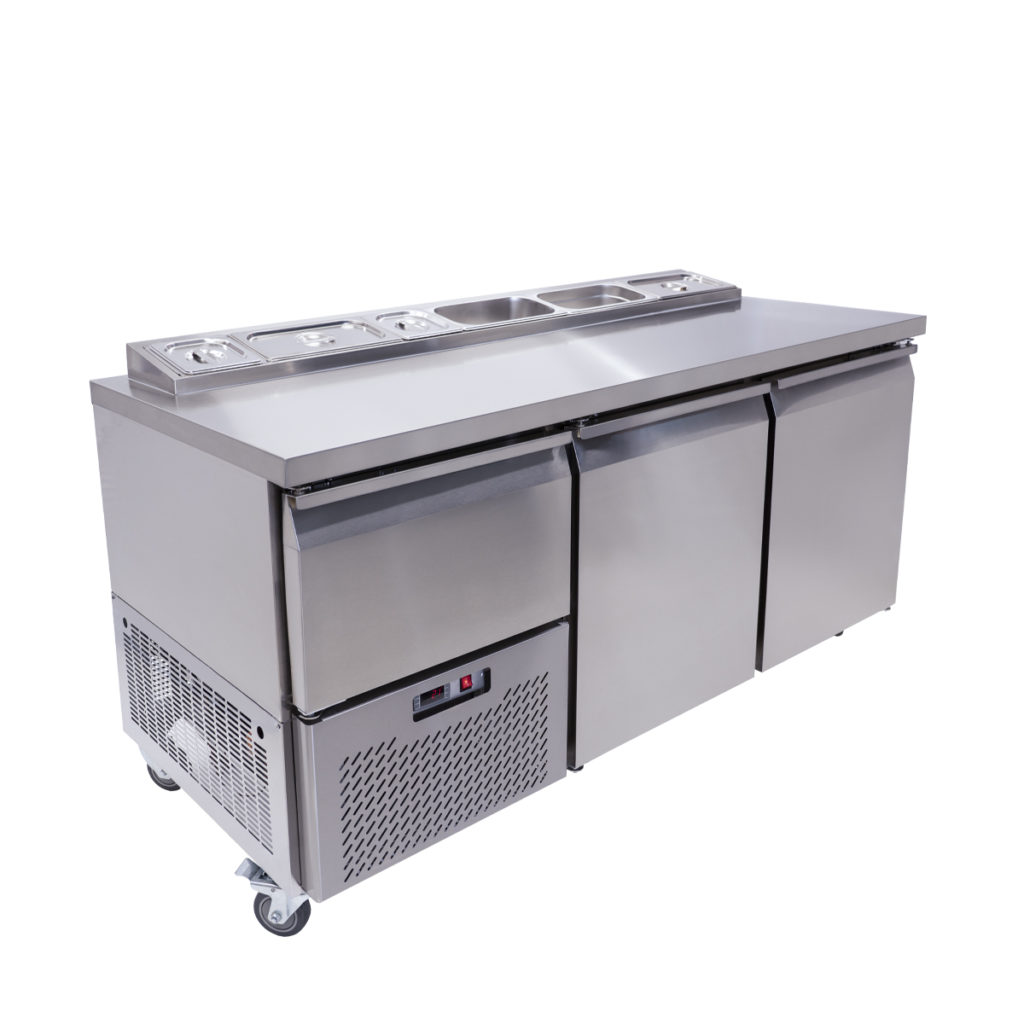
The deep pizza underbar by Salvadore.

DEEP PIZZA UNDERBAR
By Salvadore

3.5 Glass Door Underbar Fridge
By Metnor

Compressor Location

The compressor regulates the internal temperature of your unit and, for this reason, it must be placed away from warm air as warmer ambient temperatures will make the machine work harder. Choose between bottom- and top-mounted compressors for an option that works best in your environment.

Bottom mounted compressors are best for hot environments because warm air rises, ensuring it pulls in cooler air. Though they may take up some extra space, they do make items on your bottom shelf easier to reach. The biggest drawback is that it can get clogged from dirt on the floor.

Top-mounted compressors are better for cooler environments and are less likely to get clogged with dirt. However, if it does get dirty, it’s much more difficult to clean as it is a bit out of reach. They are also a great choice for smaller environments because they do not take up storage space.

Choosing Between Door Types

The most important factor to consider when looking at different door types is the flow of traffic in the environment and how wide the aisles are in your kitchen. You can easily obstruct people and create congestion with certain doors if the location is not properly taken into account. Below you will find a short discussion on three different door types.

Swing Doors

Units with this option normally have a stay-open feature which makes loading and unloading inventory a breeze. However, if your kitchen is small, it can really obstruct traffic flow.

Half Doors

Just like swing doors, half doors can also easily block traffic flow in your kitchen but, because they are split into two sections, you can open one section at a time. This allows you to conserve energy and keep the internal temperature consistent.

Pass-Thru

Pass-thru units have doors on either side making them a great addition to your kitchen because they assist both serving and kitchen staff. For instance, your cooks can prepare cold items like desserts, slide them into the fridge and servers can take them out the other end as needed.

Glass or Solid Doors?

Solid doors are easier to clean, provide more insulation and are thus more energy-efficient than glass doors. However, glass doors allow you to see the contents inside the fridge which shortens the time spent in front of it looking for ingredients.

Other Important Features

Removable Gaskets

The gasket of your unit is responsible for creating the airtight seal around your fridge’s door, keeping the cold air inside. Some gaskets are removable which makes them very easy to clean and sanitize.

Digital Thermostats

Check that your cold storage appliance has a digital thermostat. These devices give you more accurate temperature readings and they are much easier to adjust and monitor, which means you might save on service costs.

Specification Line vs Standard Duty

If you see a product is referred to as “Spec Line” it means that the unit is the top-of-the-line offering of the manufacturer. Spec Line products have all the latest features, modern technologies and most customisable options, compared to standard duty machines.

Installation

After you have decided on your fridge or freezer, you need to start thinking about how you are going to install it. The first step is making sure you can actually manoeuvre the appliance into your establishment, so remember to measure doorways and hallways in advance.

When installing the machine, make sure to follow the specifications set out in the buyer’s manual. You will need to install your unit in a well-ventilated environment that is dry and not prone to dust because these conditions can severely damage it. You should only install your unit on a level surface, and away from heat and moisture-generating equipment. If you do not follow these specifications, your warranty will most likely be declared void. Your unit must also be supplied with the right voltage set out in the manual and it should have its own dedicated electrical circuit.

Posted on

TOP TIPS IN TURNING TABLES

An important part of making a profit in a restaurant is maximising table turnover rate. The faster you can get diners in and out of your business, the more money you stand to make at the end of the day. However, mastering table turnover is a tricky business. You want your diners to have a comfortable experience so that they will come back once again but you also want to serve as many parties as possible. You’ll need to walk this fine line in order to ensure that your restaurant comes out on top.

So how do you maximize table turnover without appearing inhospitable? Simple, follow our 4 top table turnover tips below. From the psychological to the simple, we discuss several strategies you can start employing immediately.

Bear in mind the differences between casual and fine dining restaurants. Generally, fine dining establishments will keep their guests for longer times as several courses will be served. Patrons pay for a luxury experience, meaning your servers will be much busier keeping these guests happy. Casual establishments, on the other hand, aim to turn each table three times throughout dinner service or one every hour and a half. This may seem easy to achieve, but if you’re dealing with pesky ‘campers’, you stand to lose a lot of profit. Most of the tips we share are more suited to casual dining experiences, however, you can modify them for fine dining use as well.

Group of diners with a server.

1 – Subliminal Strategies

Studies have shown that there are several psychological factors that affect how fast people eat and you can employ these strategies to maximise your table turnover. Consider using the following tricks to influence your diners eating speed.

  • Rearrange your restaurant. Place your tables away from corners and walls and try to seat as many guests in the middle of the dining area as possible. Seeing as the middle of the room is often the busiest spot in the restaurant, it will influence guests to eat faster. Avoid using seating that is anchored to the floor like booths because it has been found that people tend to linger longer on these types of seating.
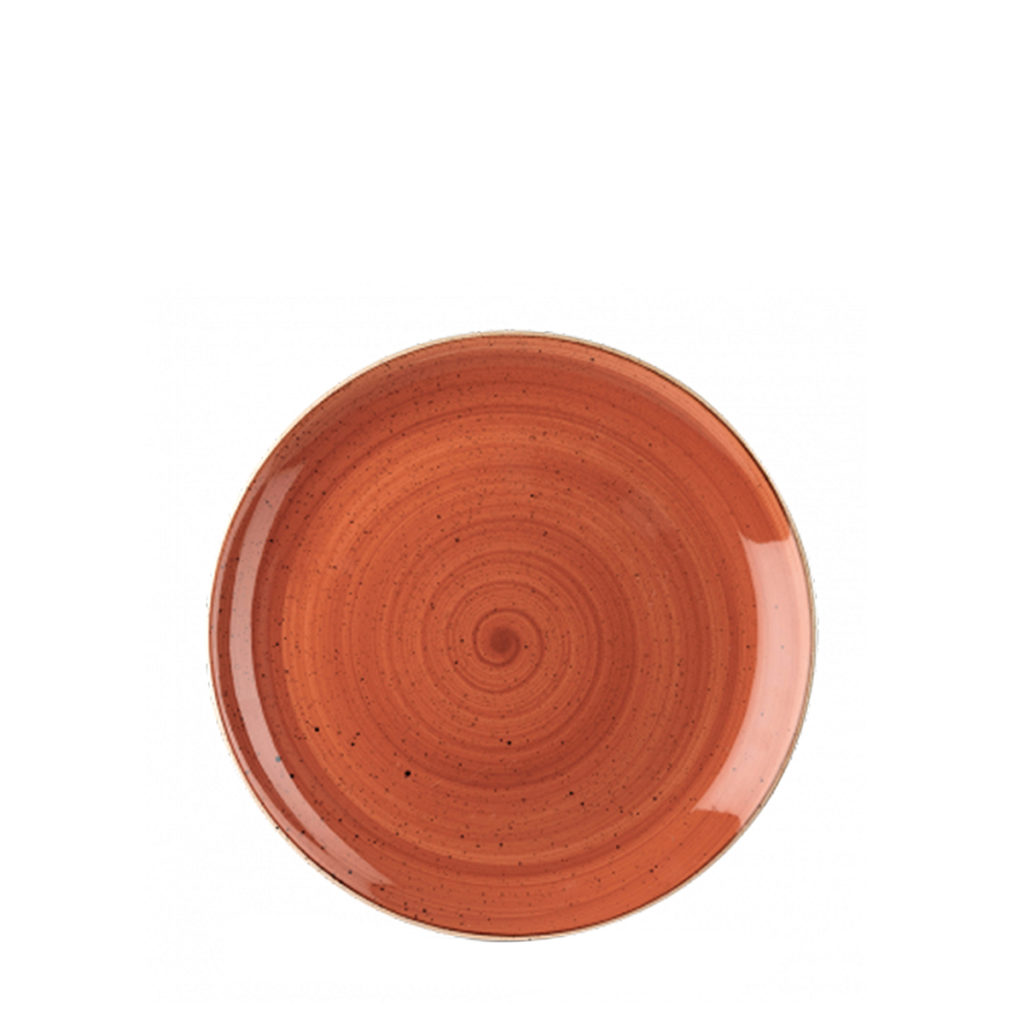
  • Switch up colour schemes. It has been proven that bright colours like red, yellow and orange raise an individual’s heart rate and blood pressure and this stimulus also subconsciously encourages you to eat faster. In other words, bring bright and vibrant colours to your dining space and crockery to maximise table turnover.
  • Music makes the people eat faster. It’s a little known fact that louder music with a more upbeat rhythm excites people and encourages them to eat faster.
A red Asian themed restaurant.

2 – Organise Your Seating System

If you haven’t done this already, make sure you have an organized seating and reservation system. To do this, you will need to perfect communication between your waiters and hosts. A well-running system will have the waiter signal the runner to clear tables as soon as they pick up the bill and the host that their table will be opening shortly. This allows the host to seat customers almost immediately. If your host can get customers to their table sooner, you stand to improve your table turnover rate. The following tips also help to organise your seating system:

  • Pre-assign tables to guests waiting in line so that guests can be seated as soon as they open up.
  • Keep your waiting area close to the host’s stand so that he/she can easily find customers waiting in line when their tables open.
  • Reconsider your reservation policy. If you only accept walk-ins, you never have to deal with groups that don’t show up.
Organised seating plan in a restaurant.

3 – Don’t Wait On Waiters

Nothing aggravates diners more than having to wait on waiters. If your waiters don’t arrive at their tables immediately, they are adding to that table’s occupancy, slowing down your table turnover. For this reason, you must keep your serving staff on schedule by following the tips below:

  • Ensure servers arrive at their tables within minutes of seating guests.
  • The first question your waiters need to ask is “what brings you in today?” This allows them to tailor their service to the needs of the guests, expediting service.
  • Waiters must take drink orders immediately and bring out water as soon as possible.
  • If it’s a large group, consider assigning multiple servers and runners to the table to hasten service.
  • Runners shouldn’t wait for the guests to leave before clearing the table, rather they should begin the process as soon as guests finish their meals.
  • Prepare cutlery in advance so that tables can be reset quickly after service.
  • Waiters can place the check on the table before guests have asked for it to subtly signal them to leave. This can easily appear as rude, so time it wisely.
  • If you are dealing with “campers” who are still at their tables after paying, you can politely explain to them you have reservations waiting and ask them to continue their conversation at the bar.
Happy couple and a waiter.

4 – Keep it Short And Sweet

Many people still believe that a larger menu leads to more customer satisfaction because it gives your guests more options and allows them to make decisions easier; however, the converse is true. Guests actually experience a subtle form of anxiety when overloaded with choices, slowing down their decision making. It’s better to opt for a smaller menu, focusing on your best and most popular options so that guests can make faster decisions allowing you to turn their table faster. You will also avoid possible waste and save money by trimming your menu to only include your most popular meals.

A short restaurant menu.

Maximising table turnover is a balancing act. There are several strategies you can employ to get diners service quicker and eating faster, however, there is a chance that these tricks can backfire and leave your guests feeling unappreciated and unwelcome. The key lies in practice and experimentation. Use our top tips as a guiding principle and modify them to meet the needs of your restaurant. This way, you’ll not only maximise turnover but you’ll also be maximising profit.

Posted on

COMMERCIAL BLENDERS BUYER’S GUIDE

Buying commercial blenders can be a huge chore if you don’t know what to look out for. With so many different options on the market like stick blenders, food blenders and bar blenders, you can easily choose the wrong appliance for your occupation. Trust us, using the right blender for your task can make or break your recipe and avoid a sticky mess and worse – irreparable machine damage. For this reason, we have put together a comprehensive commercial blender buyers guide so you can find all the relevant information you need to make the right choice.

Types of Blenders

To kick off our guide, we’ll first discuss the most commonly found commercial blenders on the market. If you’re wondering what the difference is between a food blender and a bar blender, you’ve come to the right place. All of your questions are answered below.

Food Blenders

Generally the toughest in the business, food blenders are made for high-volume use and can withstand the pressures of continuous use without overheating its machinery. This is a very important factor to consider if you’re in need of a blender for your restaurant, café or hotel. Thanks to their higher horse power, they can swiftly blend smoothies and milkshakes in seconds as well as hard foods like ice, nuts, vegetables and fruits.
Omniblend V 1.5L in white.

OMNIBLEND V 1.5L
By OmniBlend

The OmniBlend III 2L in black.

OMNIBLEND III 2L
By OmniBlend

Omniblend V 2L in maroon.

OMNIBLEND V 2L
By OmniBlend

Bar Blenders

Bar blenders aren’t typically as tough as food blenders; however, you will find that even our lighter-duty models can handle the occasional smoothie or two with ease. That being said, these blenders are not made to withstand the rigours of blending hard foods and are instead designed for making margaritas, daiquiris and other signature cocktails.

The Fury bar blender by Hamilton Beach.

FURY BAR BLENDER
By Hamilton Beach

The 908 bar blender by Hamilton Beach.

908 BAR BLENDER
By Hamilton Beach

The Tango bar blender by Hamilton Beach.

TANGO BAR BLENDER
By Hamilton Beach

Stick Blenders

An immersion blender is a must-have for all kitchens. These hand-operated, easy-to-use blenders are versatile marvels and can be used for an array of kitchen tasks. Immersion blenders are the perfect tools for mashing potatoes, whipping cream, pureeing soups and sauces and even chopping soft foods. Some of these stick blenders even come with extra attachments, like emulsions disks, for greater versatility.

Food and bar blenders take up some space and it can be a burden finding a place for them in your kitchen; however, with an immersion blender, you don’t have any of these struggles because it conveniently fits into a drawer.

The large stick blender MP 450 by Robot Coupe.

STICK BLENDER MP 450
By Robot Coupe

The compact stick blender MP 300 by Robot Coupe.

STICK BLENDER MP 300
By Robot Coupe

The mini stick blender MP 160 by Robot Coupe.

MINI STICK BLENDER MP 160
By Robot Coupe

What Makes A Commercial Blender The Best For You?

Now that you know more about the different types of commercial blenders on the market, you’ll need to assess your needs to find the best one for you. The first thing you need to do is think about the environment it will be used in. Consider what types of food you will be using the blender for as well as the frequency of use. For instance, if you will only be using the blender to make cocktails, make sure to choose a bar blender and if you expect that you will be using it throughout the day, opt for a heavier-duty model.

Commercial blenders come with several different features, designed to meet specific needs. For example, some blenders come with programmable controls, timers or paddle switches that free up hands for high-volume kitchens or bars. In these cases, it makes sense to choose a more advanced blender because you stand to save hours of time and labour. Below we discuss some of the larger factors you need to consider when choosing the best commercial blender for you.

Power Up

Check the specs of the product you’re looking at to find the correct level of horsepower for your operation. Though it may seem like a more powerful machine is your best option that truly isn’t always the case. The guiding principle here is application. If you are planning on using the appliance to make smoothies all day, you will have to choose one with more power; however, if you think you’ll only need to make a few cocktails per day, you can choose a smaller less powerful one. We suggest these ideal applications for common HP ratings.

  • ½ HP – designed for light food preparation of less than 50 uses per day
  • 1 – 1 ½ HP – designed for medium food preparation of less than 75 uses per day
  • 2 HP –  designed for medium to heavy food preparation of less than 100 uses per day
  • 3 ½ HP – designed for heavy food and beverage preparation of more than 100 uses per day

Curious About Controls

There are several different control options to choose from including paddle switches and programmable buttons that can help to make your life easier. Each of these versions has their own benefits and applications where they work best so it’s worth your time considering these different types of controls.

  • Toggle/Paddle Switch – simple and perfect for where you don’t need to be precise over blending speed and time. Usually less expensive but has limited abilities.
  • Electronic – if you need more control over your blending cycle this is a better option. Though they are more expensive, they do have more options.
  • Programmable – this option is useful if the same beverages or food products need to be blended repeatedly throughout the day.

Sounds Of Silence

Another often overlooked factor you need to consider is noise. Blenders are not the softest of instruments and can be a real disruption if placed in the wrong space. This is why we have noise covers for blenders that reduce sound. Your customers aren’t the only ones who will appreciate a more peaceful environment, your kitchen staff will also be more productive and comfortable with less ambient noise. So, if noise is a concern, make sure to invest in a blender with a sound enclosure.

OMNIBLEND I 1.5L
By OmniBlend

The Omniblend I 1.5L sound cover in maroon.

OMNIBLEND 1.5L SOUND COVER
By OmniBlend

Core Catering Supplies has a great collection of blenders from programmable food blenders to immersion stick blenders available for your consideration. Make sure to take your time going over all the specifications to find a blender for your planned application and if you need any help to find the best commercial blender for you, don’t hesitate to contact our experienced team.