Buying commercial blenders can be a huge chore if you don’t know what to look out for. With so many different options on the market like stick blenders, food blenders and bar blenders, you can easily choose the wrong appliance for your occupation. Trust us, using the right blender for your task can make or break your recipe and avoid a sticky mess and worse – irreparable machine damage. For this reason, we have put together a comprehensive commercial blender buyers guide so you can find all the relevant information you need to make the right choice.
Types of Blenders
To kick off our guide, we’ll first discuss the most commonly found commercial blenders on the market. If you’re wondering what the difference is between a food blender and a bar blender, you’ve come to the right place. All of your questions are answered below.
Food Blenders
Generally the toughest in the business, food blenders are made for high-volume use and can withstand the pressures of continuous use without overheating its machinery. This is a very important factor to consider if you’re in need of a blender for your restaurant, café or hotel. Thanks to their higher horse power, they can swiftly blend smoothies and milkshakes in seconds as well as hard foods like ice, nuts, vegetables and fruits.
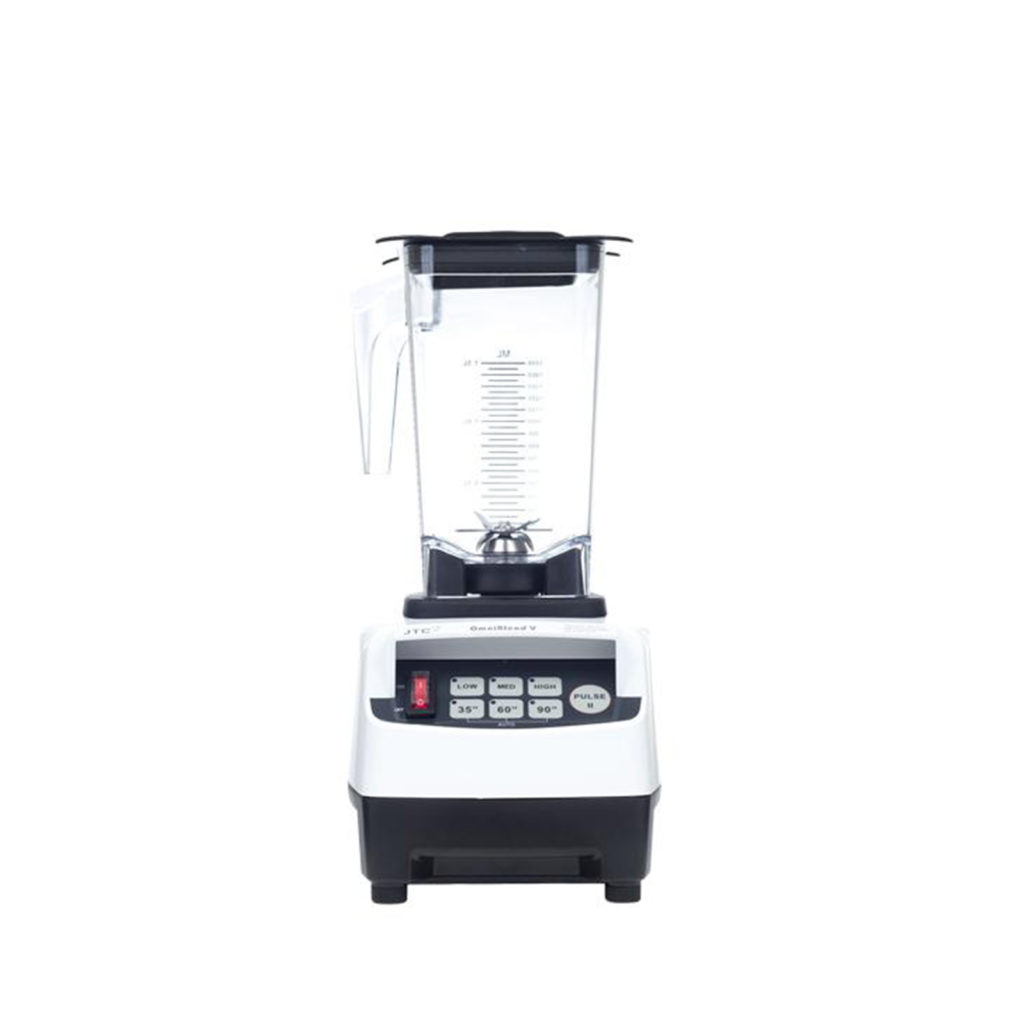
OMNIBLEND V 1.5L
By OmniBlend

OMNIBLEND III 2L
By OmniBlend
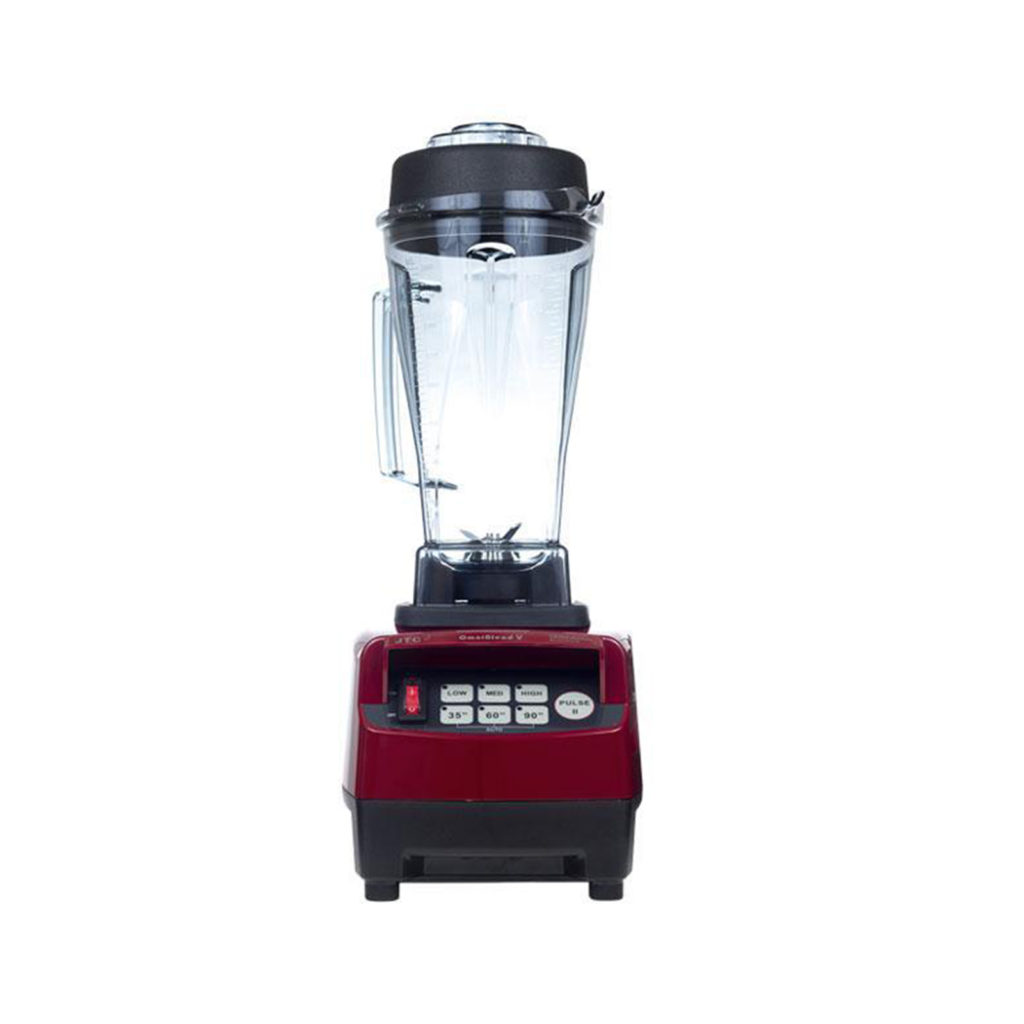
OMNIBLEND V 2L
By OmniBlend
Bar Blenders
Bar blenders aren’t typically as tough as food blenders; however, you will find that even our lighter-duty models can handle the occasional smoothie or two with ease. That being said, these blenders are not made to withstand the rigours of blending hard foods and are instead designed for making margaritas, daiquiris and other signature cocktails.
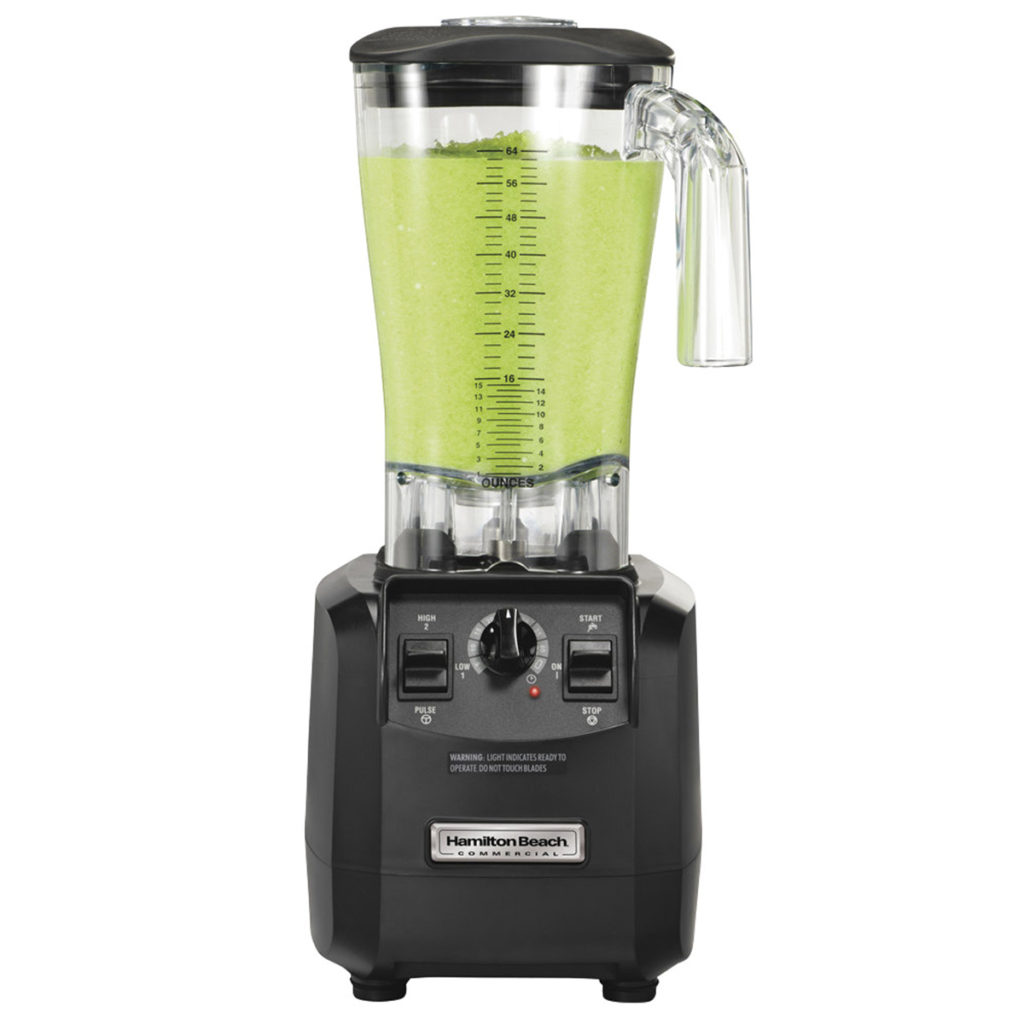
FURY BAR BLENDER
By Hamilton Beach
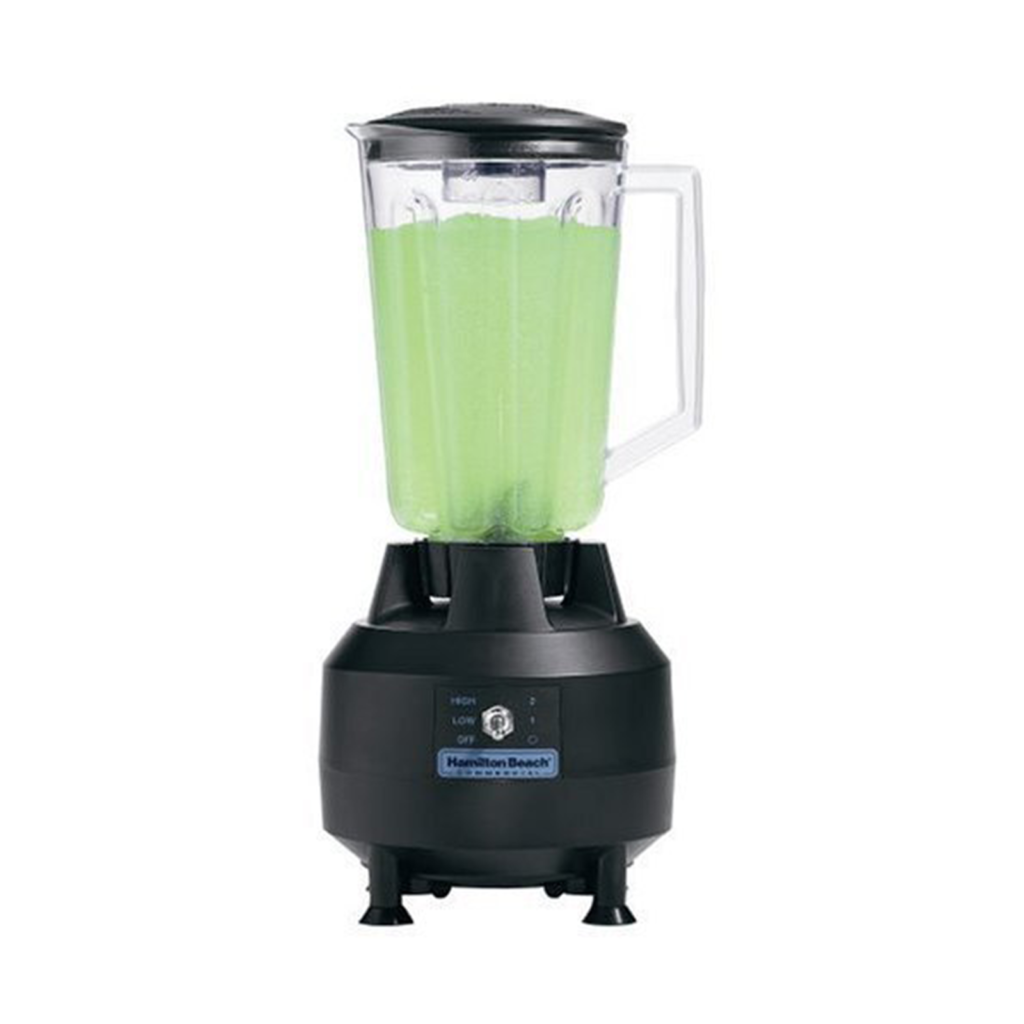
908 BAR BLENDER
By Hamilton Beach

TANGO BAR BLENDER
By Hamilton Beach
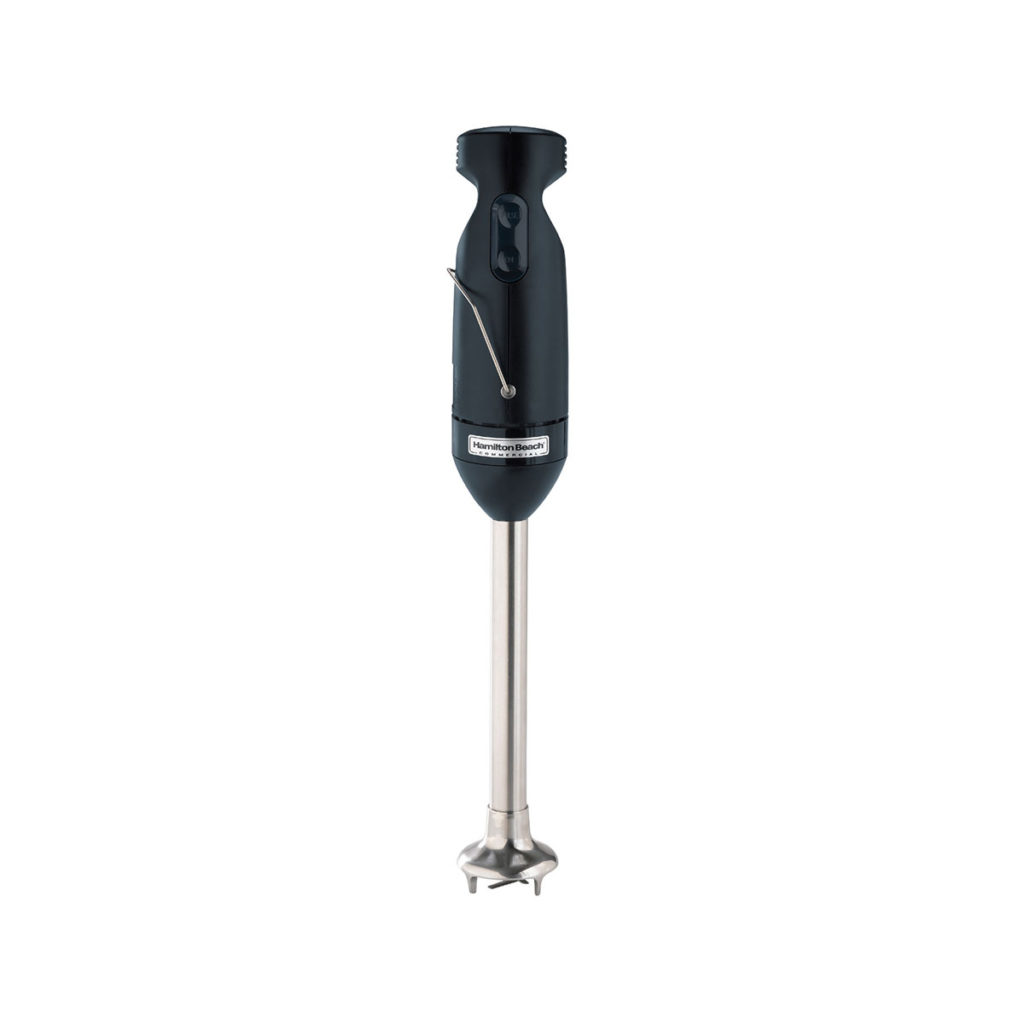
Stick Blenders
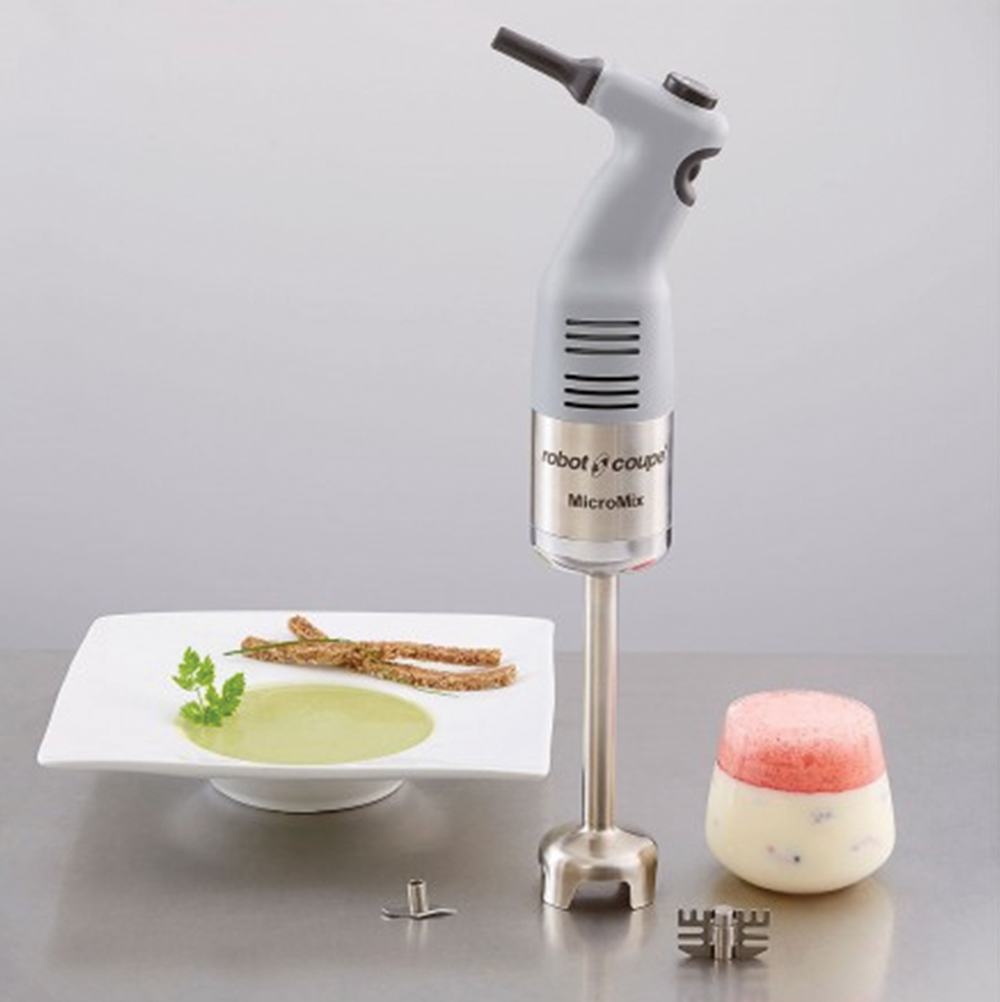
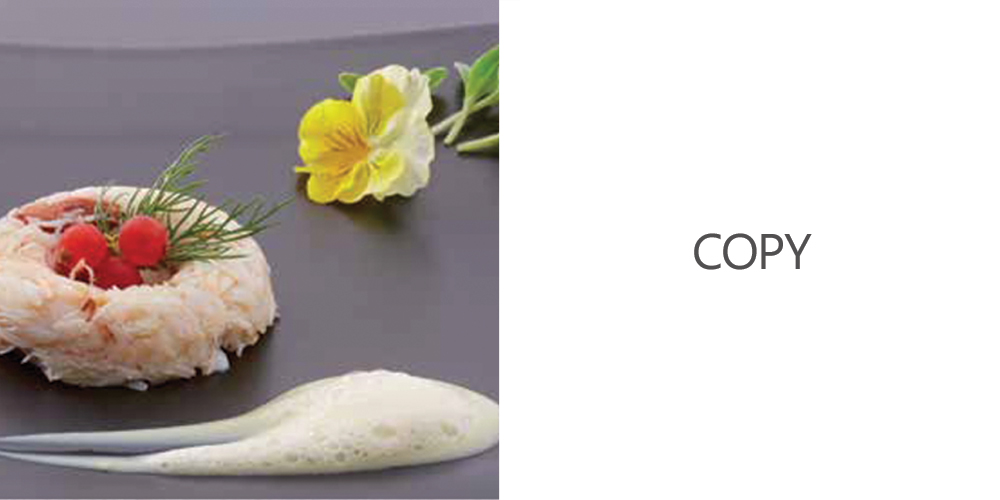
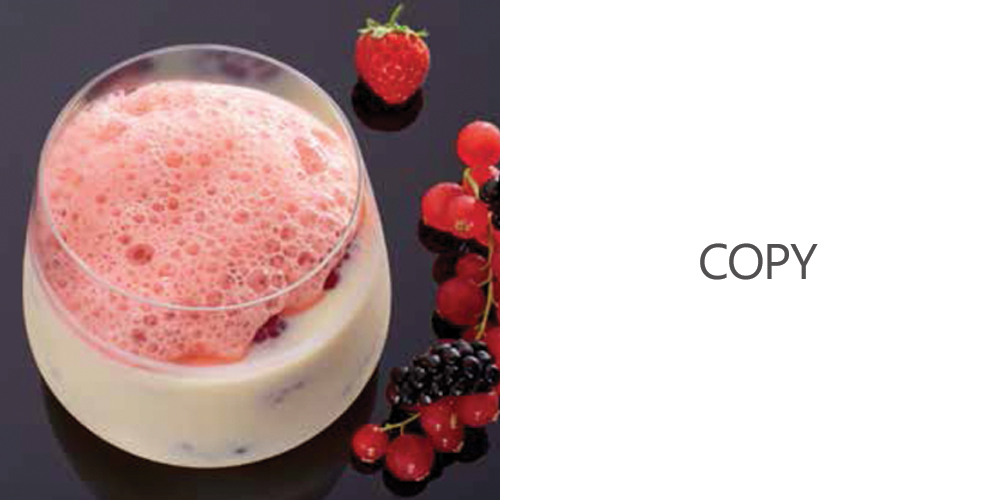
An immersion blender is a must-have for all kitchens. These hand-operated, easy-to-use blenders are versatile marvels and can be used for an array of kitchen tasks. Immersion blenders are the perfect tools for mashing potatoes, whipping cream, pureeing soups and sauces and even chopping soft foods. Some of these stick blenders even come with extra attachments, like emulsions disks, for greater versatility.
Food and bar blenders take up some space and it can be a burden finding a place for them in your kitchen; however, with an immersion blender, you don’t have any of these struggles because it conveniently fits into a drawer.
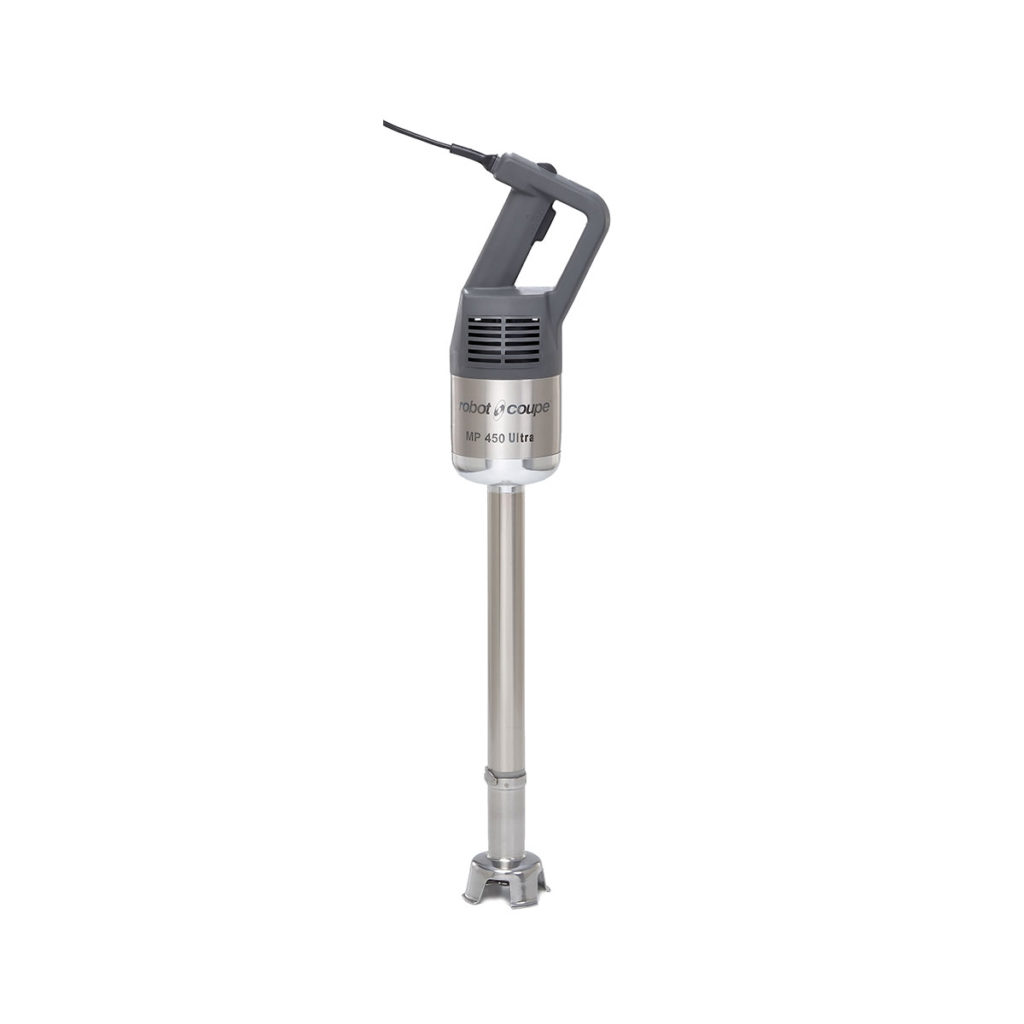
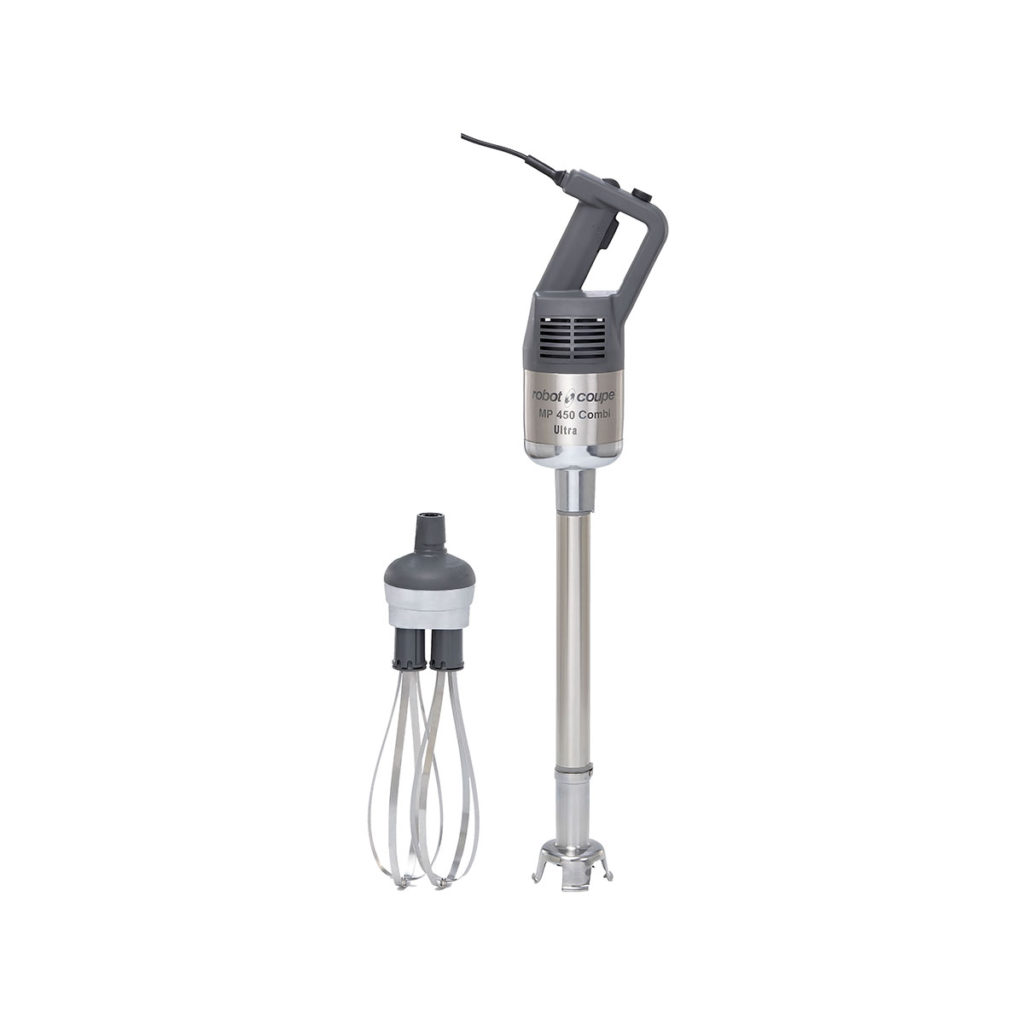
STICK BLENDER MP 450
By Robot Coupe
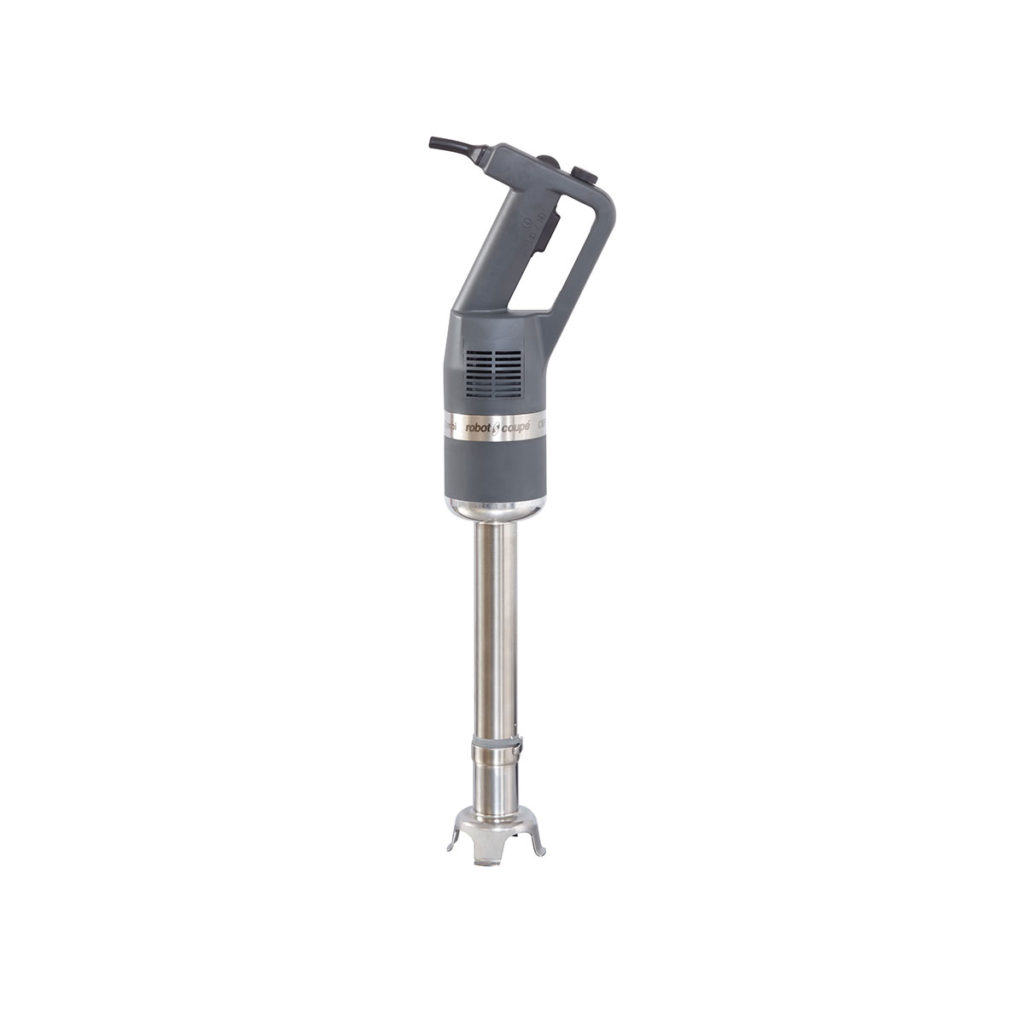
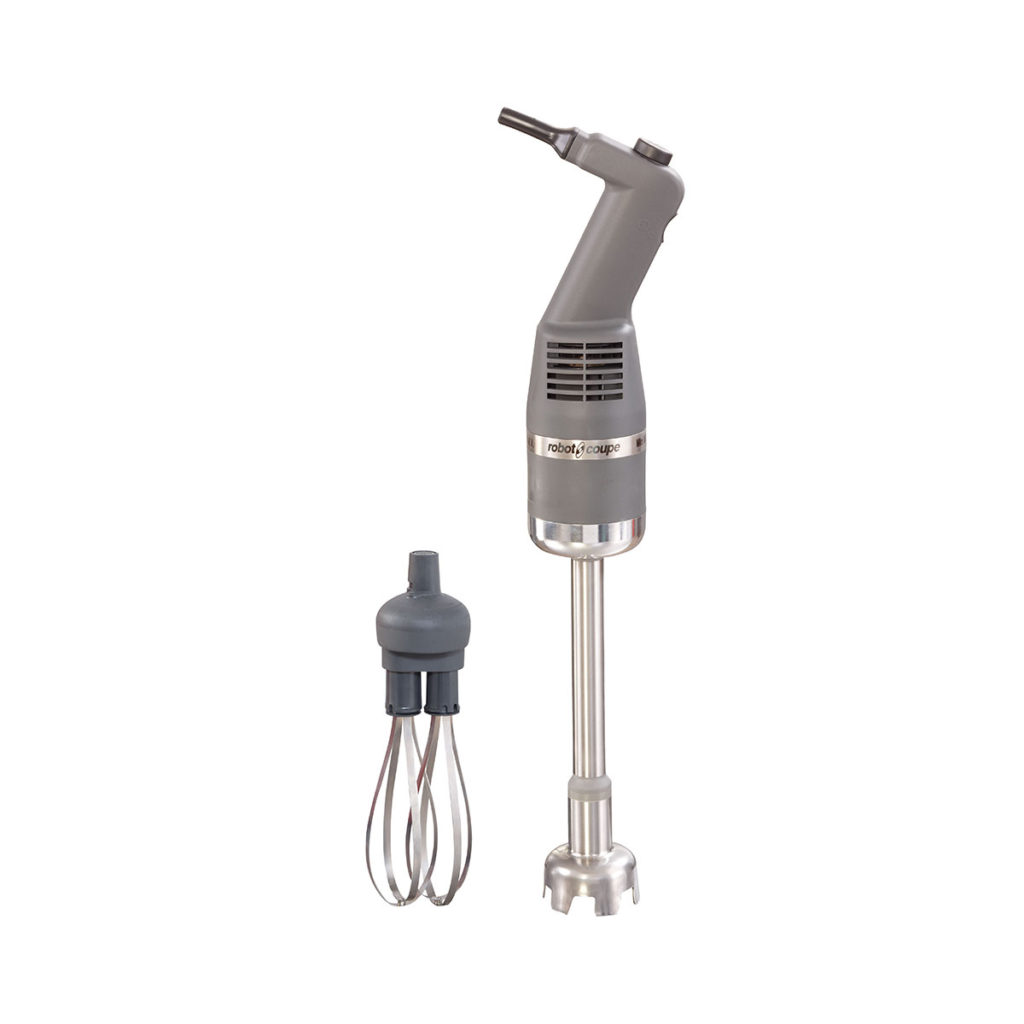
STICK BLENDER MP 300
By Robot Coupe

MINI STICK BLENDER MP 160
By Robot Coupe
What Makes A Commercial Blender The Best For You?
Now that you know more about the different types of commercial blenders on the market, you’ll need to assess your needs to find the best one for you. The first thing you need to do is think about the environment it will be used in. Consider what types of food you will be using the blender for as well as the frequency of use. For instance, if you will only be using the blender to make cocktails, make sure to choose a bar blender and if you expect that you will be using it throughout the day, opt for a heavier-duty model.
Commercial blenders come with several different features, designed to meet specific needs. For example, some blenders come with programmable controls, timers or paddle switches that free up hands for high-volume kitchens or bars. In these cases, it makes sense to choose a more advanced blender because you stand to save hours of time and labour. Below we discuss some of the larger factors you need to consider when choosing the best commercial blender for you.
Power Up
Check the specs of the product you’re looking at to find the correct level of horsepower for your operation. Though it may seem like a more powerful machine is your best option that truly isn’t always the case. The guiding principle here is application. If you are planning on using the appliance to make smoothies all day, you will have to choose one with more power; however, if you think you’ll only need to make a few cocktails per day, you can choose a smaller less powerful one. We suggest these ideal applications for common HP ratings.
- ½ HP – designed for light food preparation of less than 50 uses per day
- 1 – 1 ½ HP – designed for medium food preparation of less than 75 uses per day
- 2 HP – designed for medium to heavy food preparation of less than 100 uses per day
- 3 ½ HP – designed for heavy food and beverage preparation of more than 100 uses per day
Curious About Controls
There are several different control options to choose from including paddle switches and programmable buttons that can help to make your life easier. Each of these versions has their own benefits and applications where they work best so it’s worth your time considering these different types of controls.
- Toggle/Paddle Switch – simple and perfect for where you don’t need to be precise over blending speed and time. Usually less expensive but has limited abilities.
- Electronic – if you need more control over your blending cycle this is a better option. Though they are more expensive, they do have more options.
- Programmable – this option is useful if the same beverages or food products need to be blended repeatedly throughout the day.
Sounds Of Silence
Another often overlooked factor you need to consider is noise. Blenders are not the softest of instruments and can be a real disruption if placed in the wrong space. This is why we have noise covers for blenders that reduce sound. Your customers aren’t the only ones who will appreciate a more peaceful environment, your kitchen staff will also be more productive and comfortable with less ambient noise. So, if noise is a concern, make sure to invest in a blender with a sound enclosure.
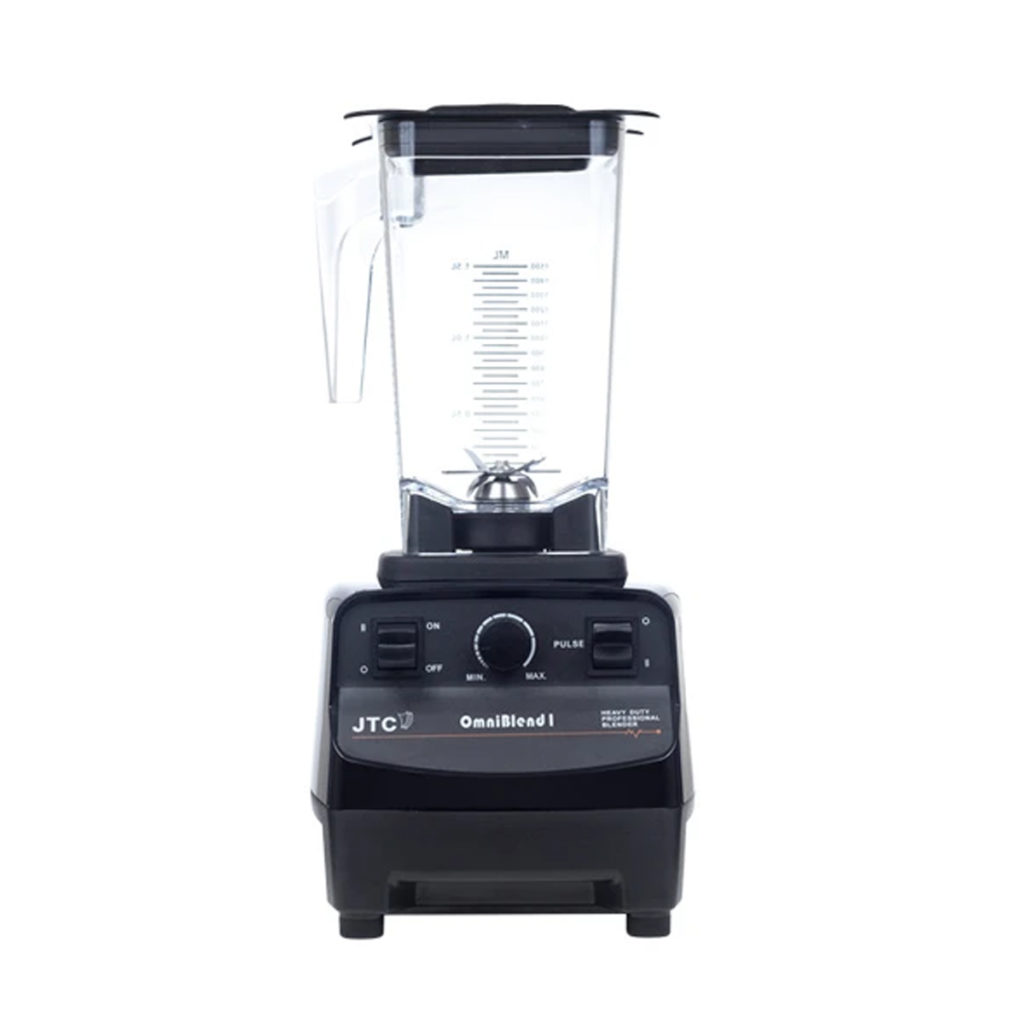
OMNIBLEND I 1.5L
By OmniBlend
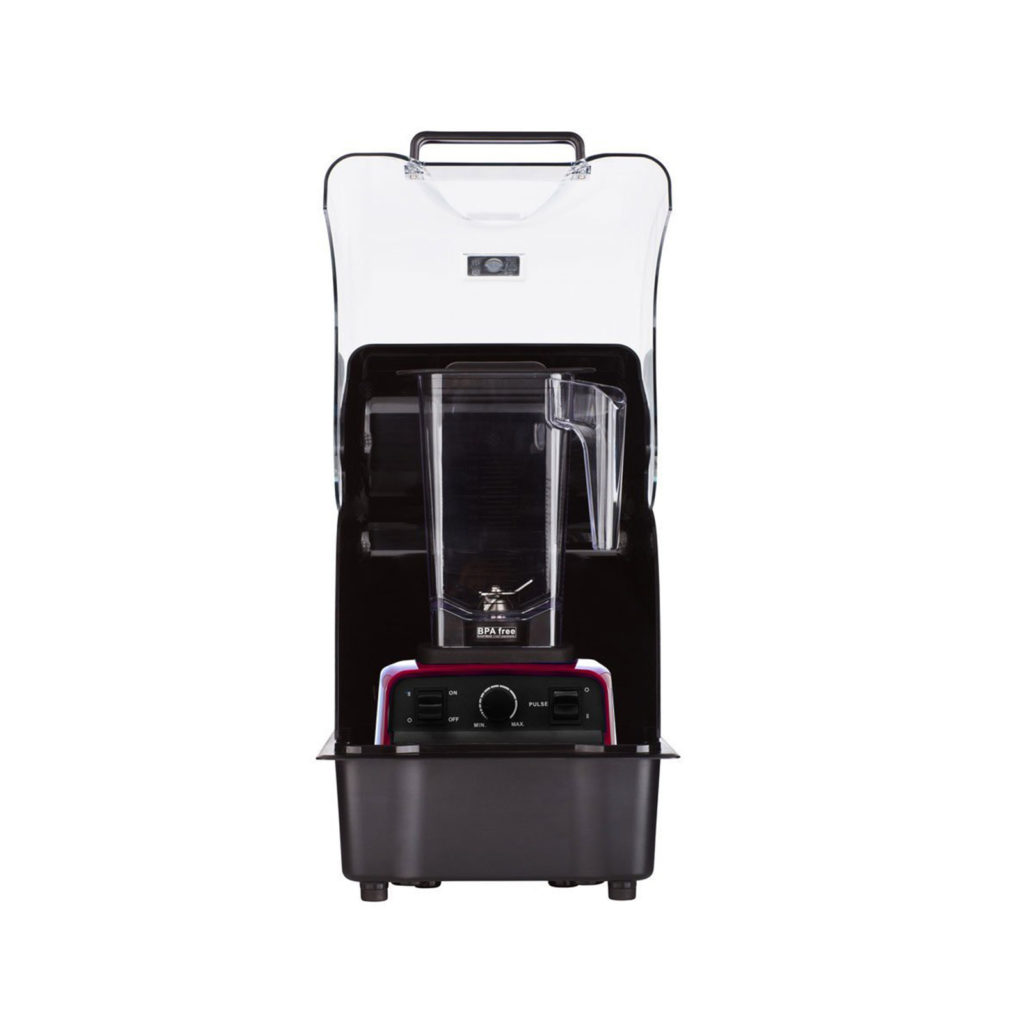
OMNIBLEND 1.5L SOUND COVER
By OmniBlend
Core Catering Supplies has a great collection of blenders from programmable food blenders to immersion stick blenders available for your consideration. Make sure to take your time going over all the specifications to find a blender for your planned application and if you need any help to find the best commercial blender for you, don’t hesitate to contact our experienced team.